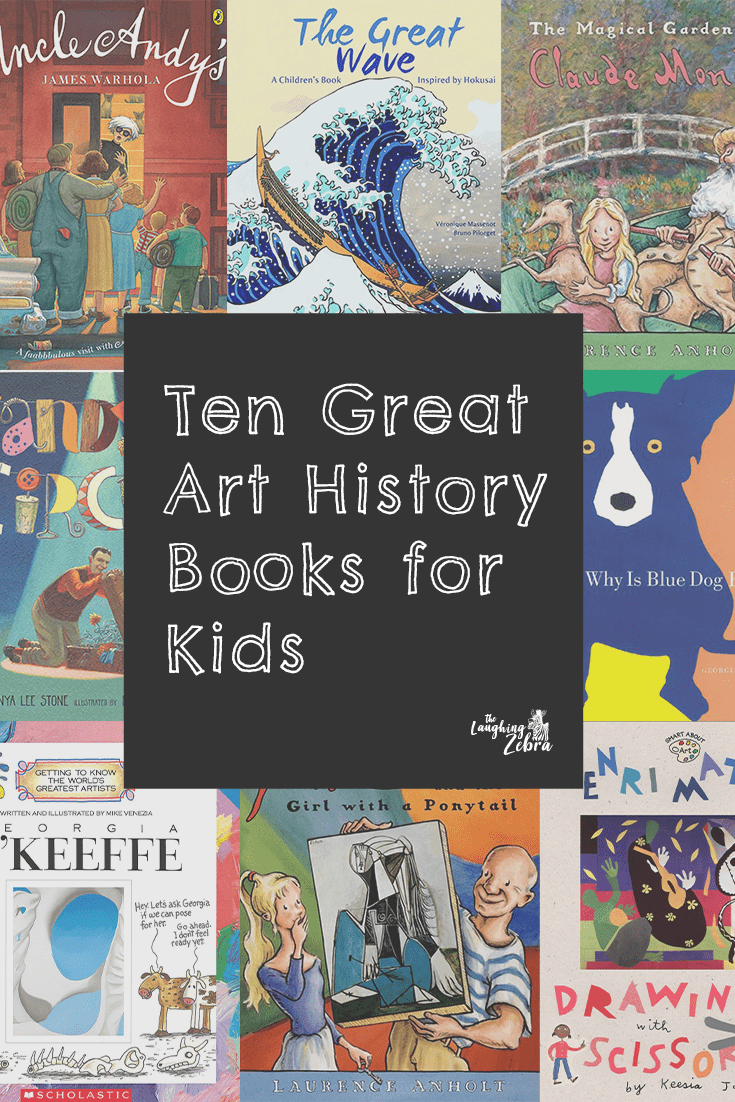
Ten Favorite Art History Books for Kids
Ten Favorite Art History Books for Kids Read More »


