
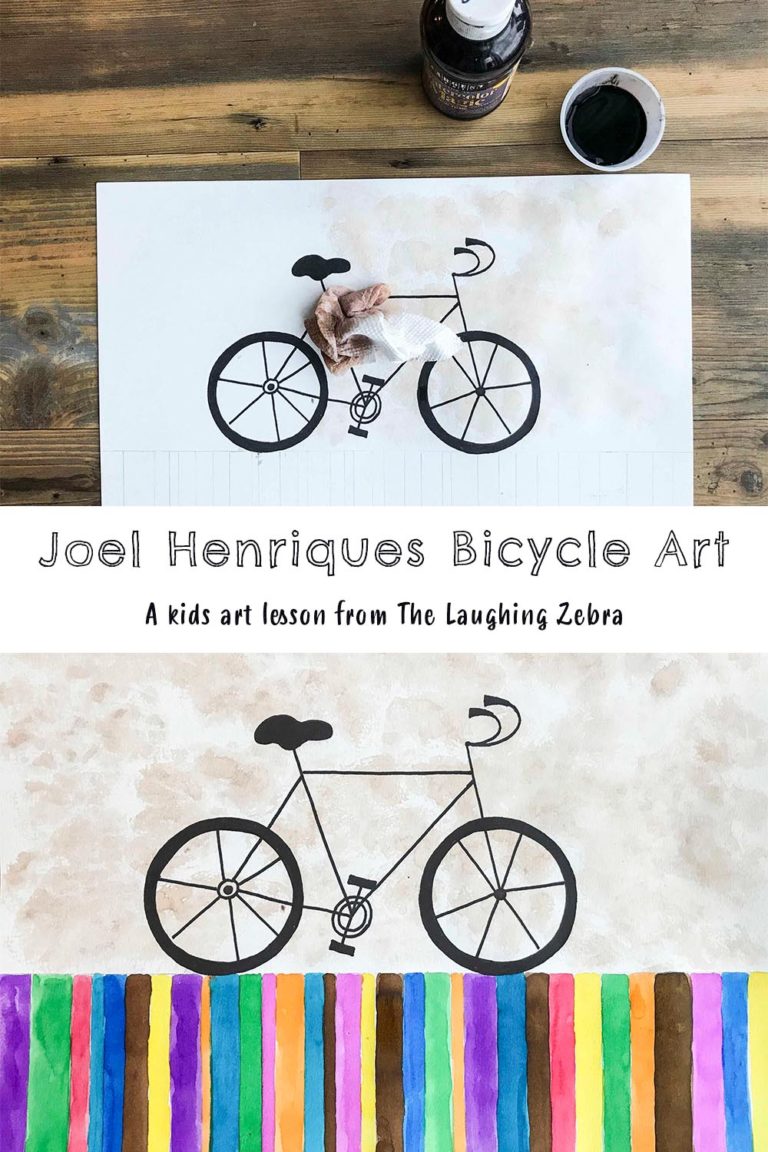
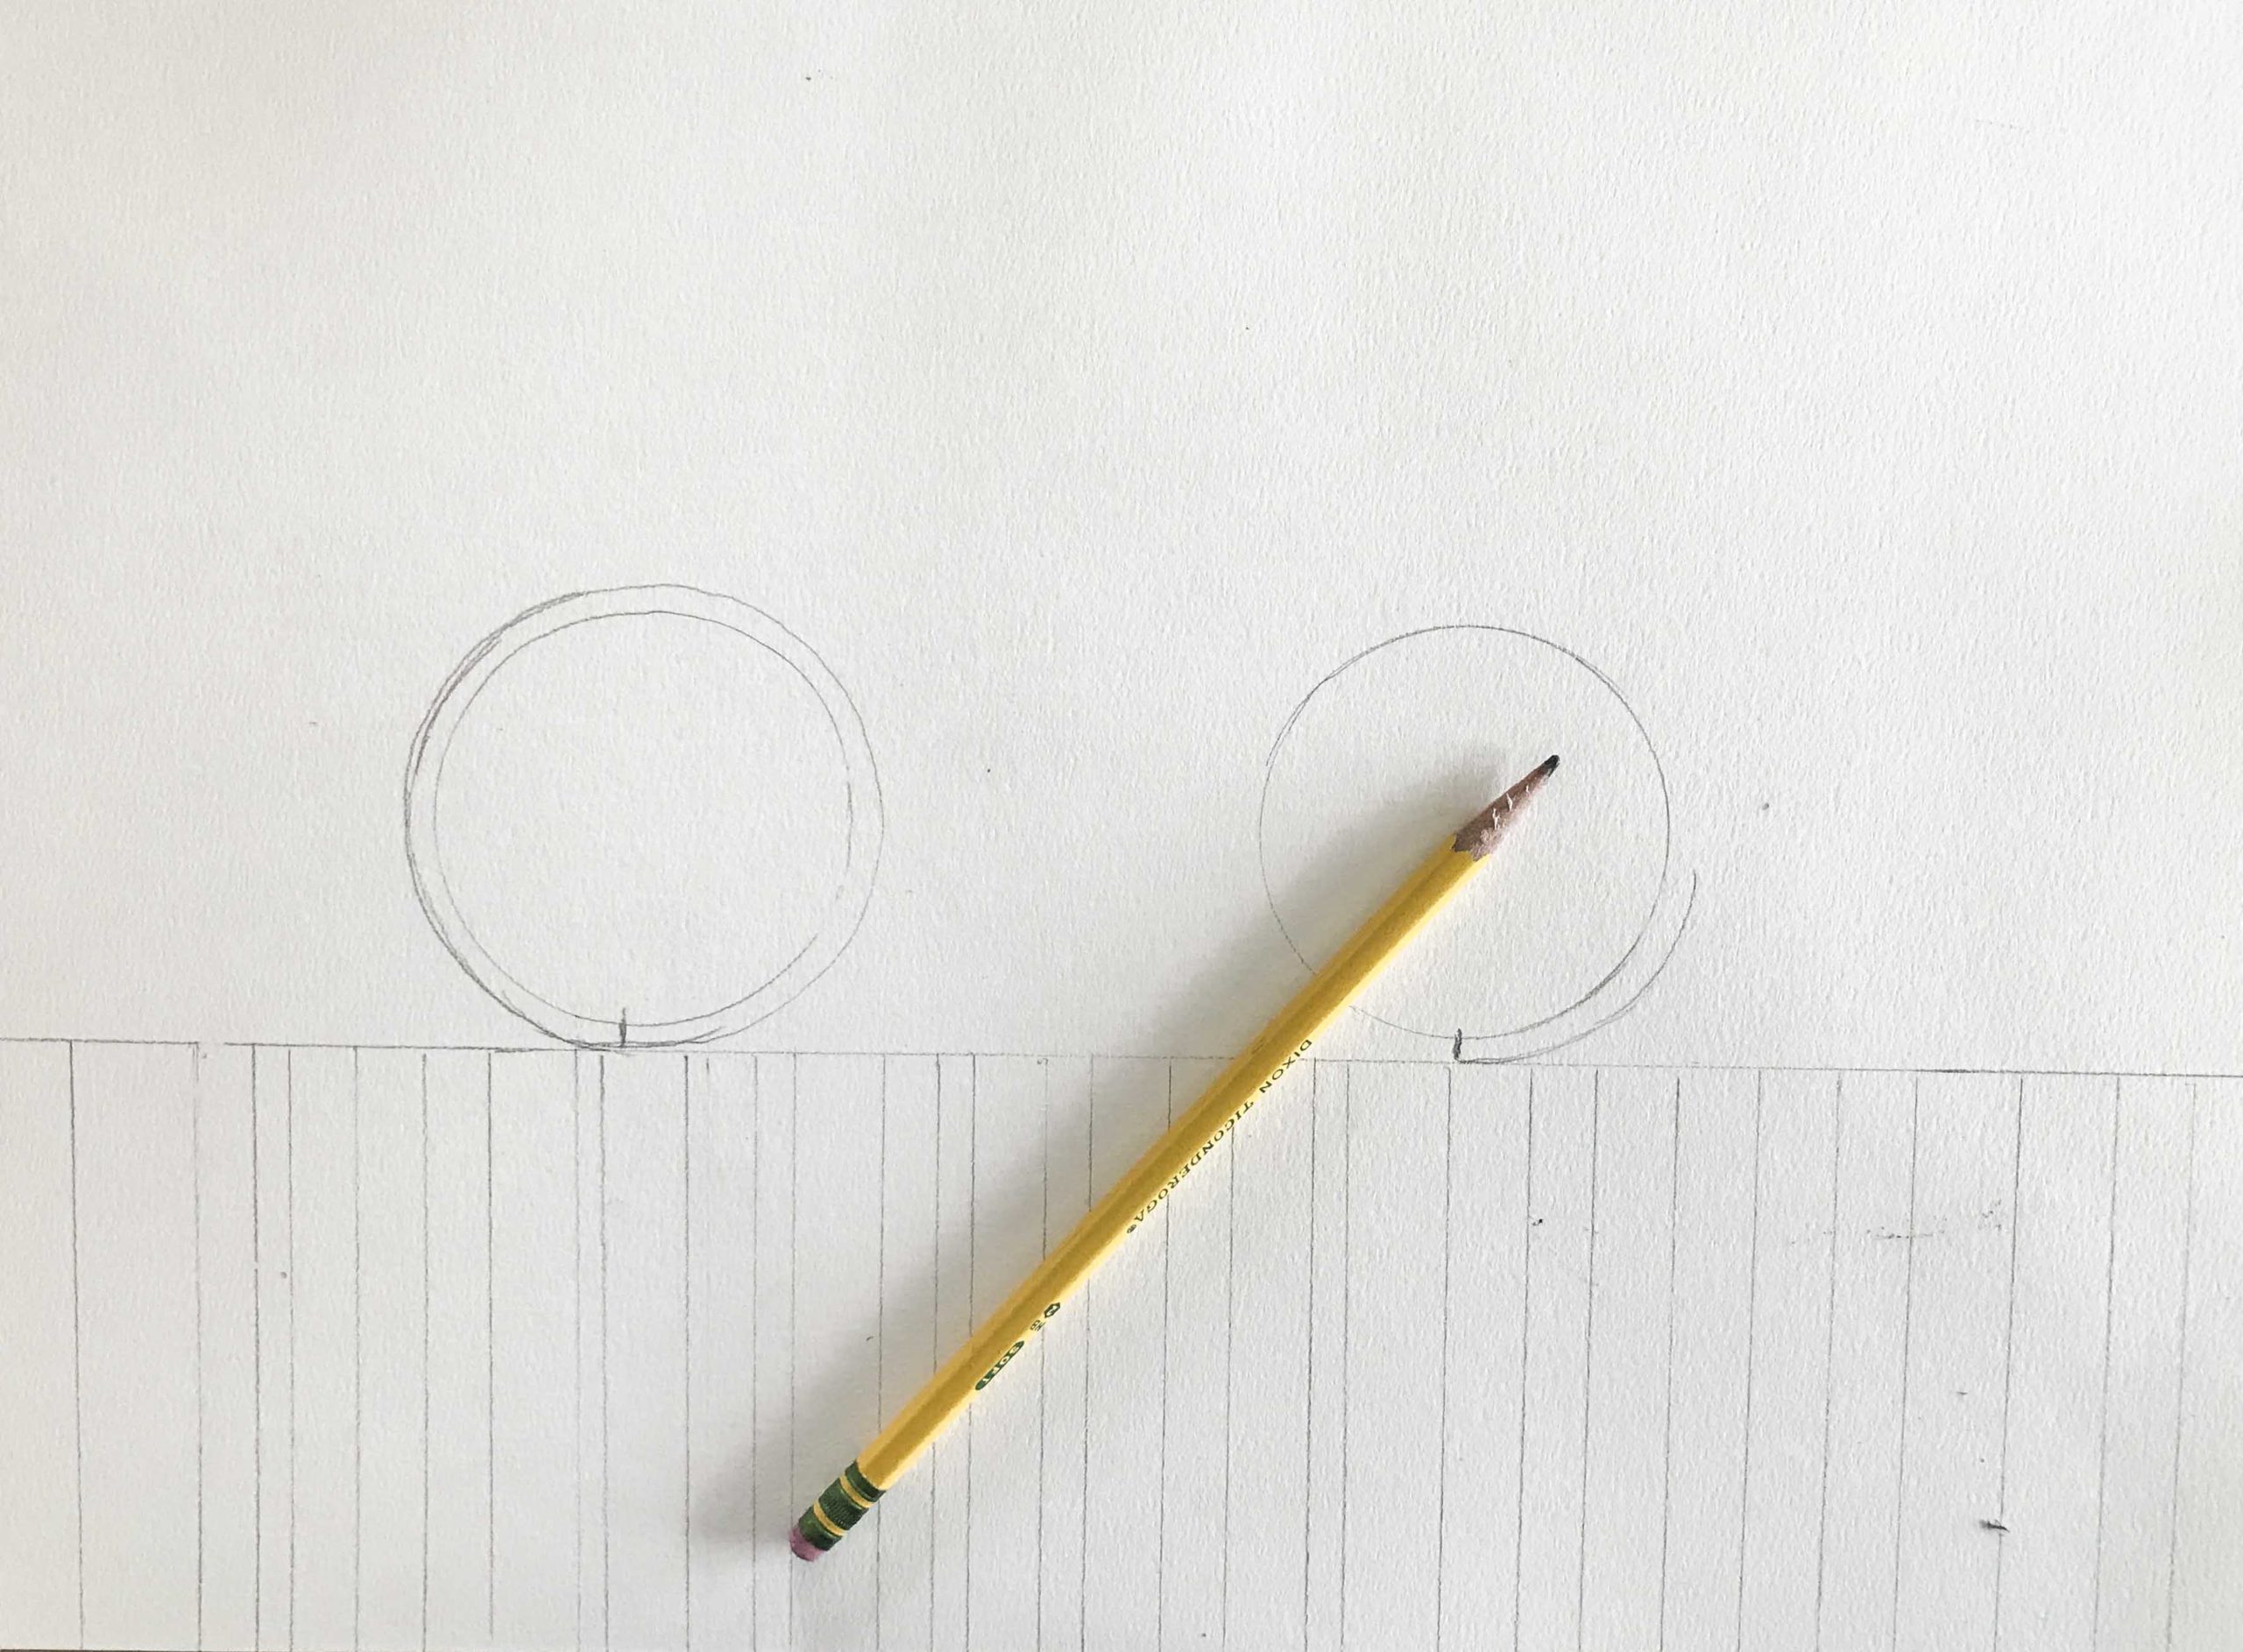
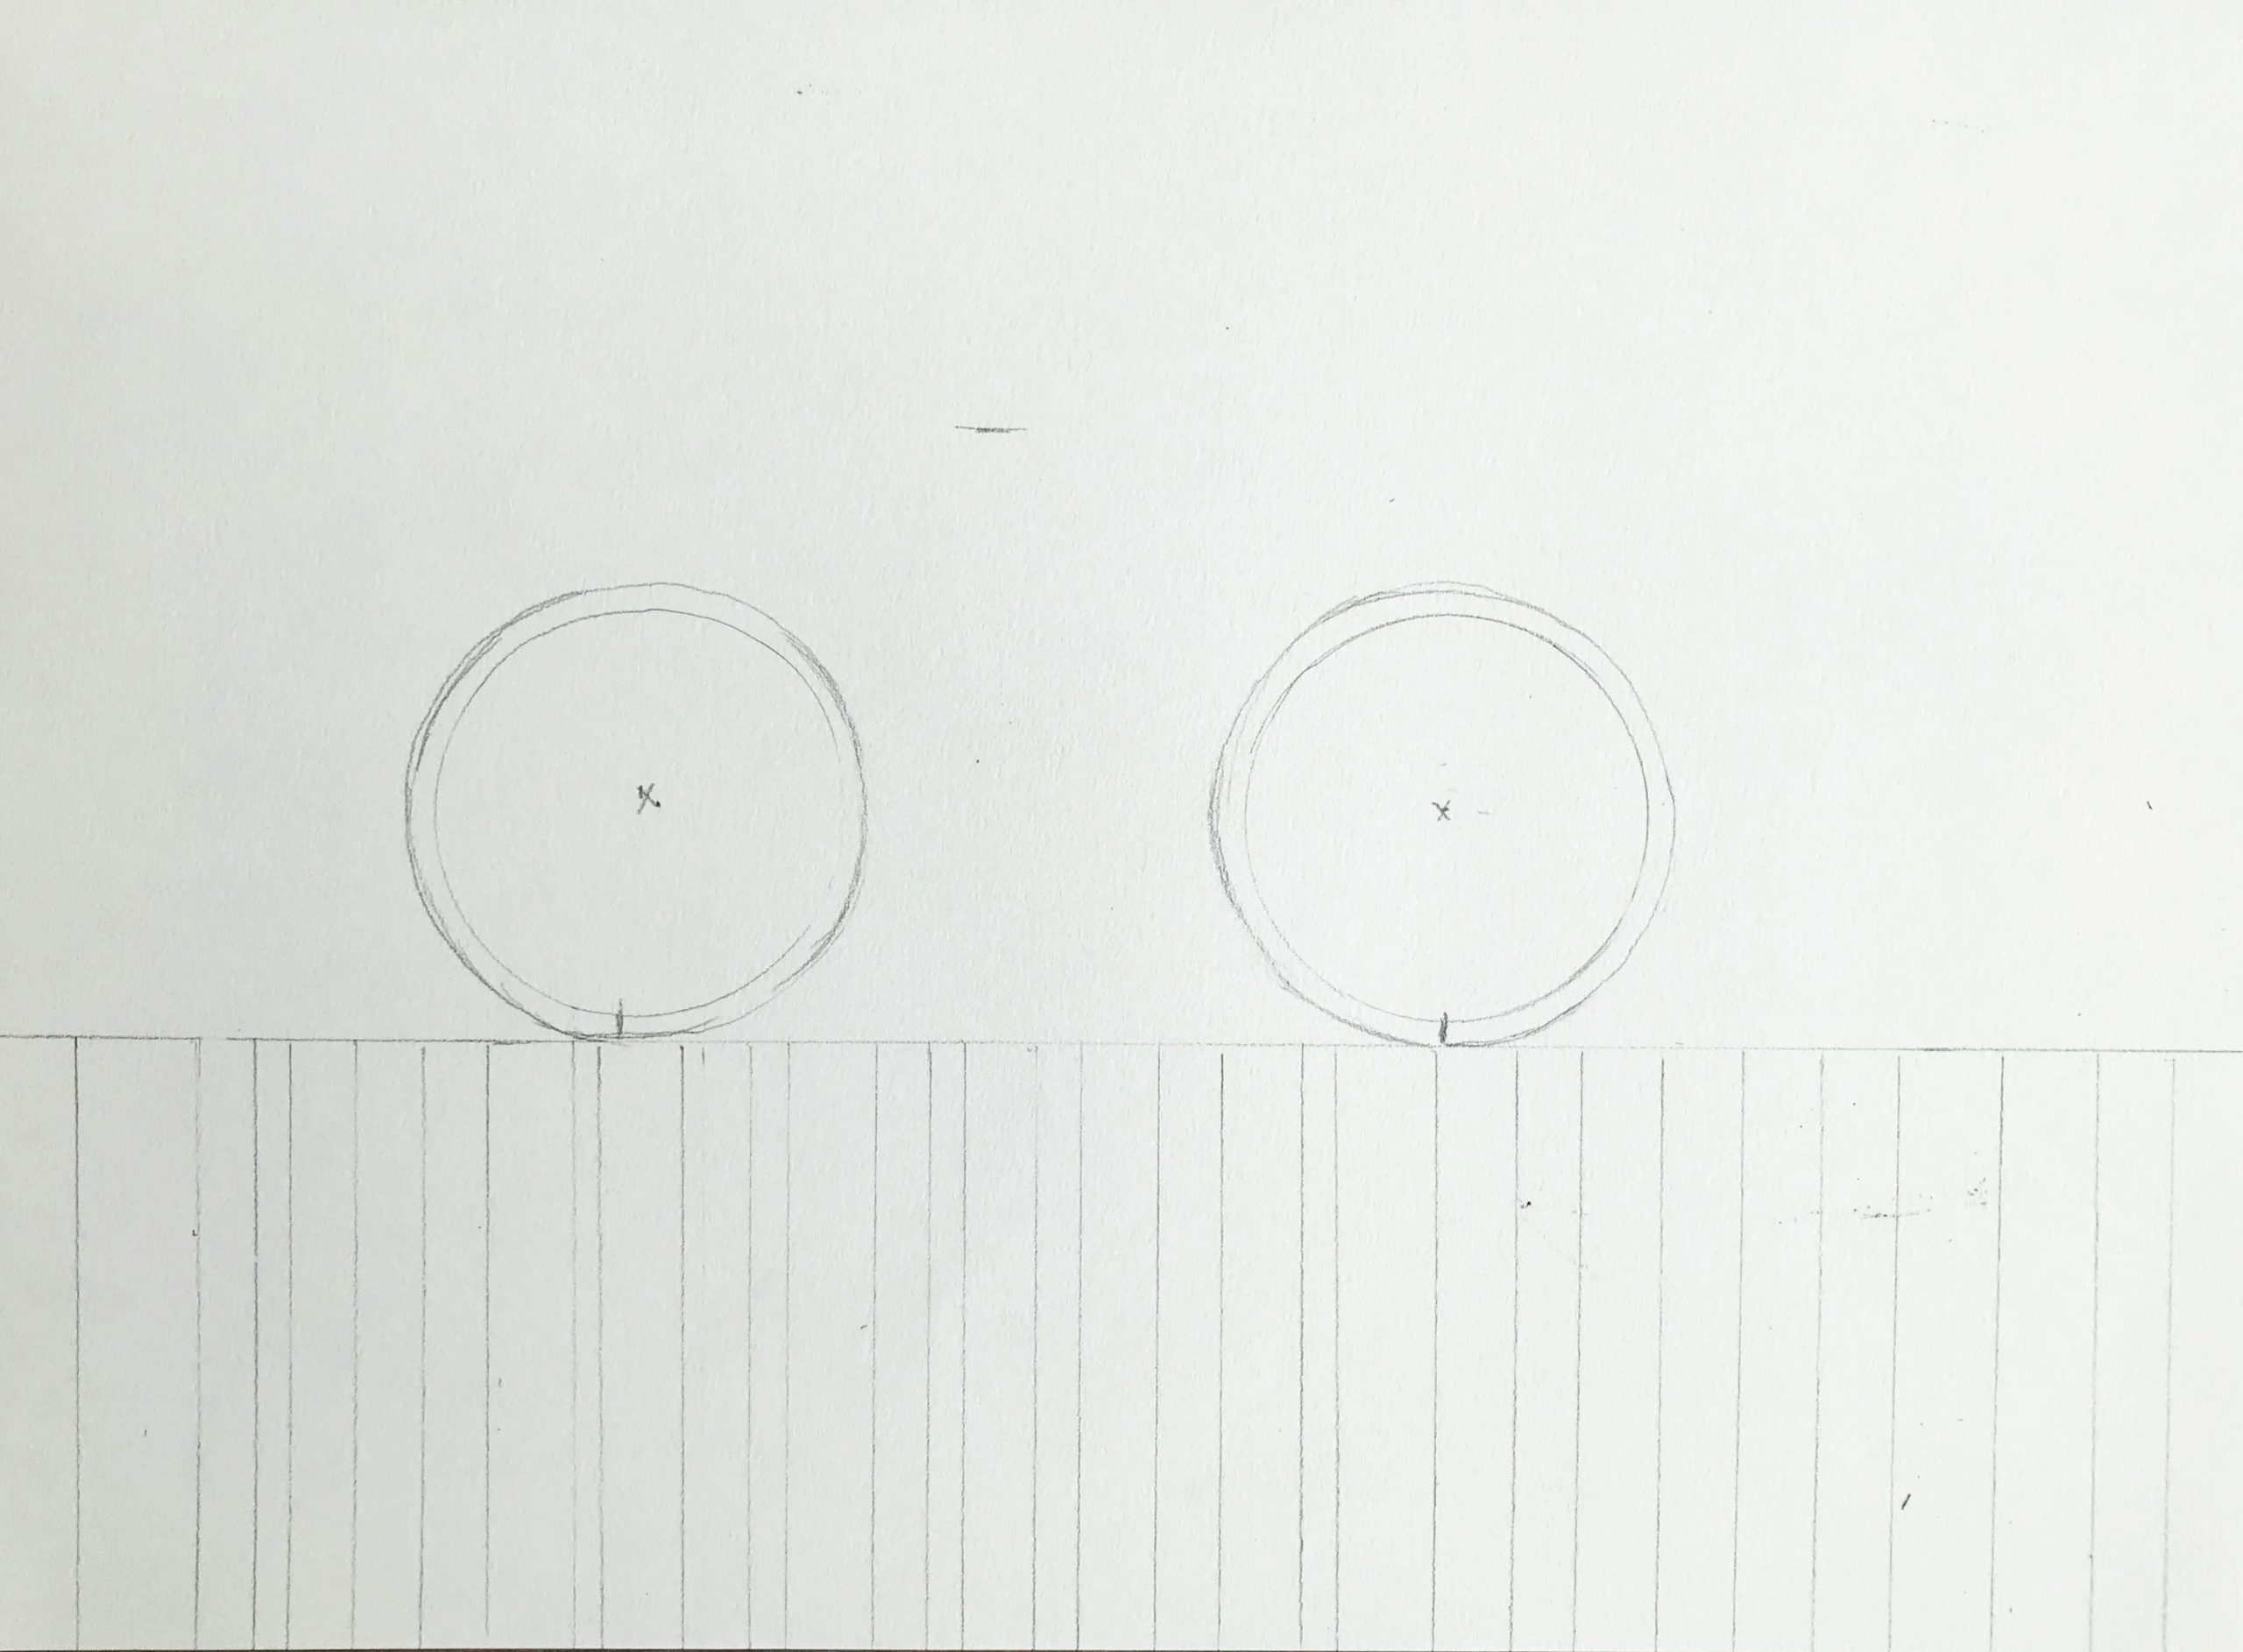
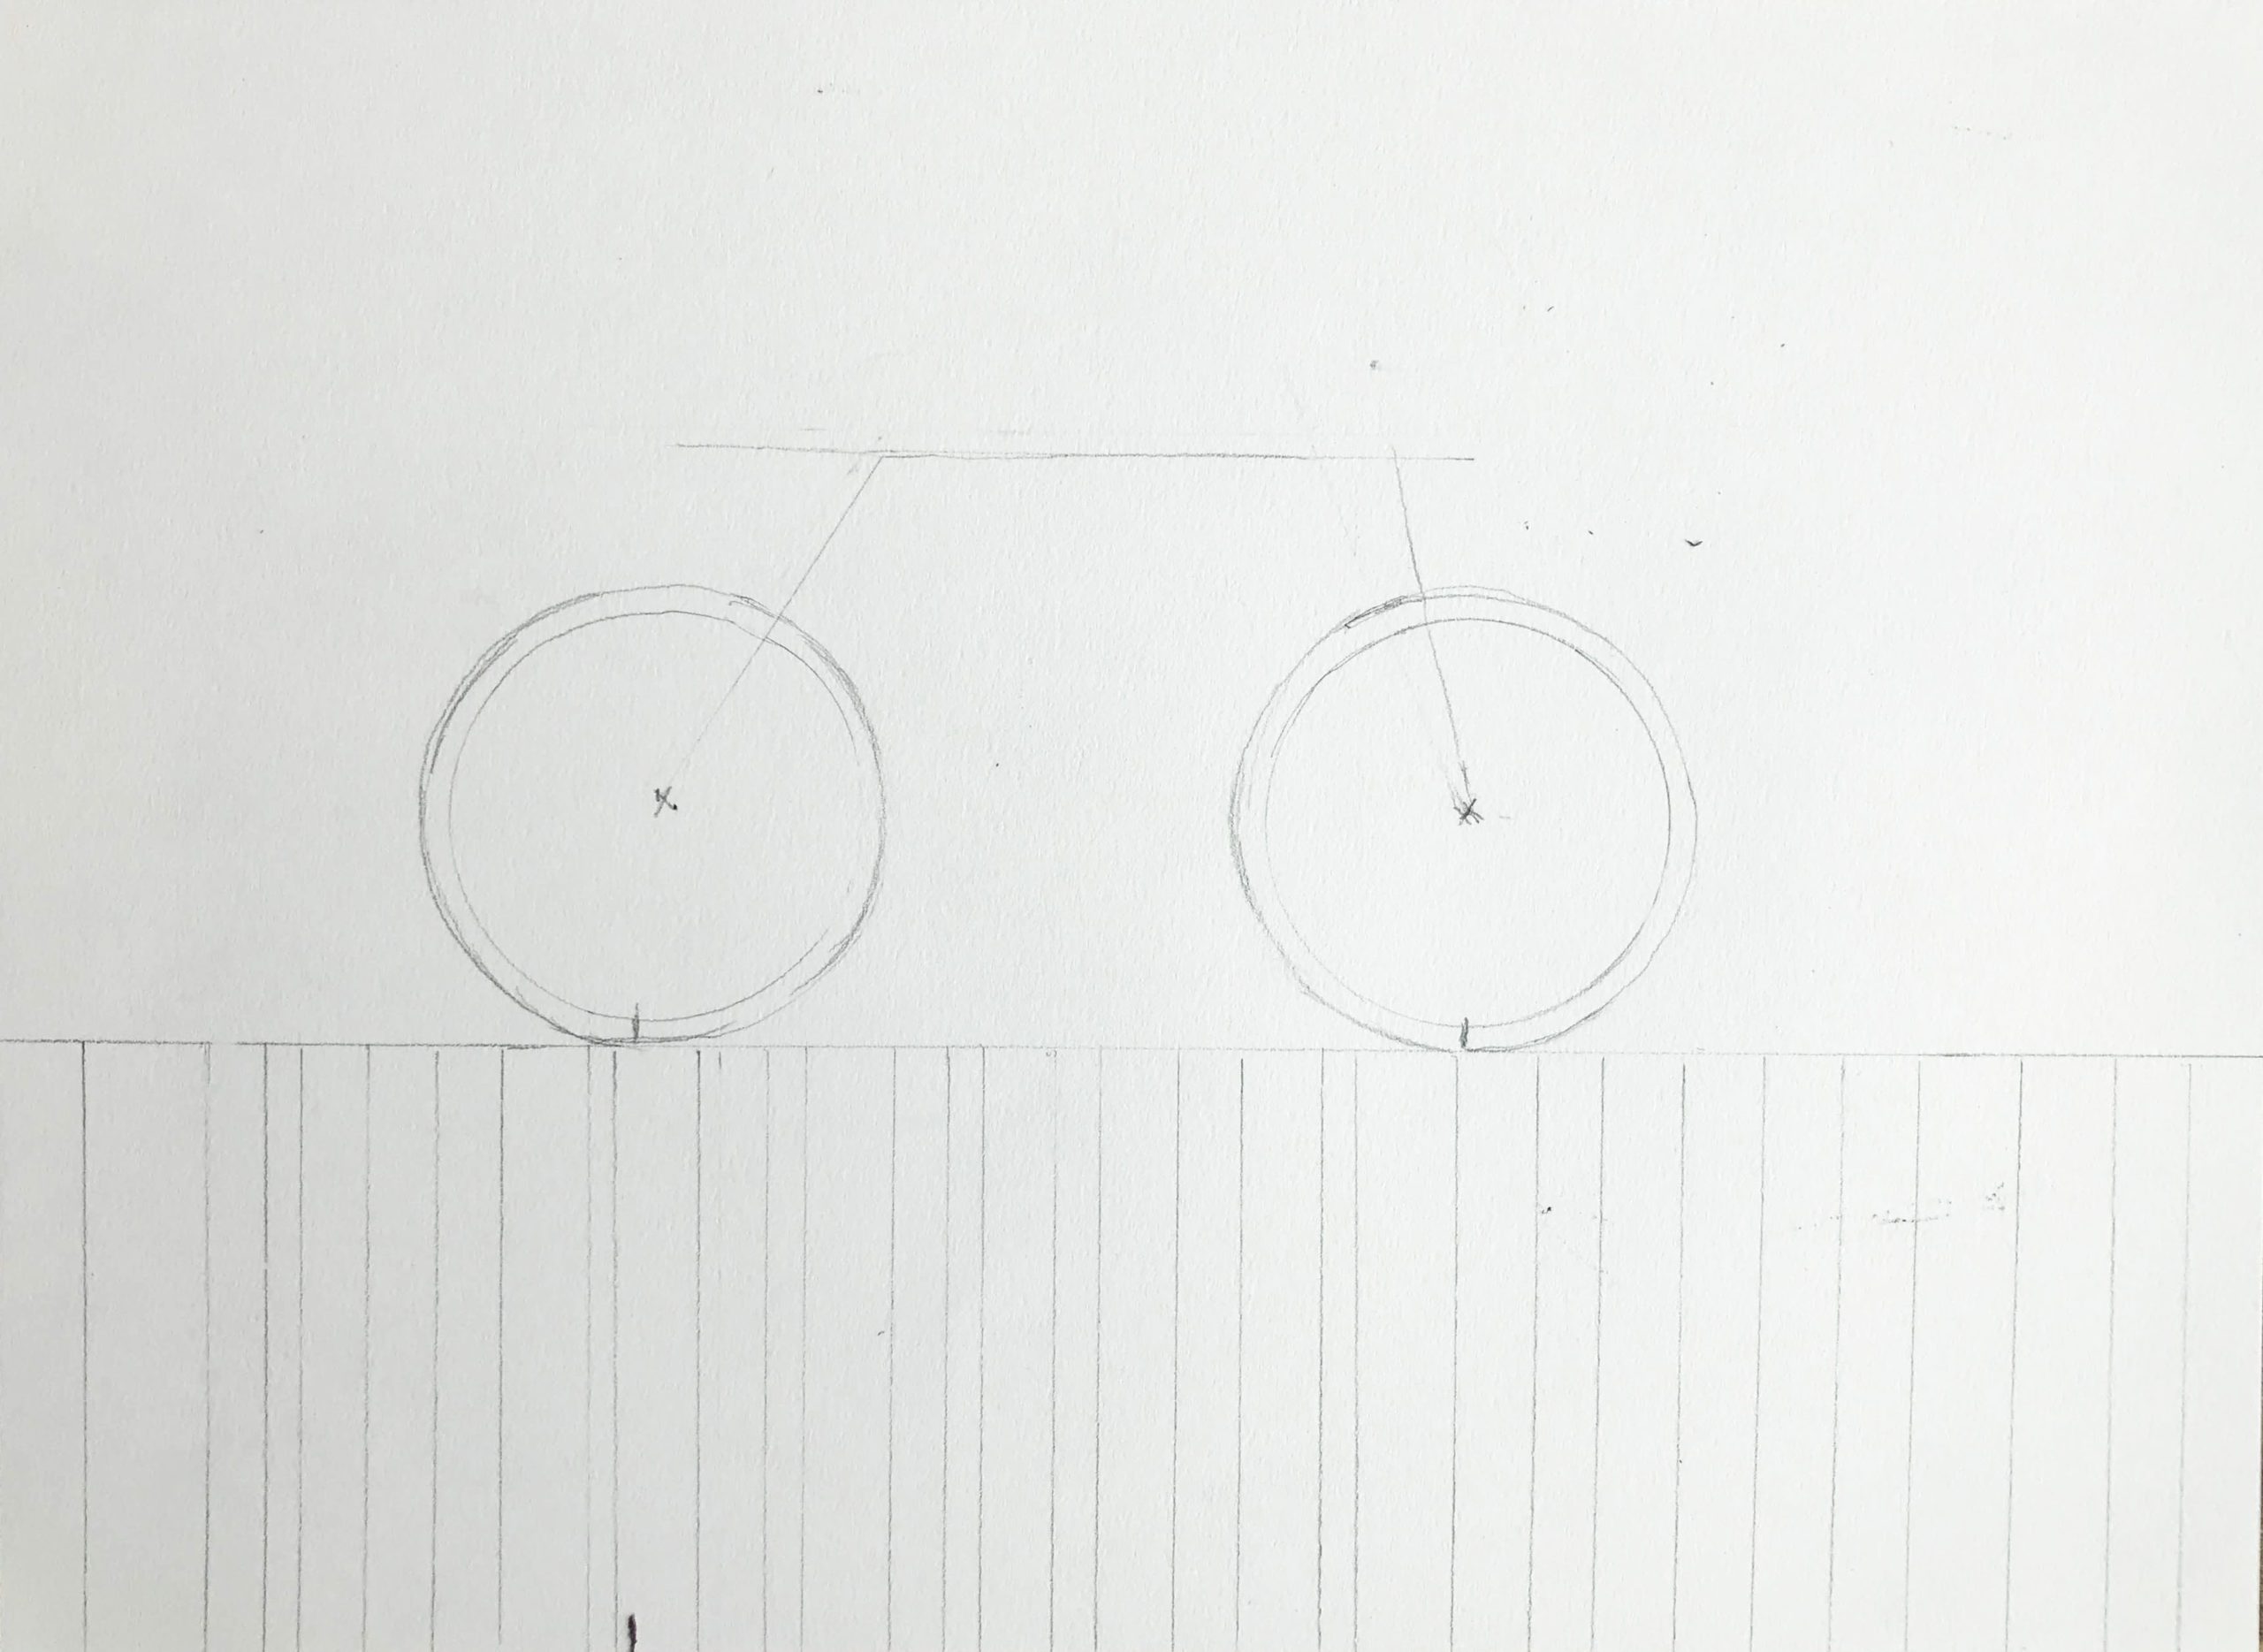
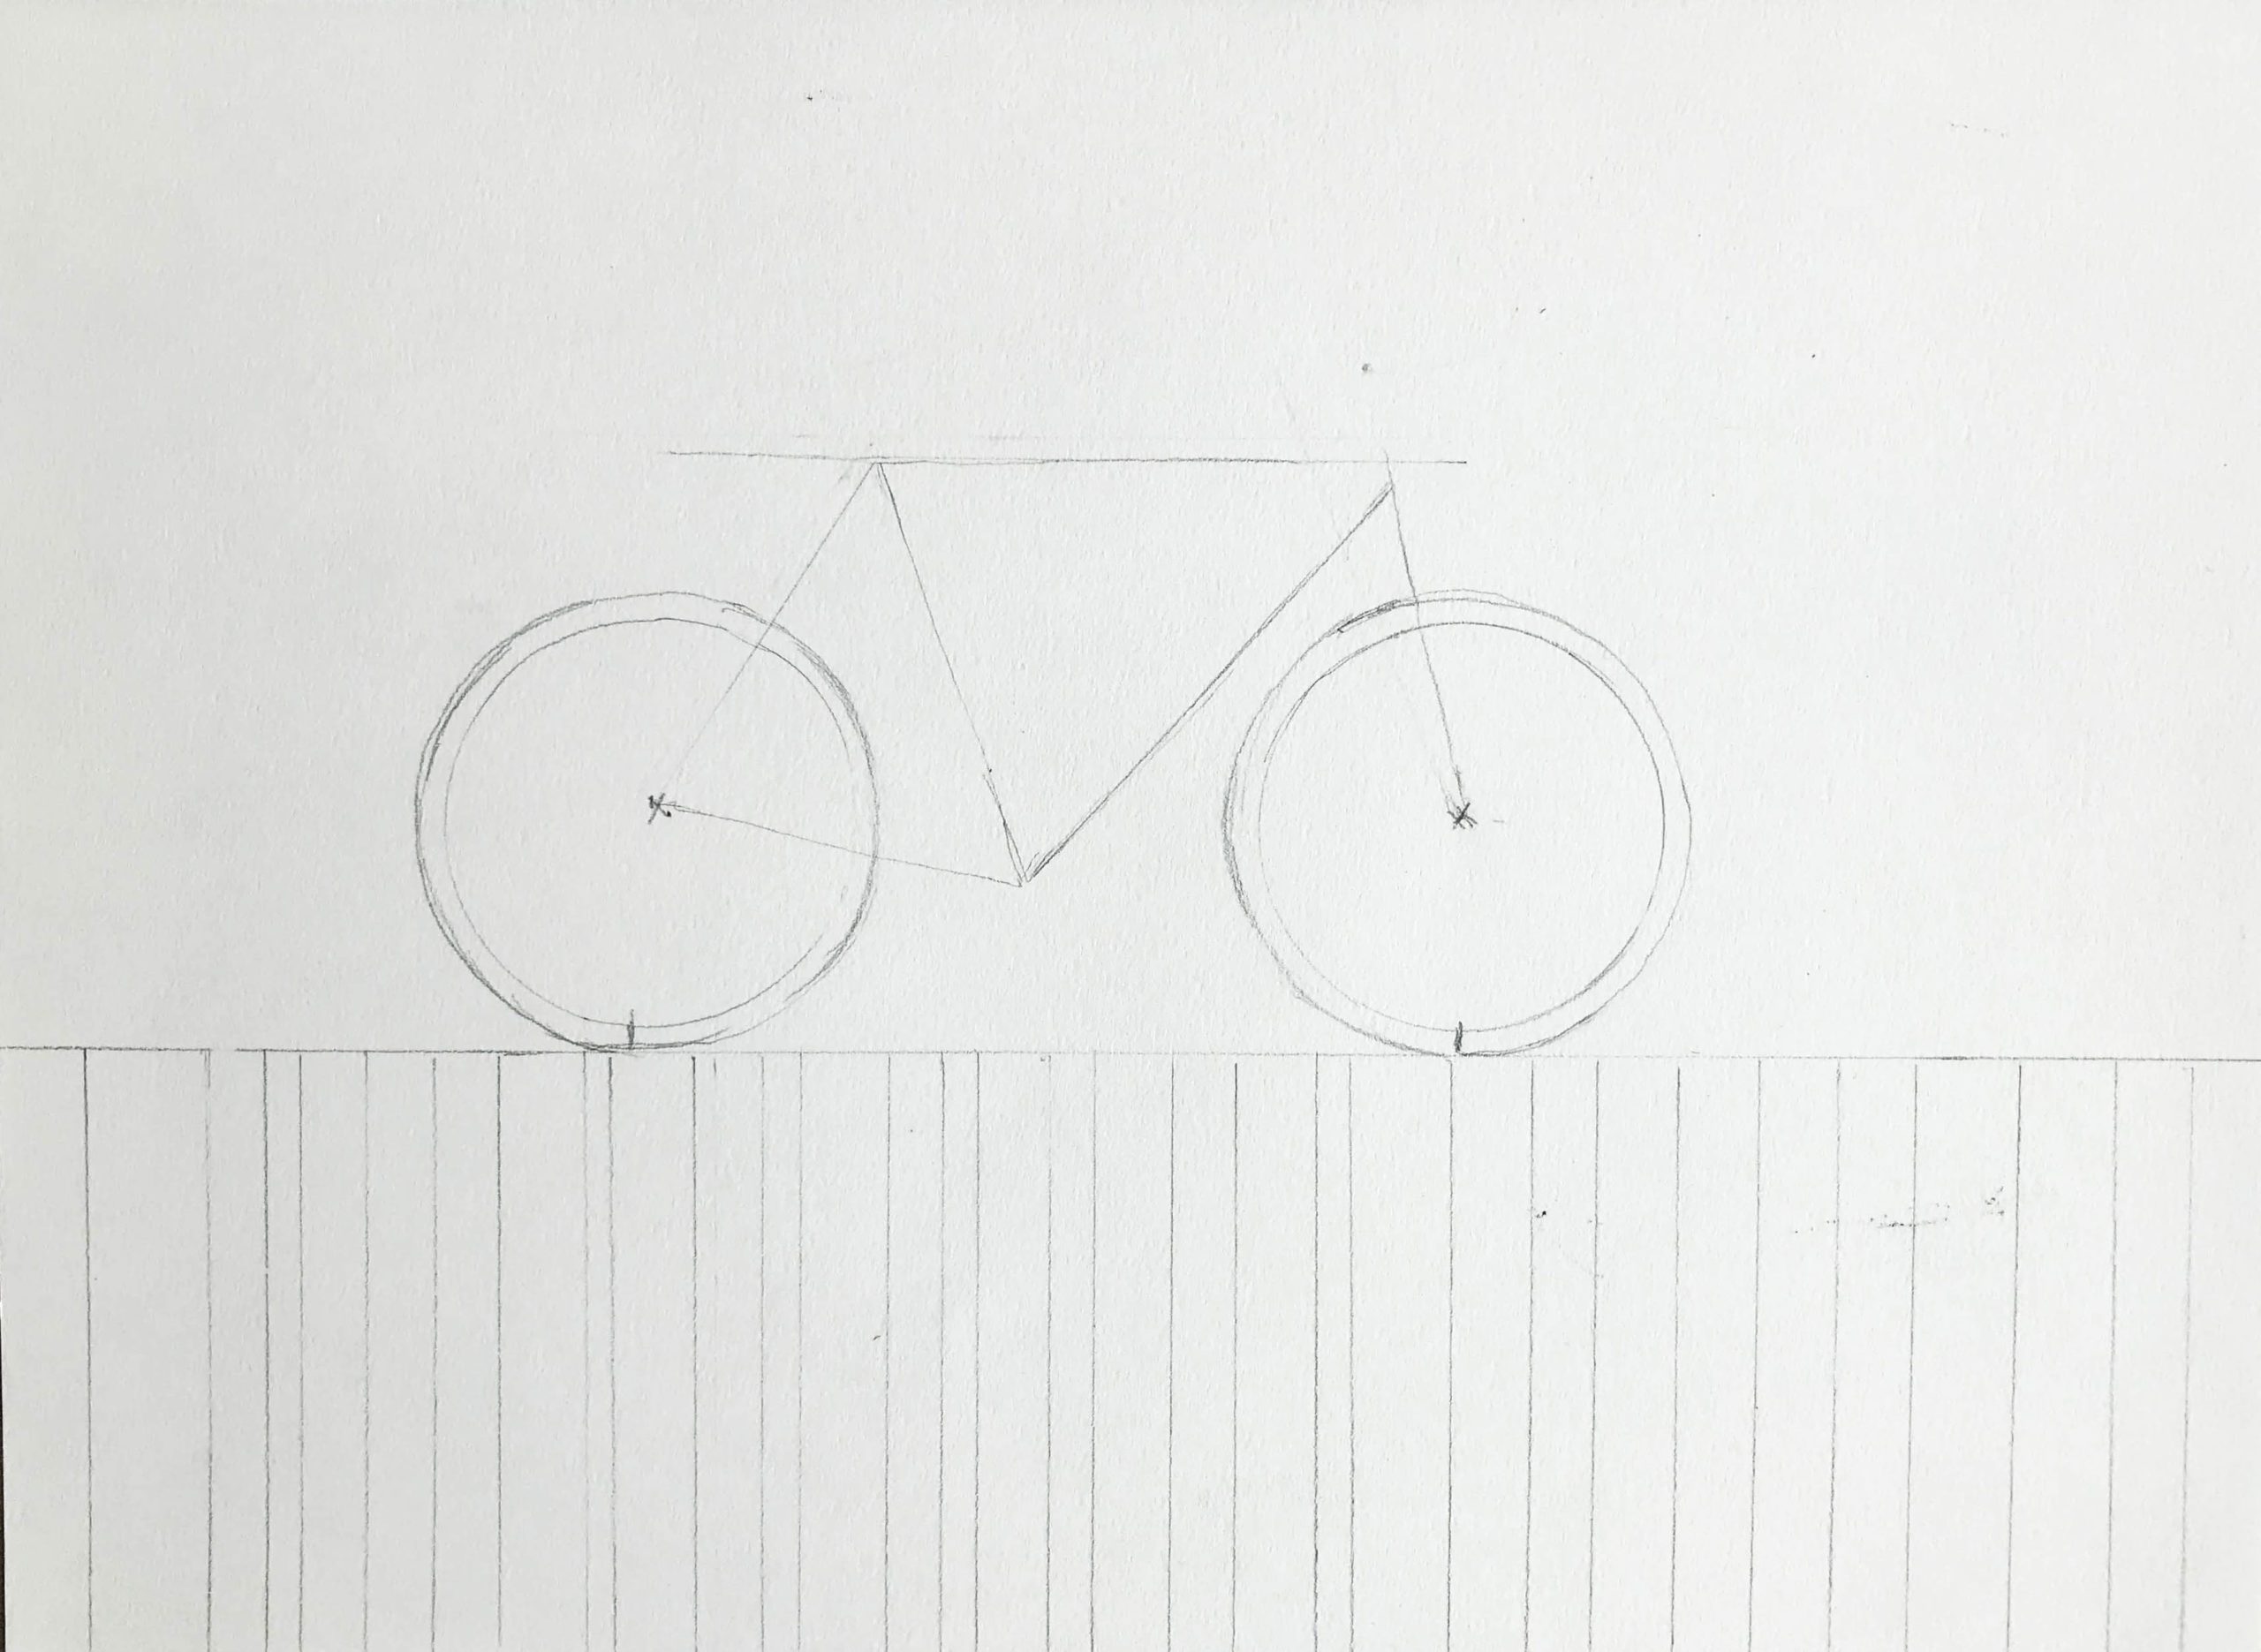
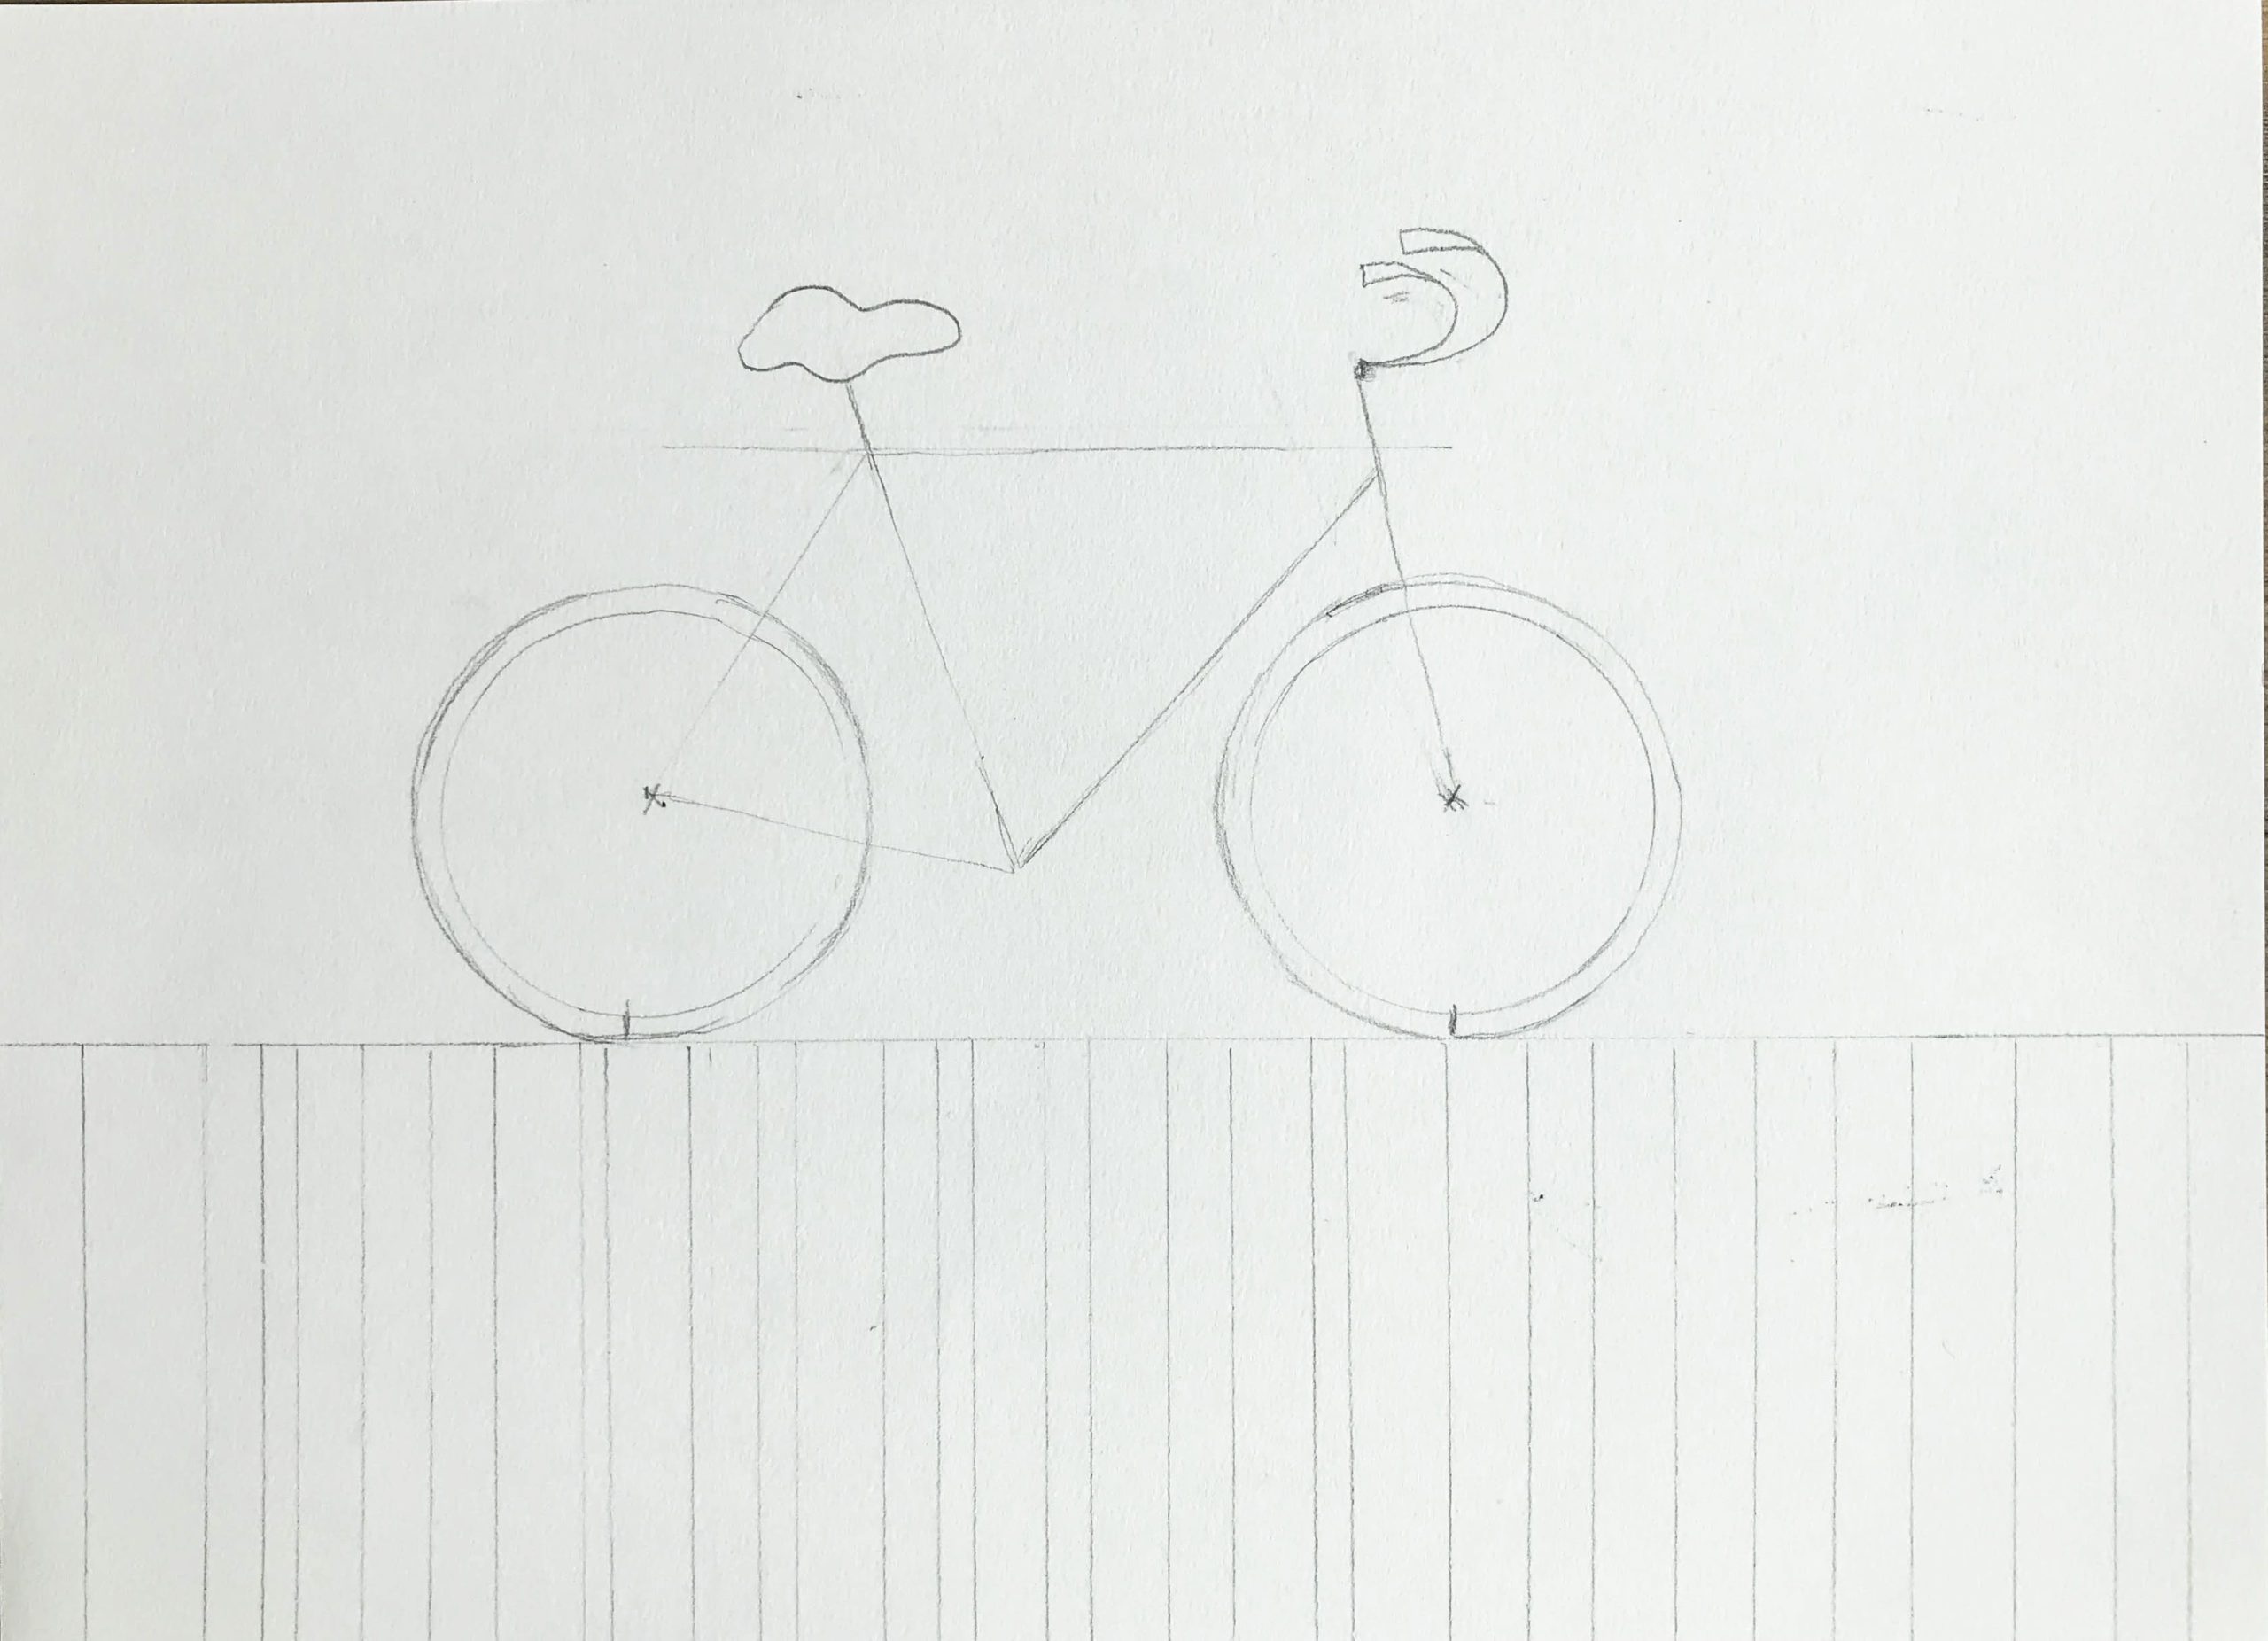
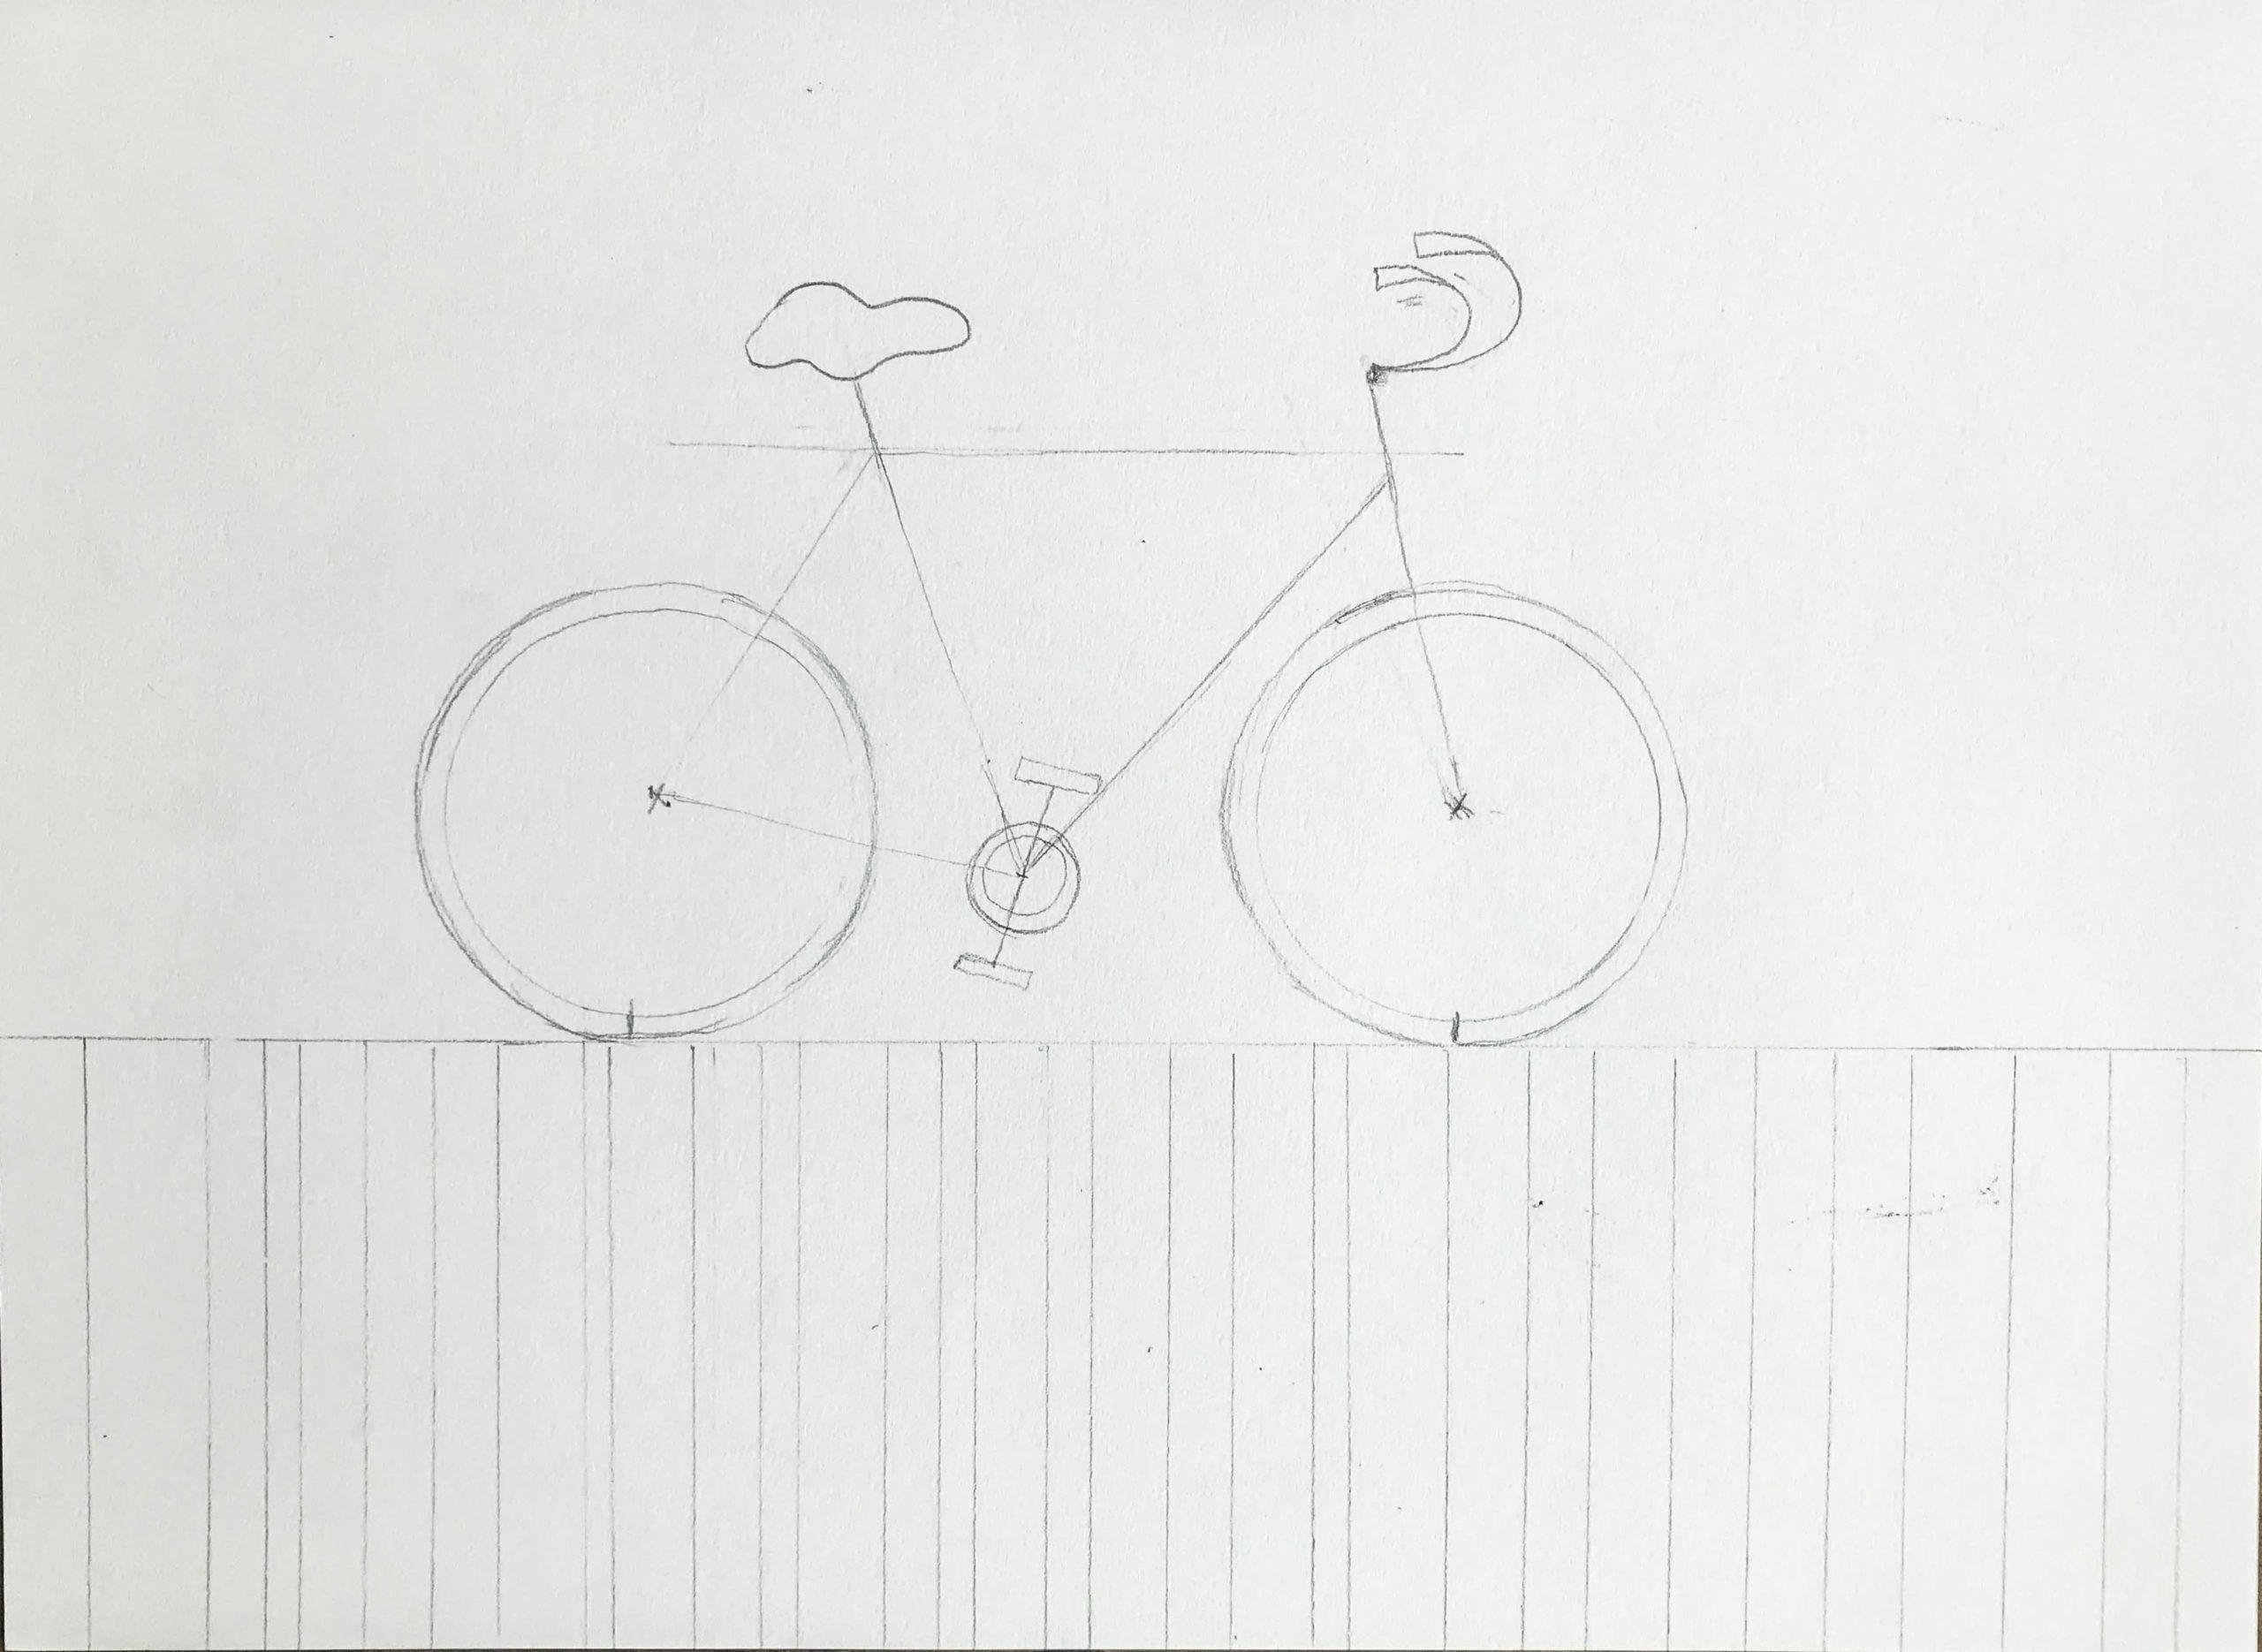
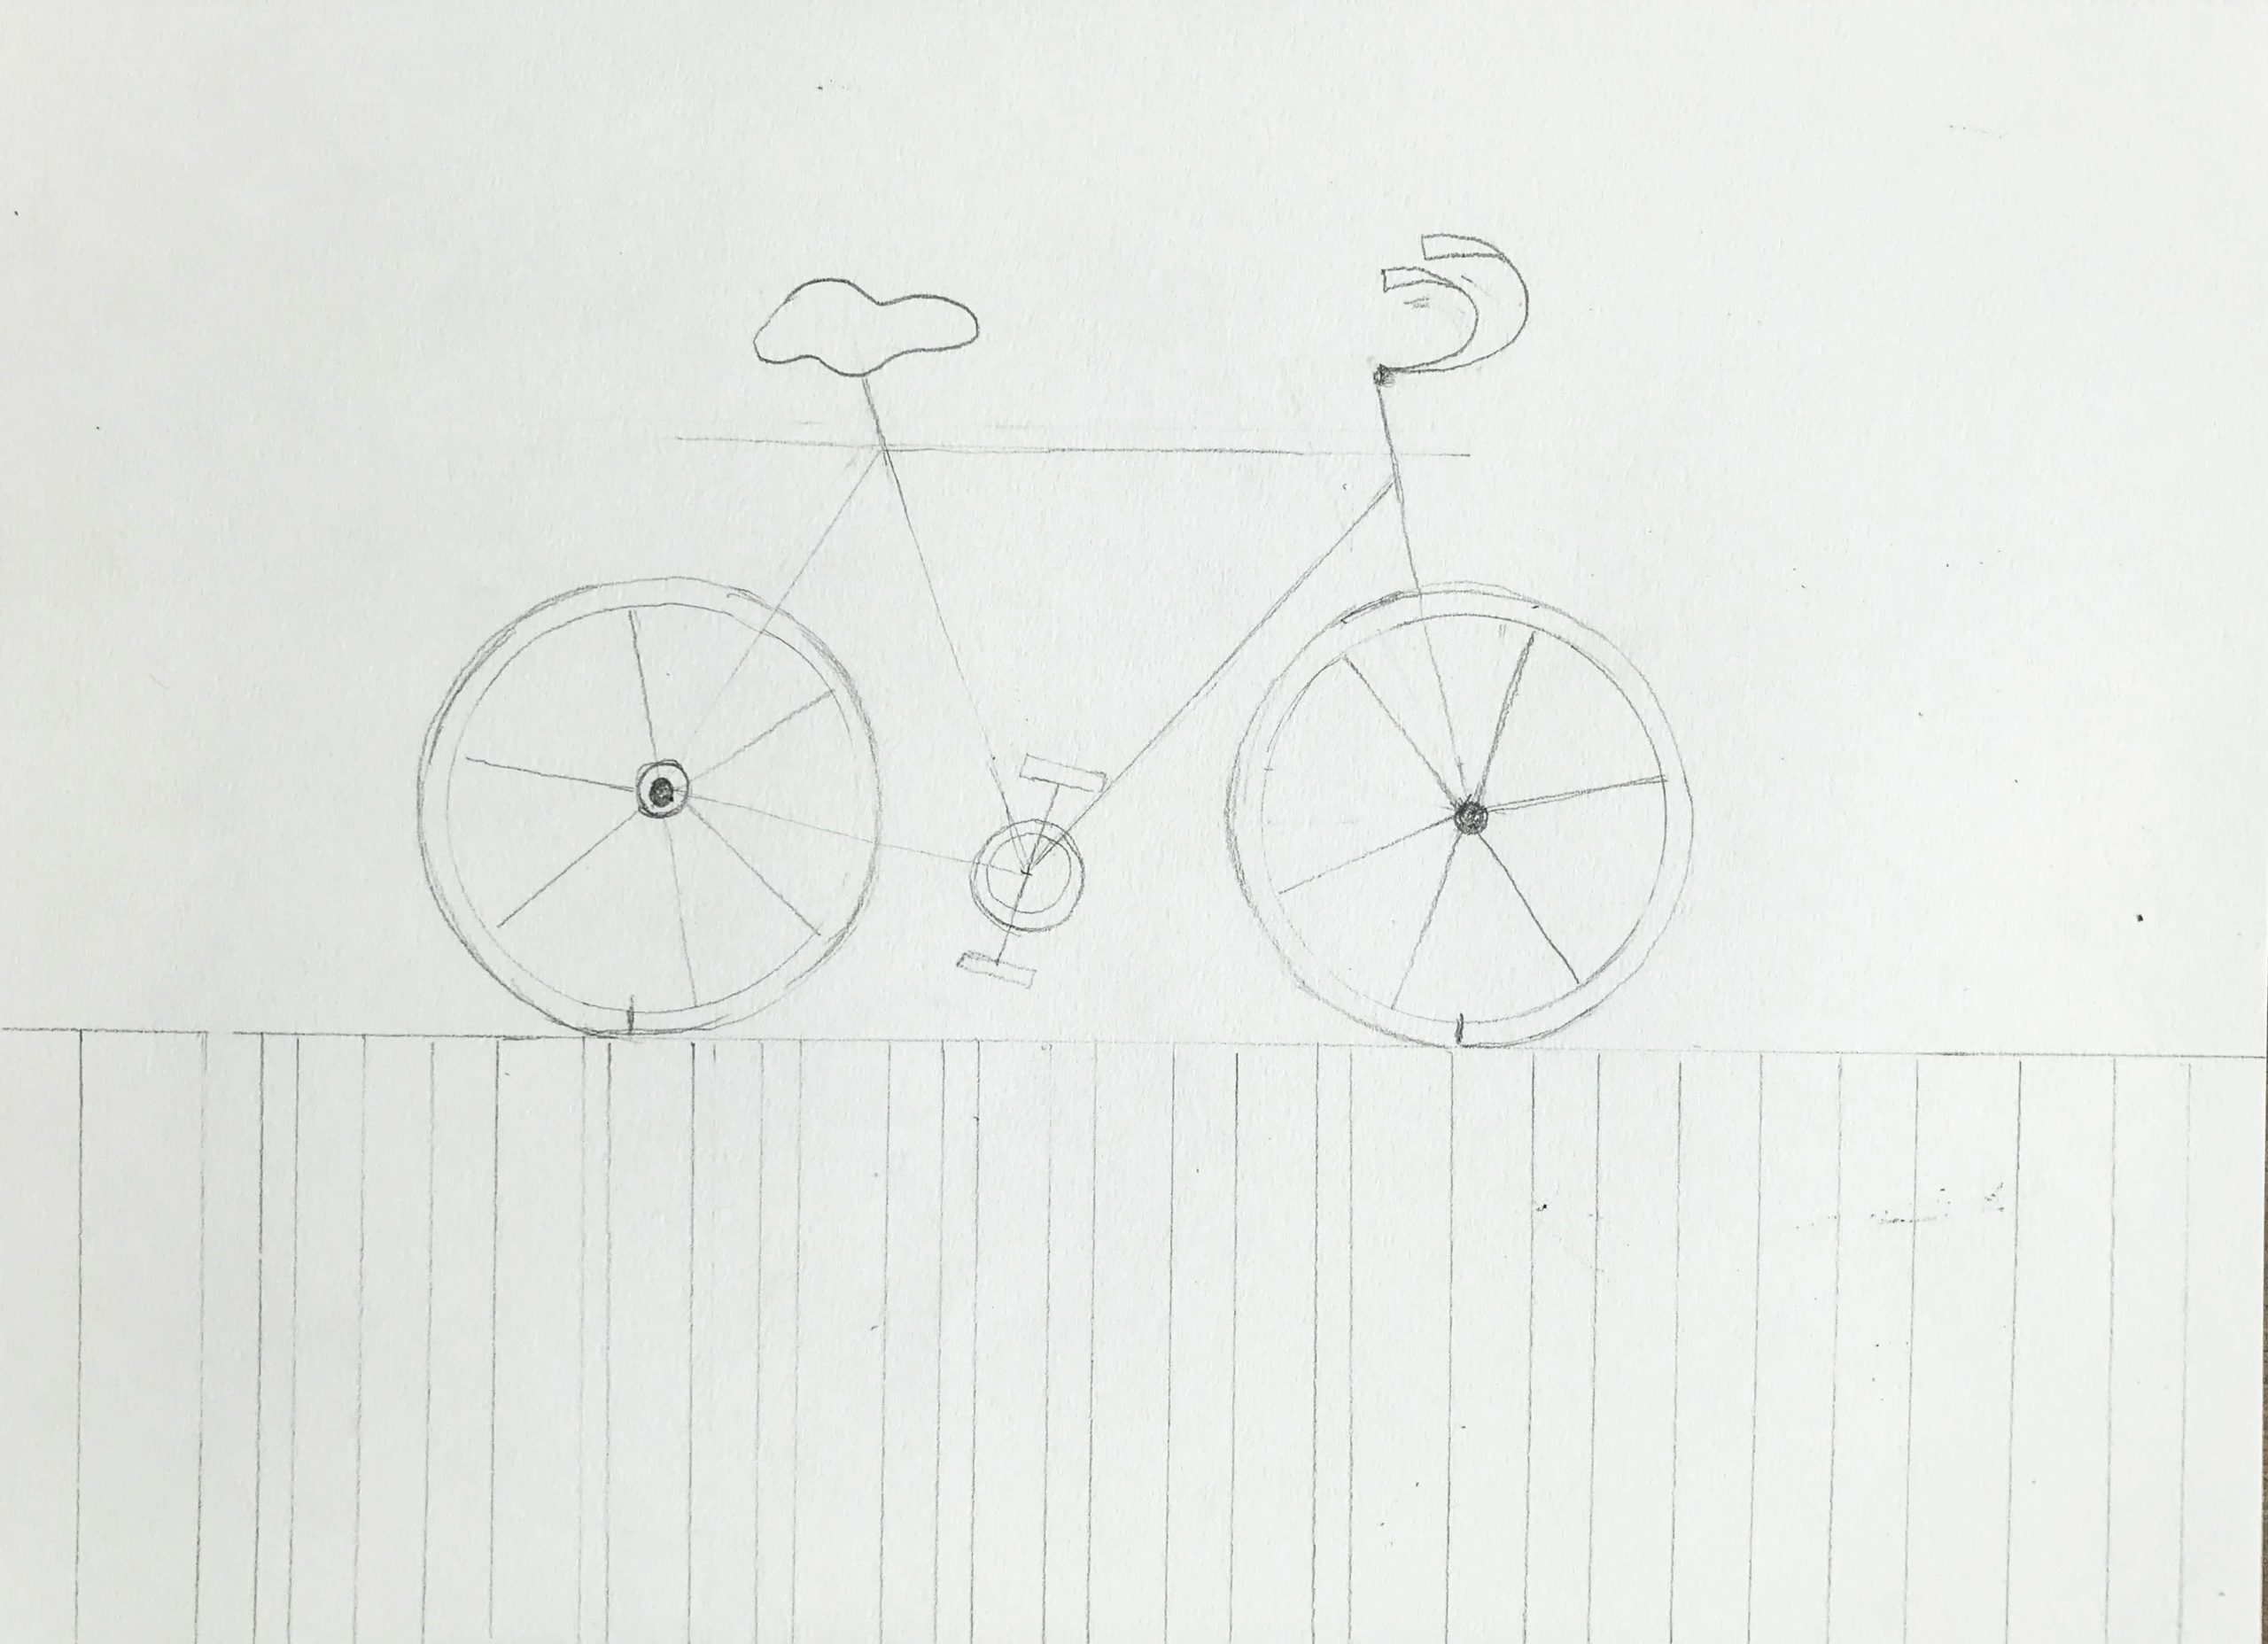
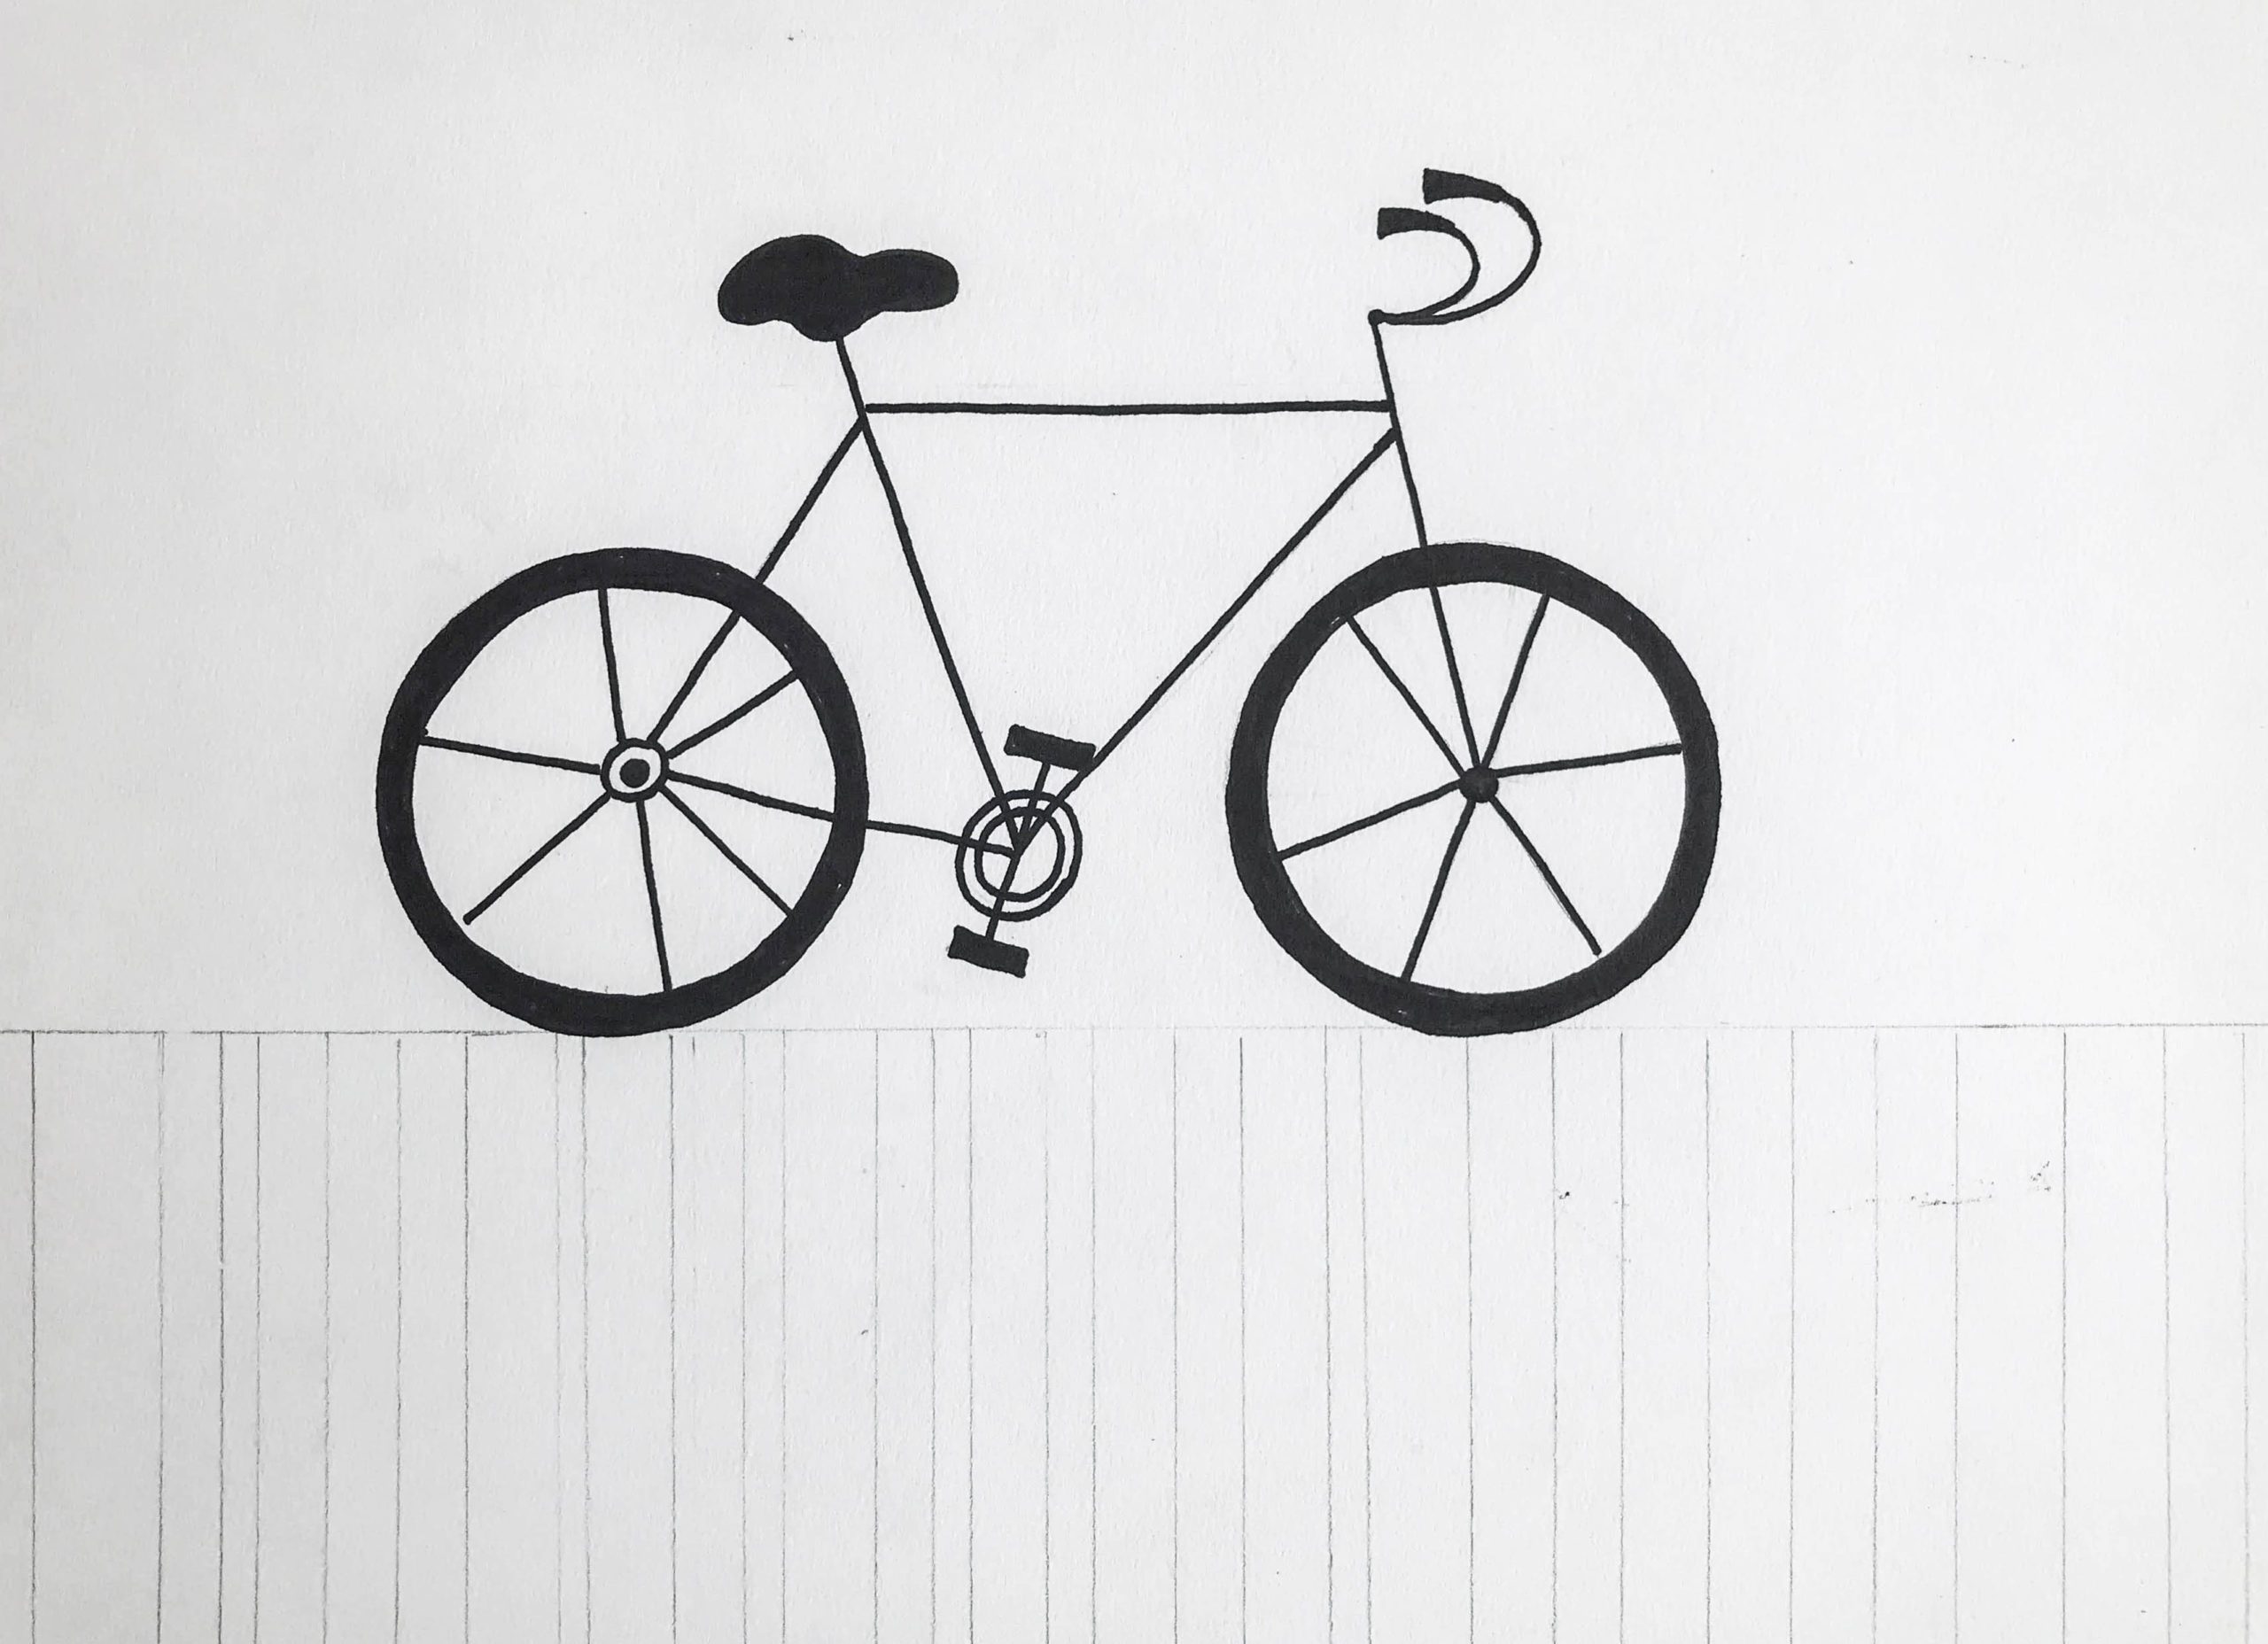
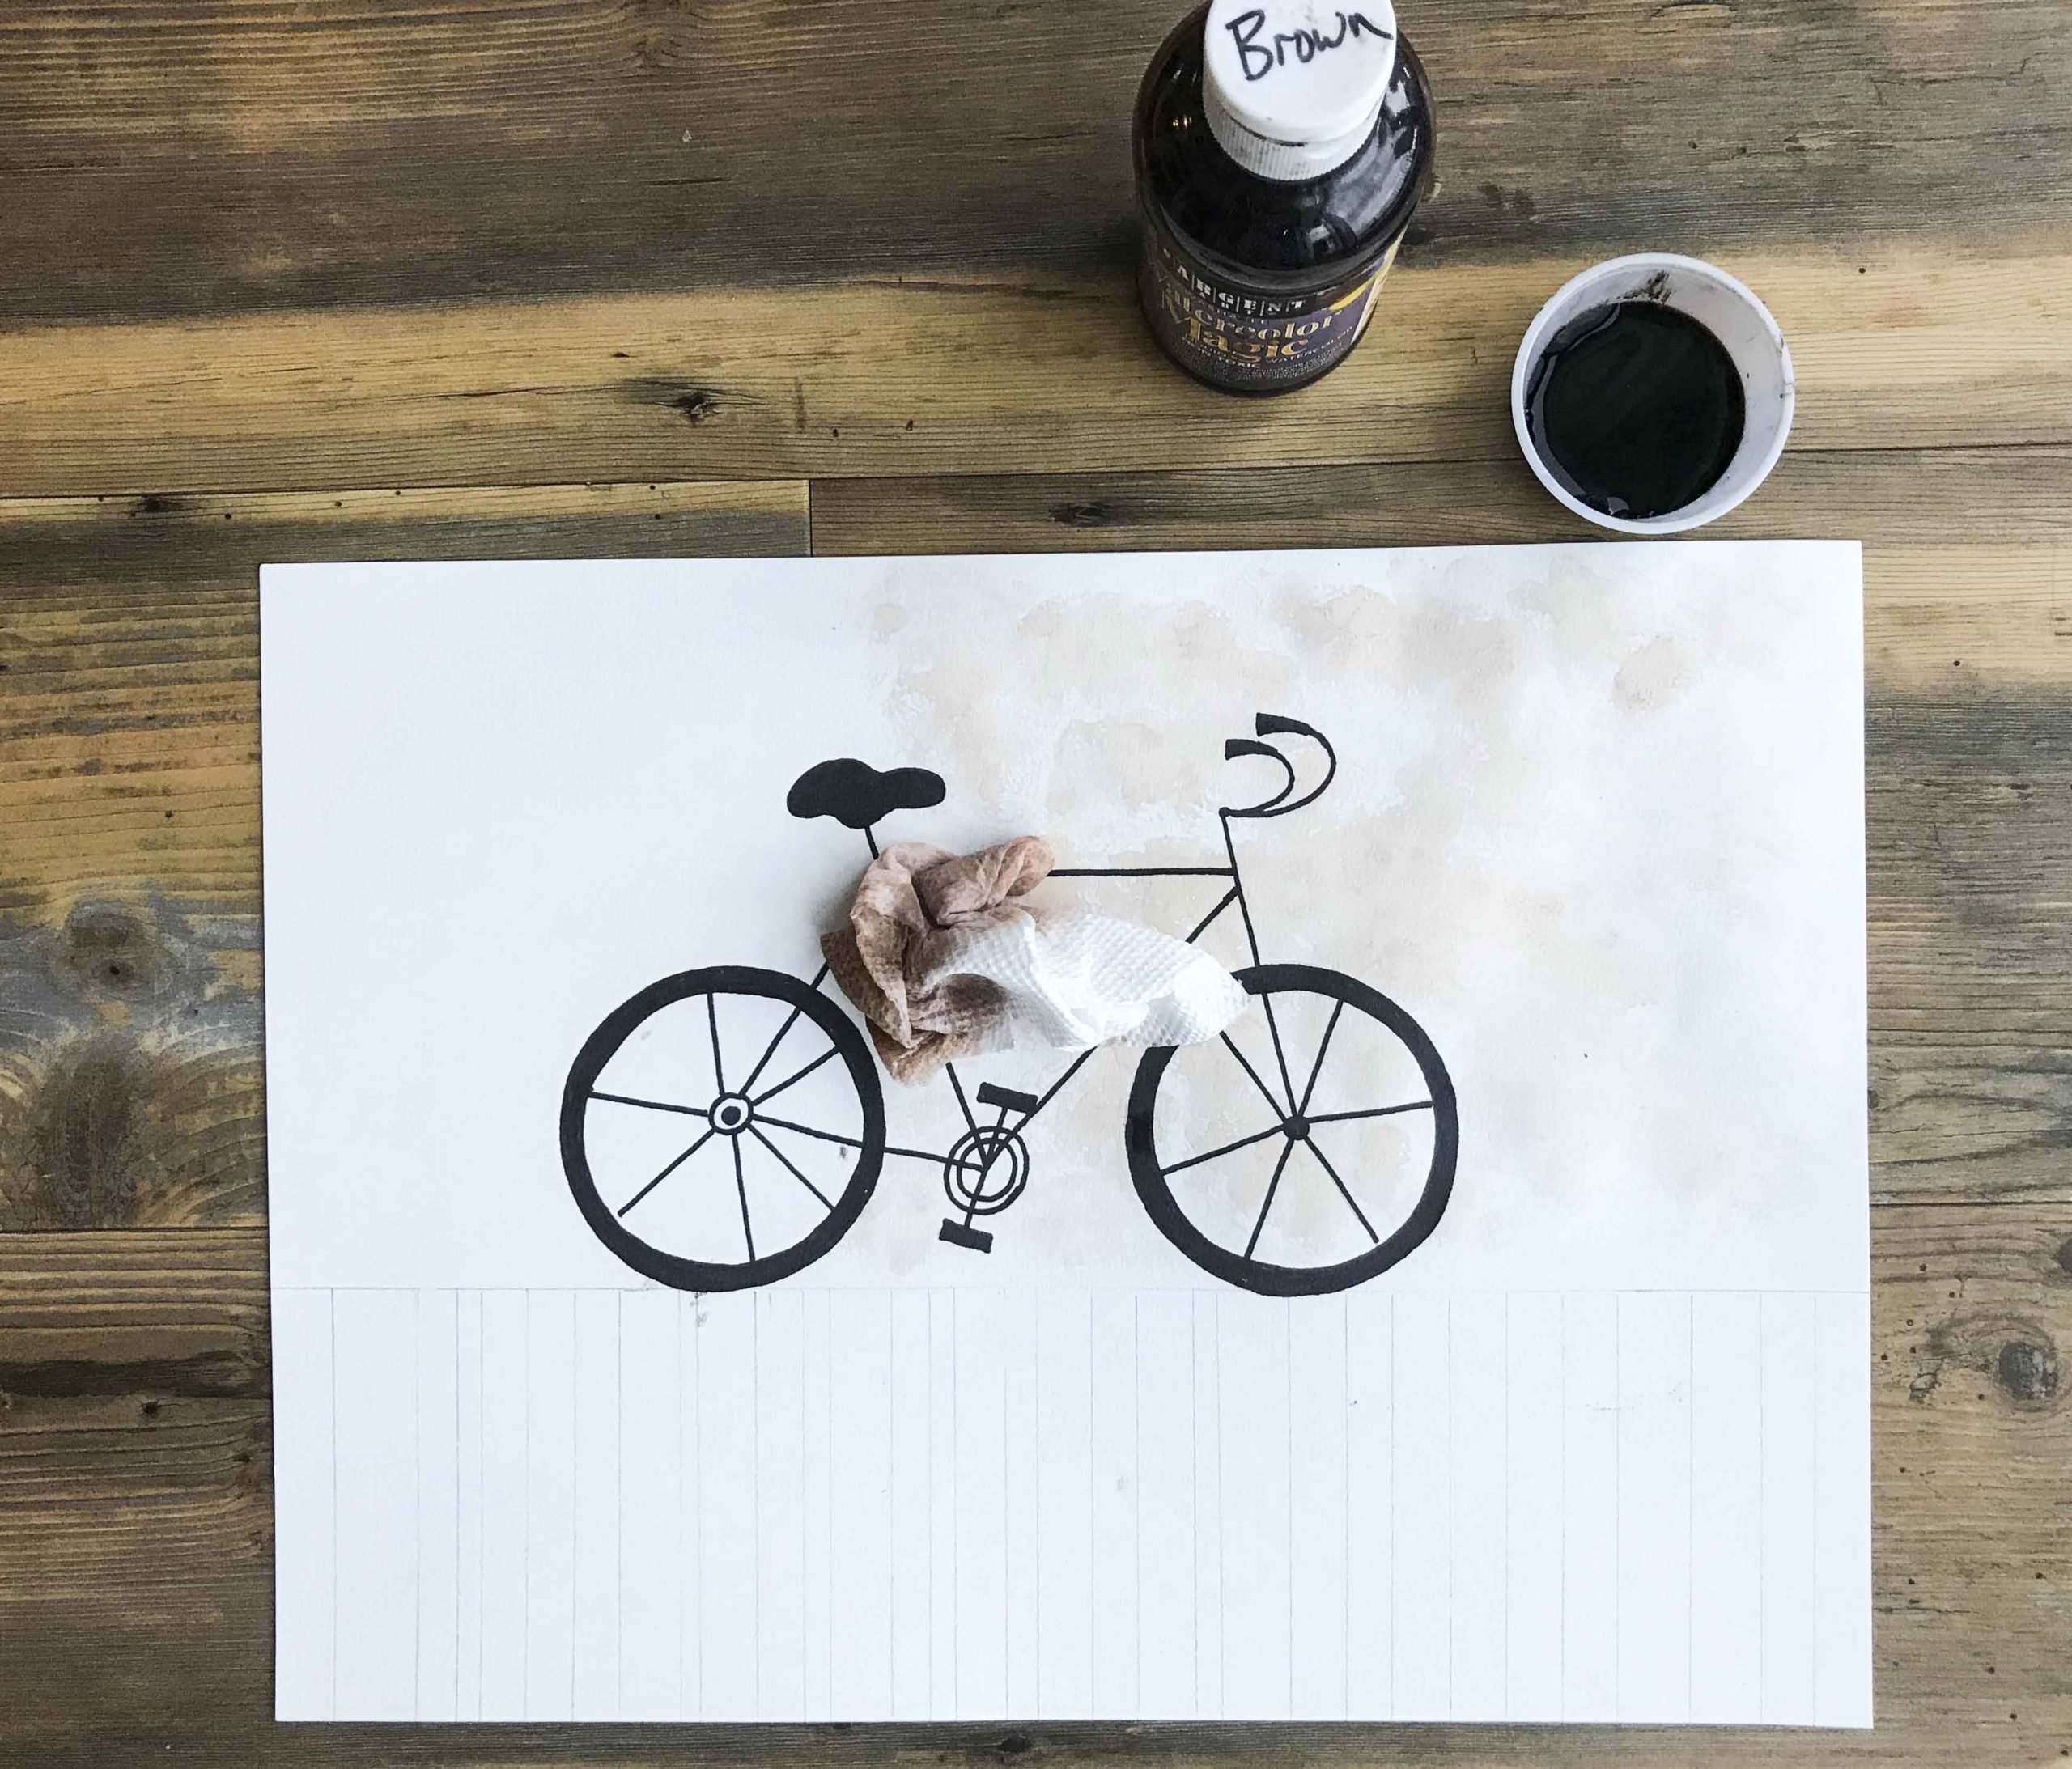
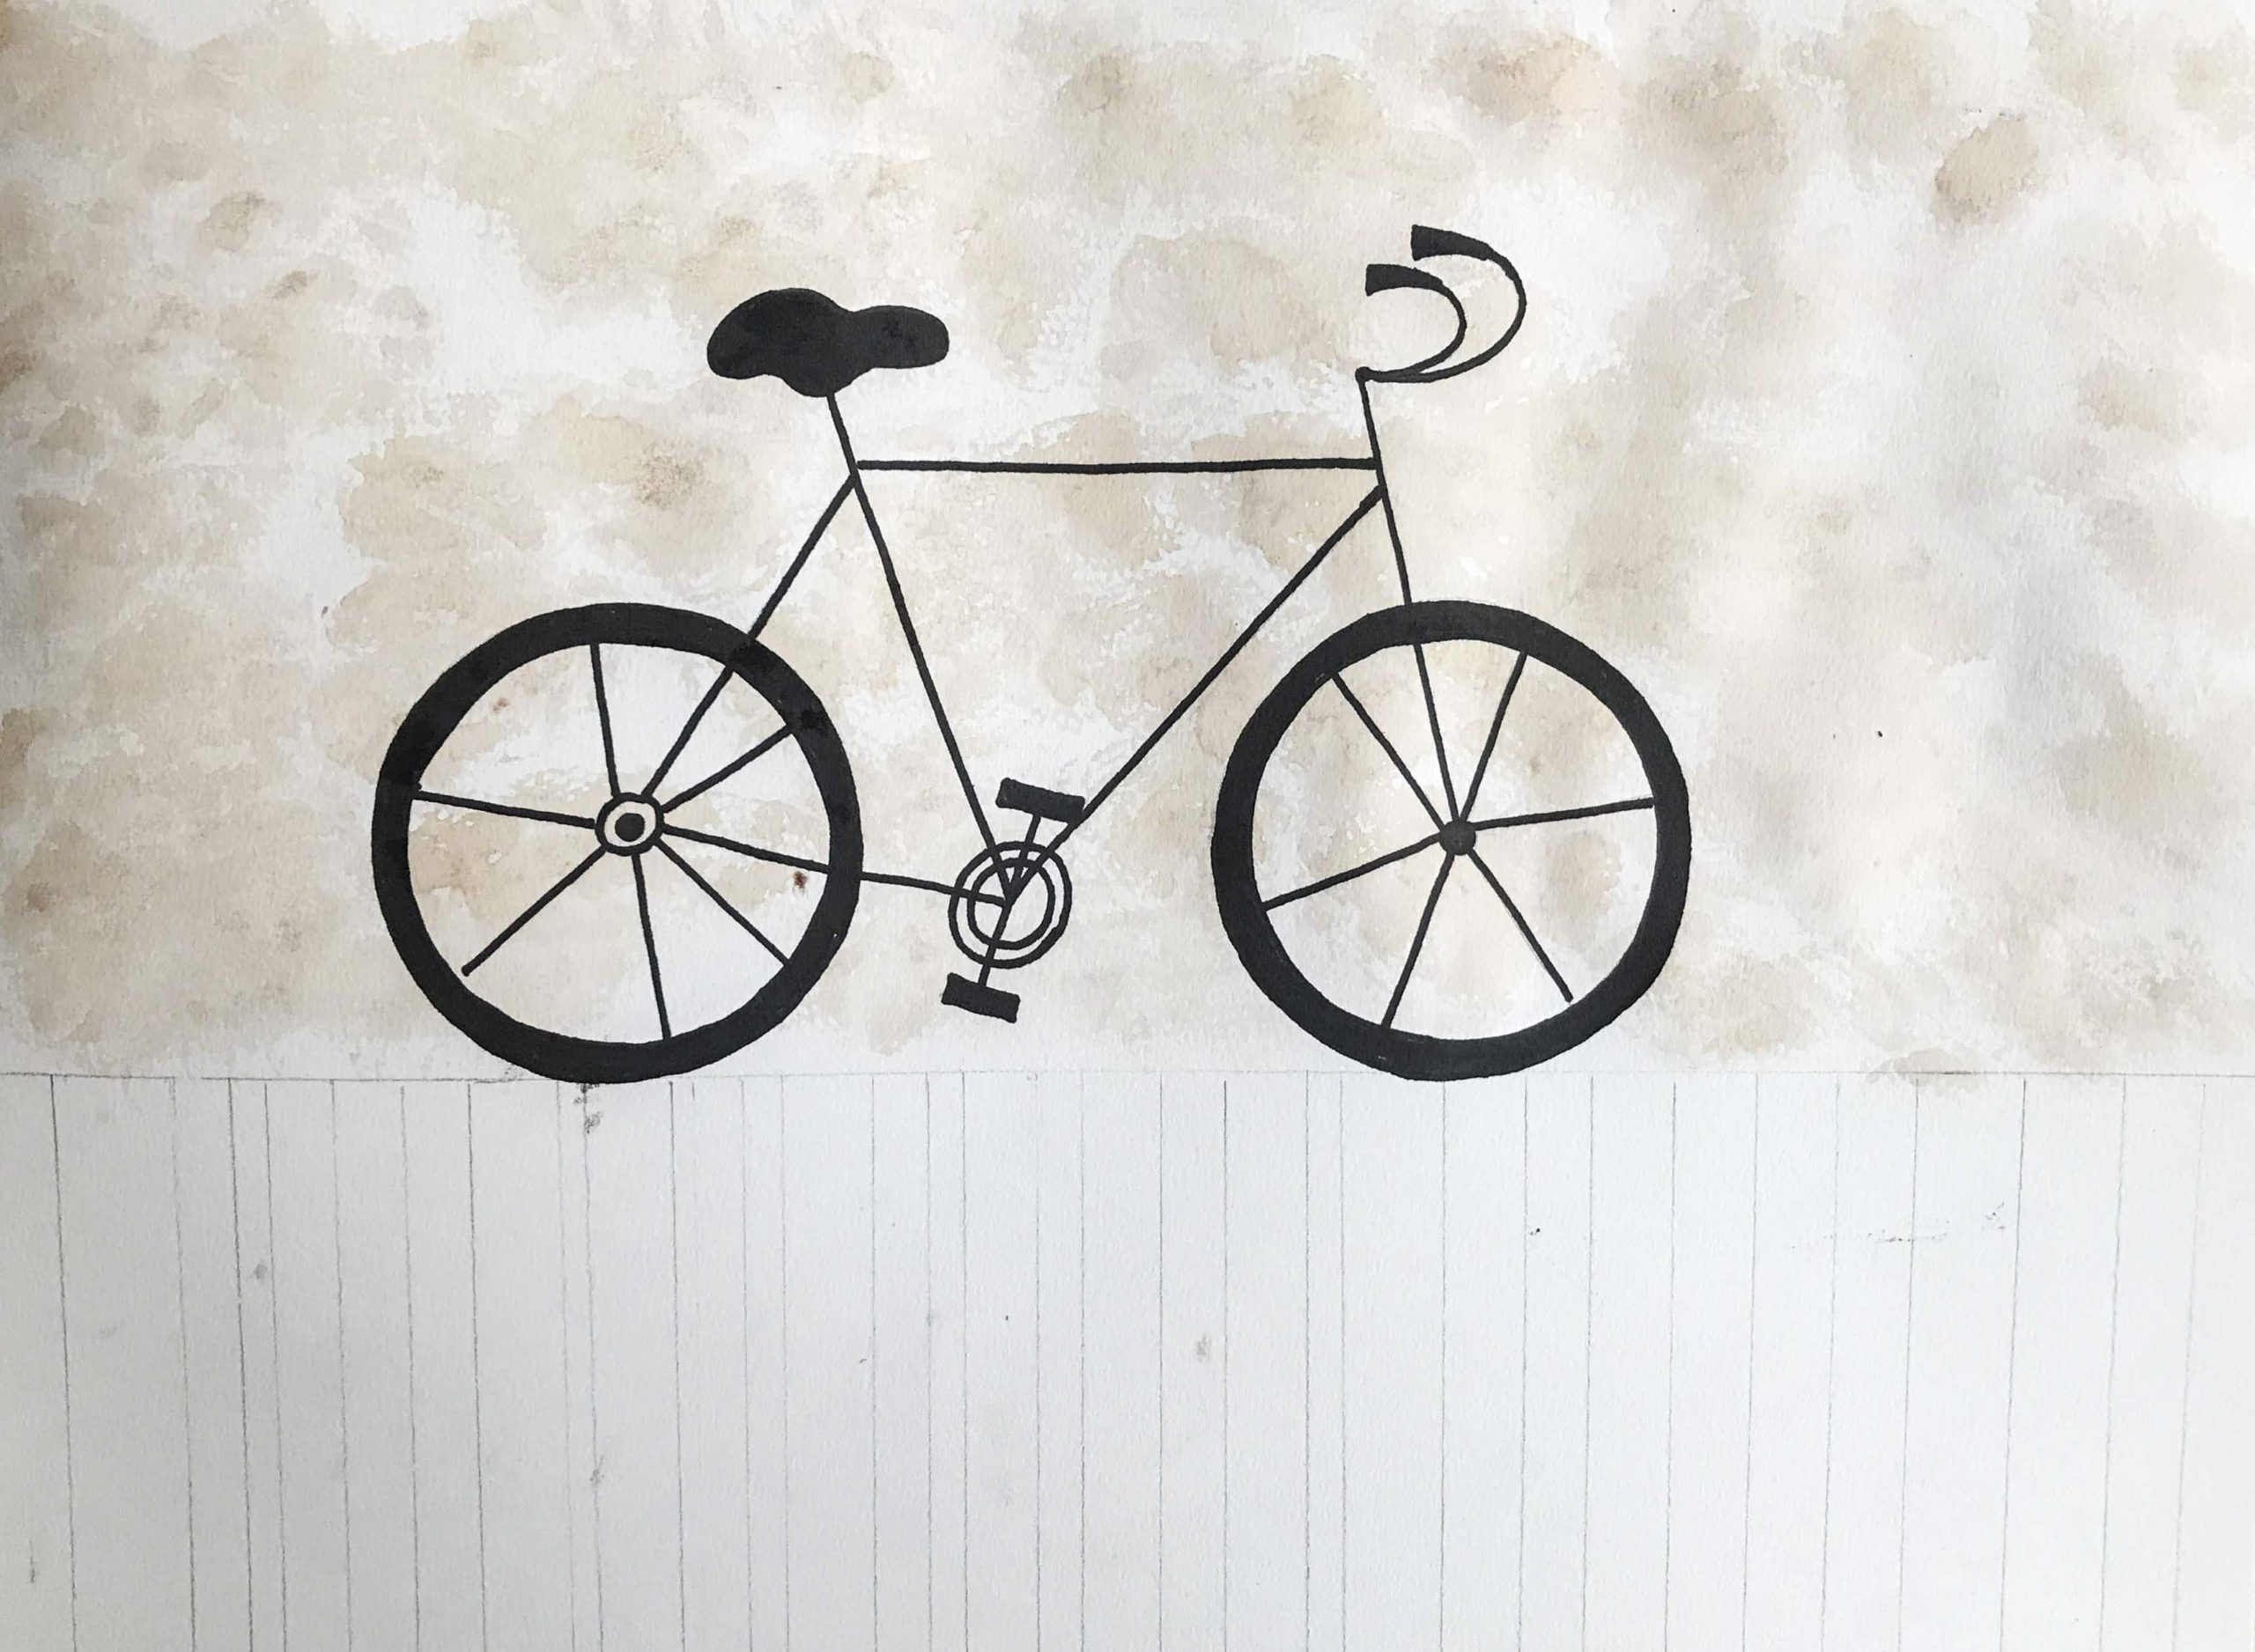
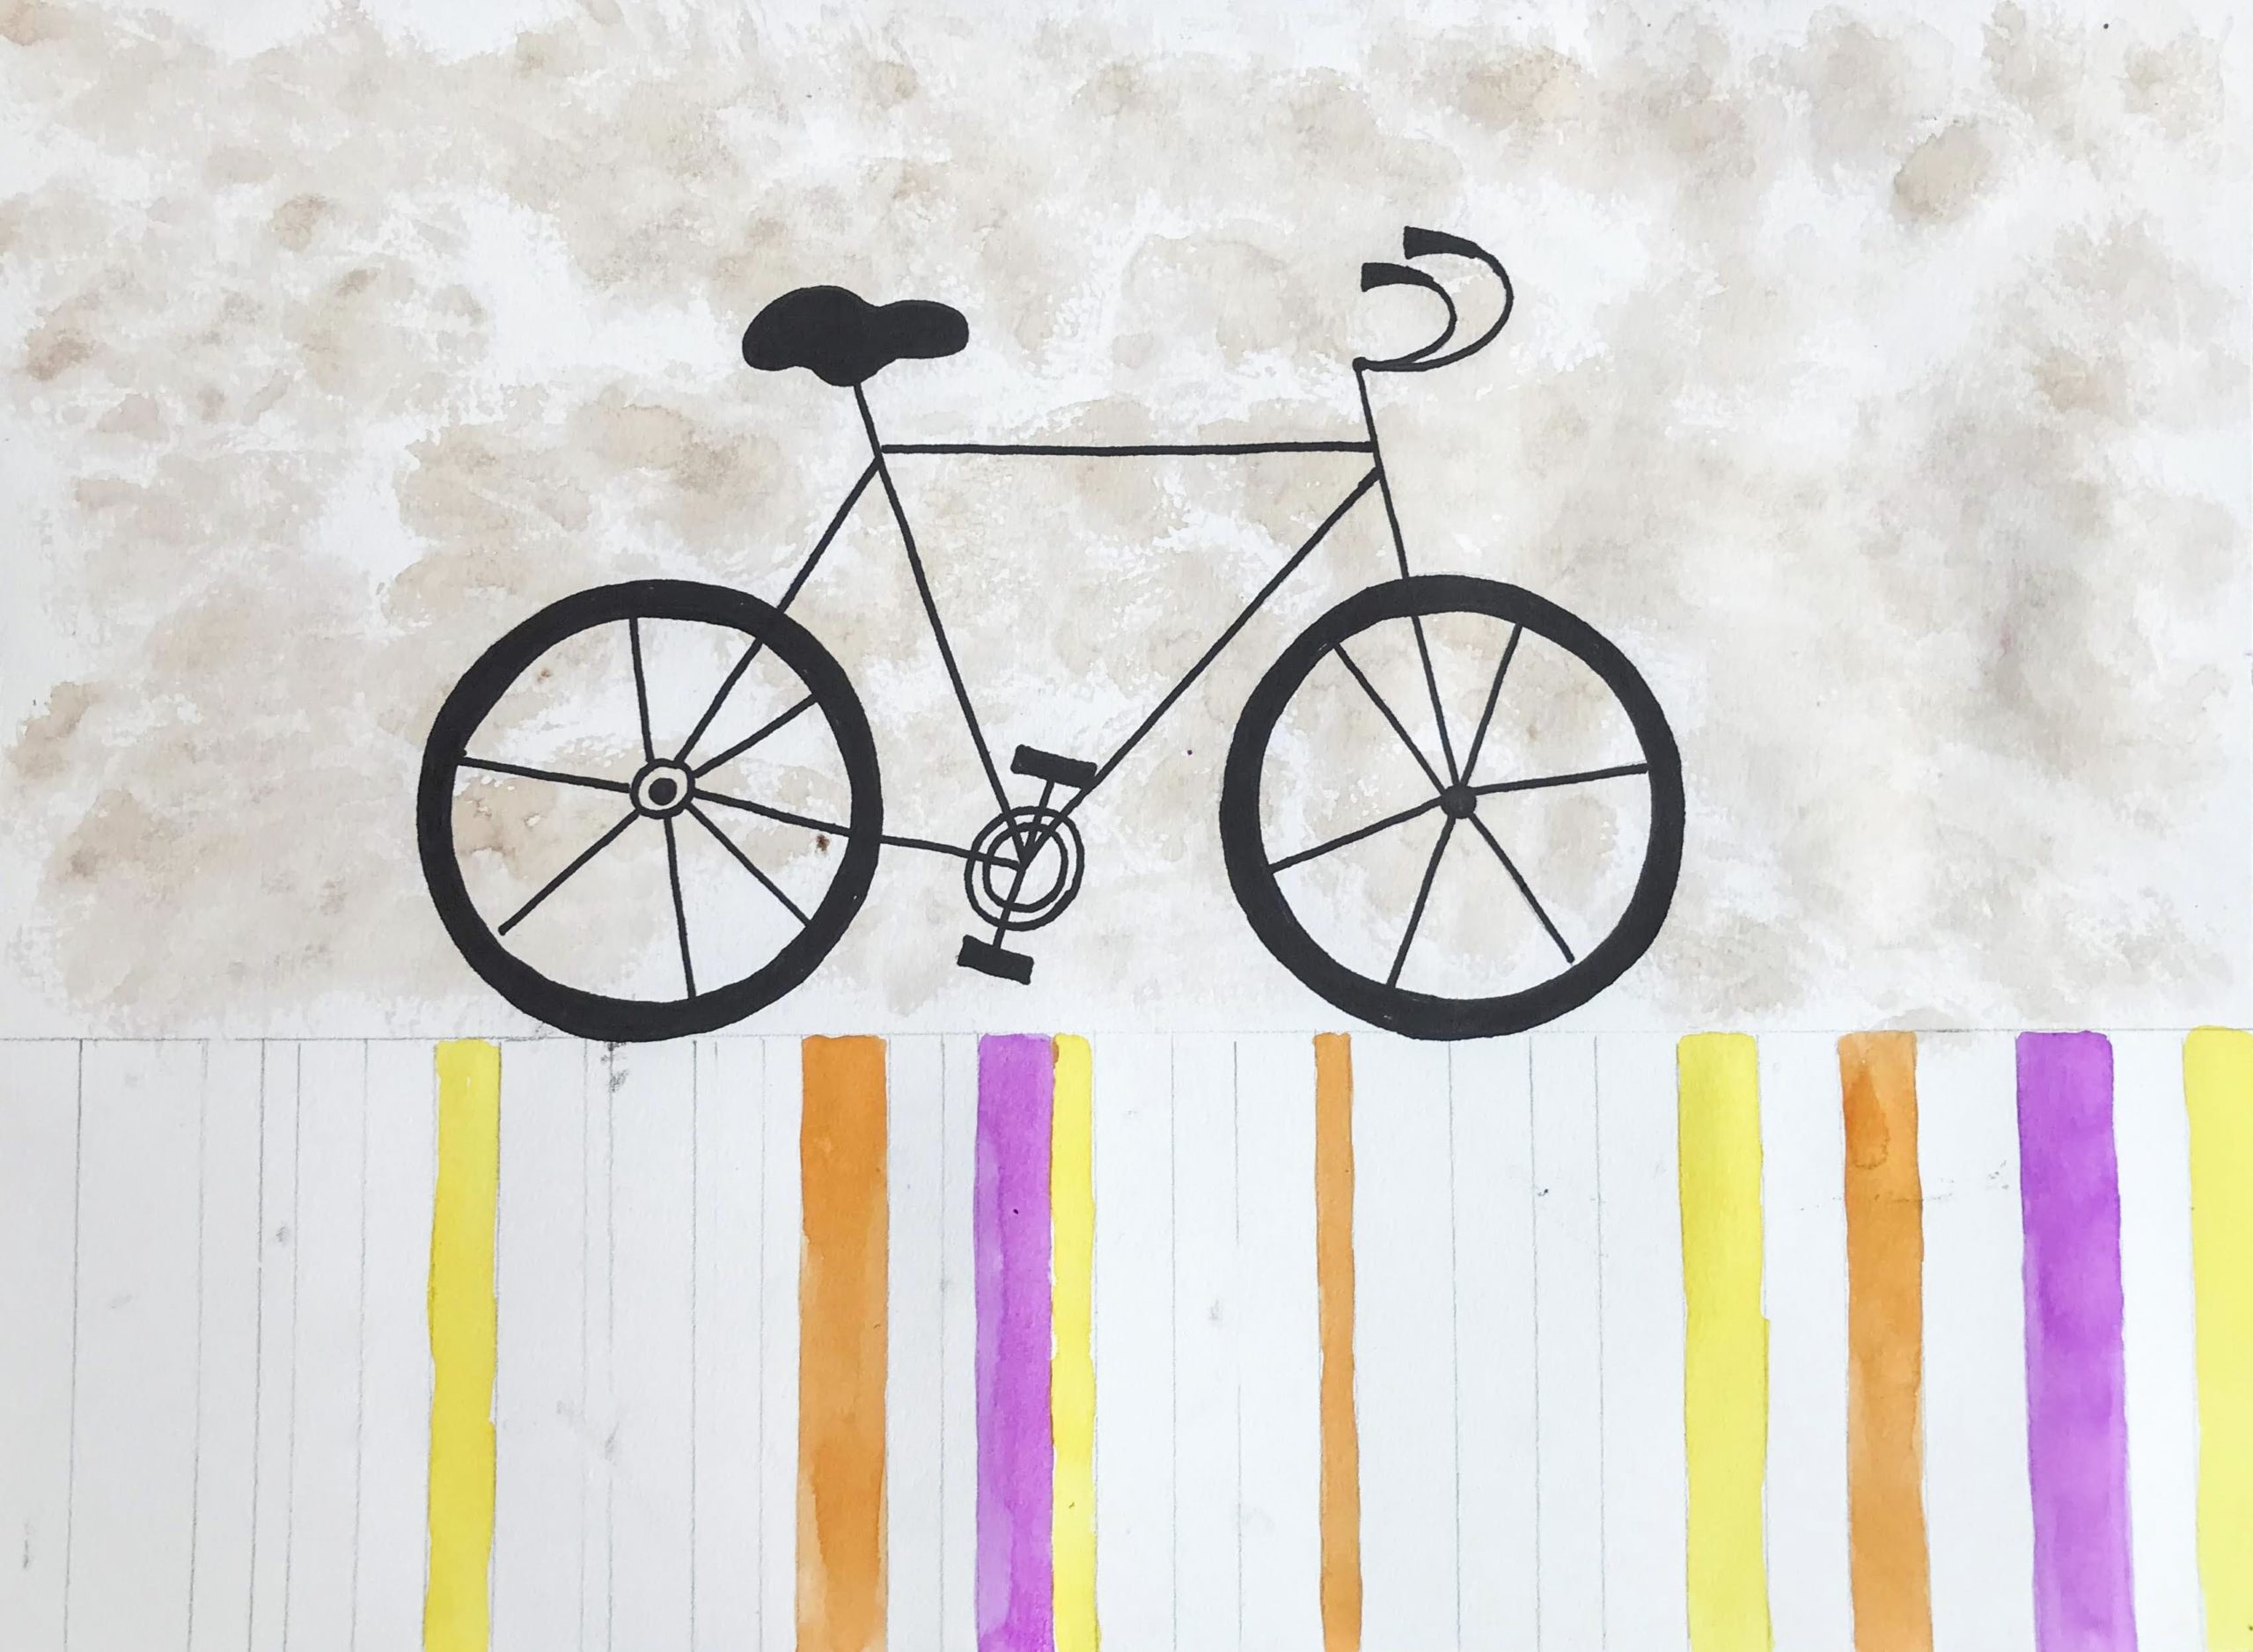
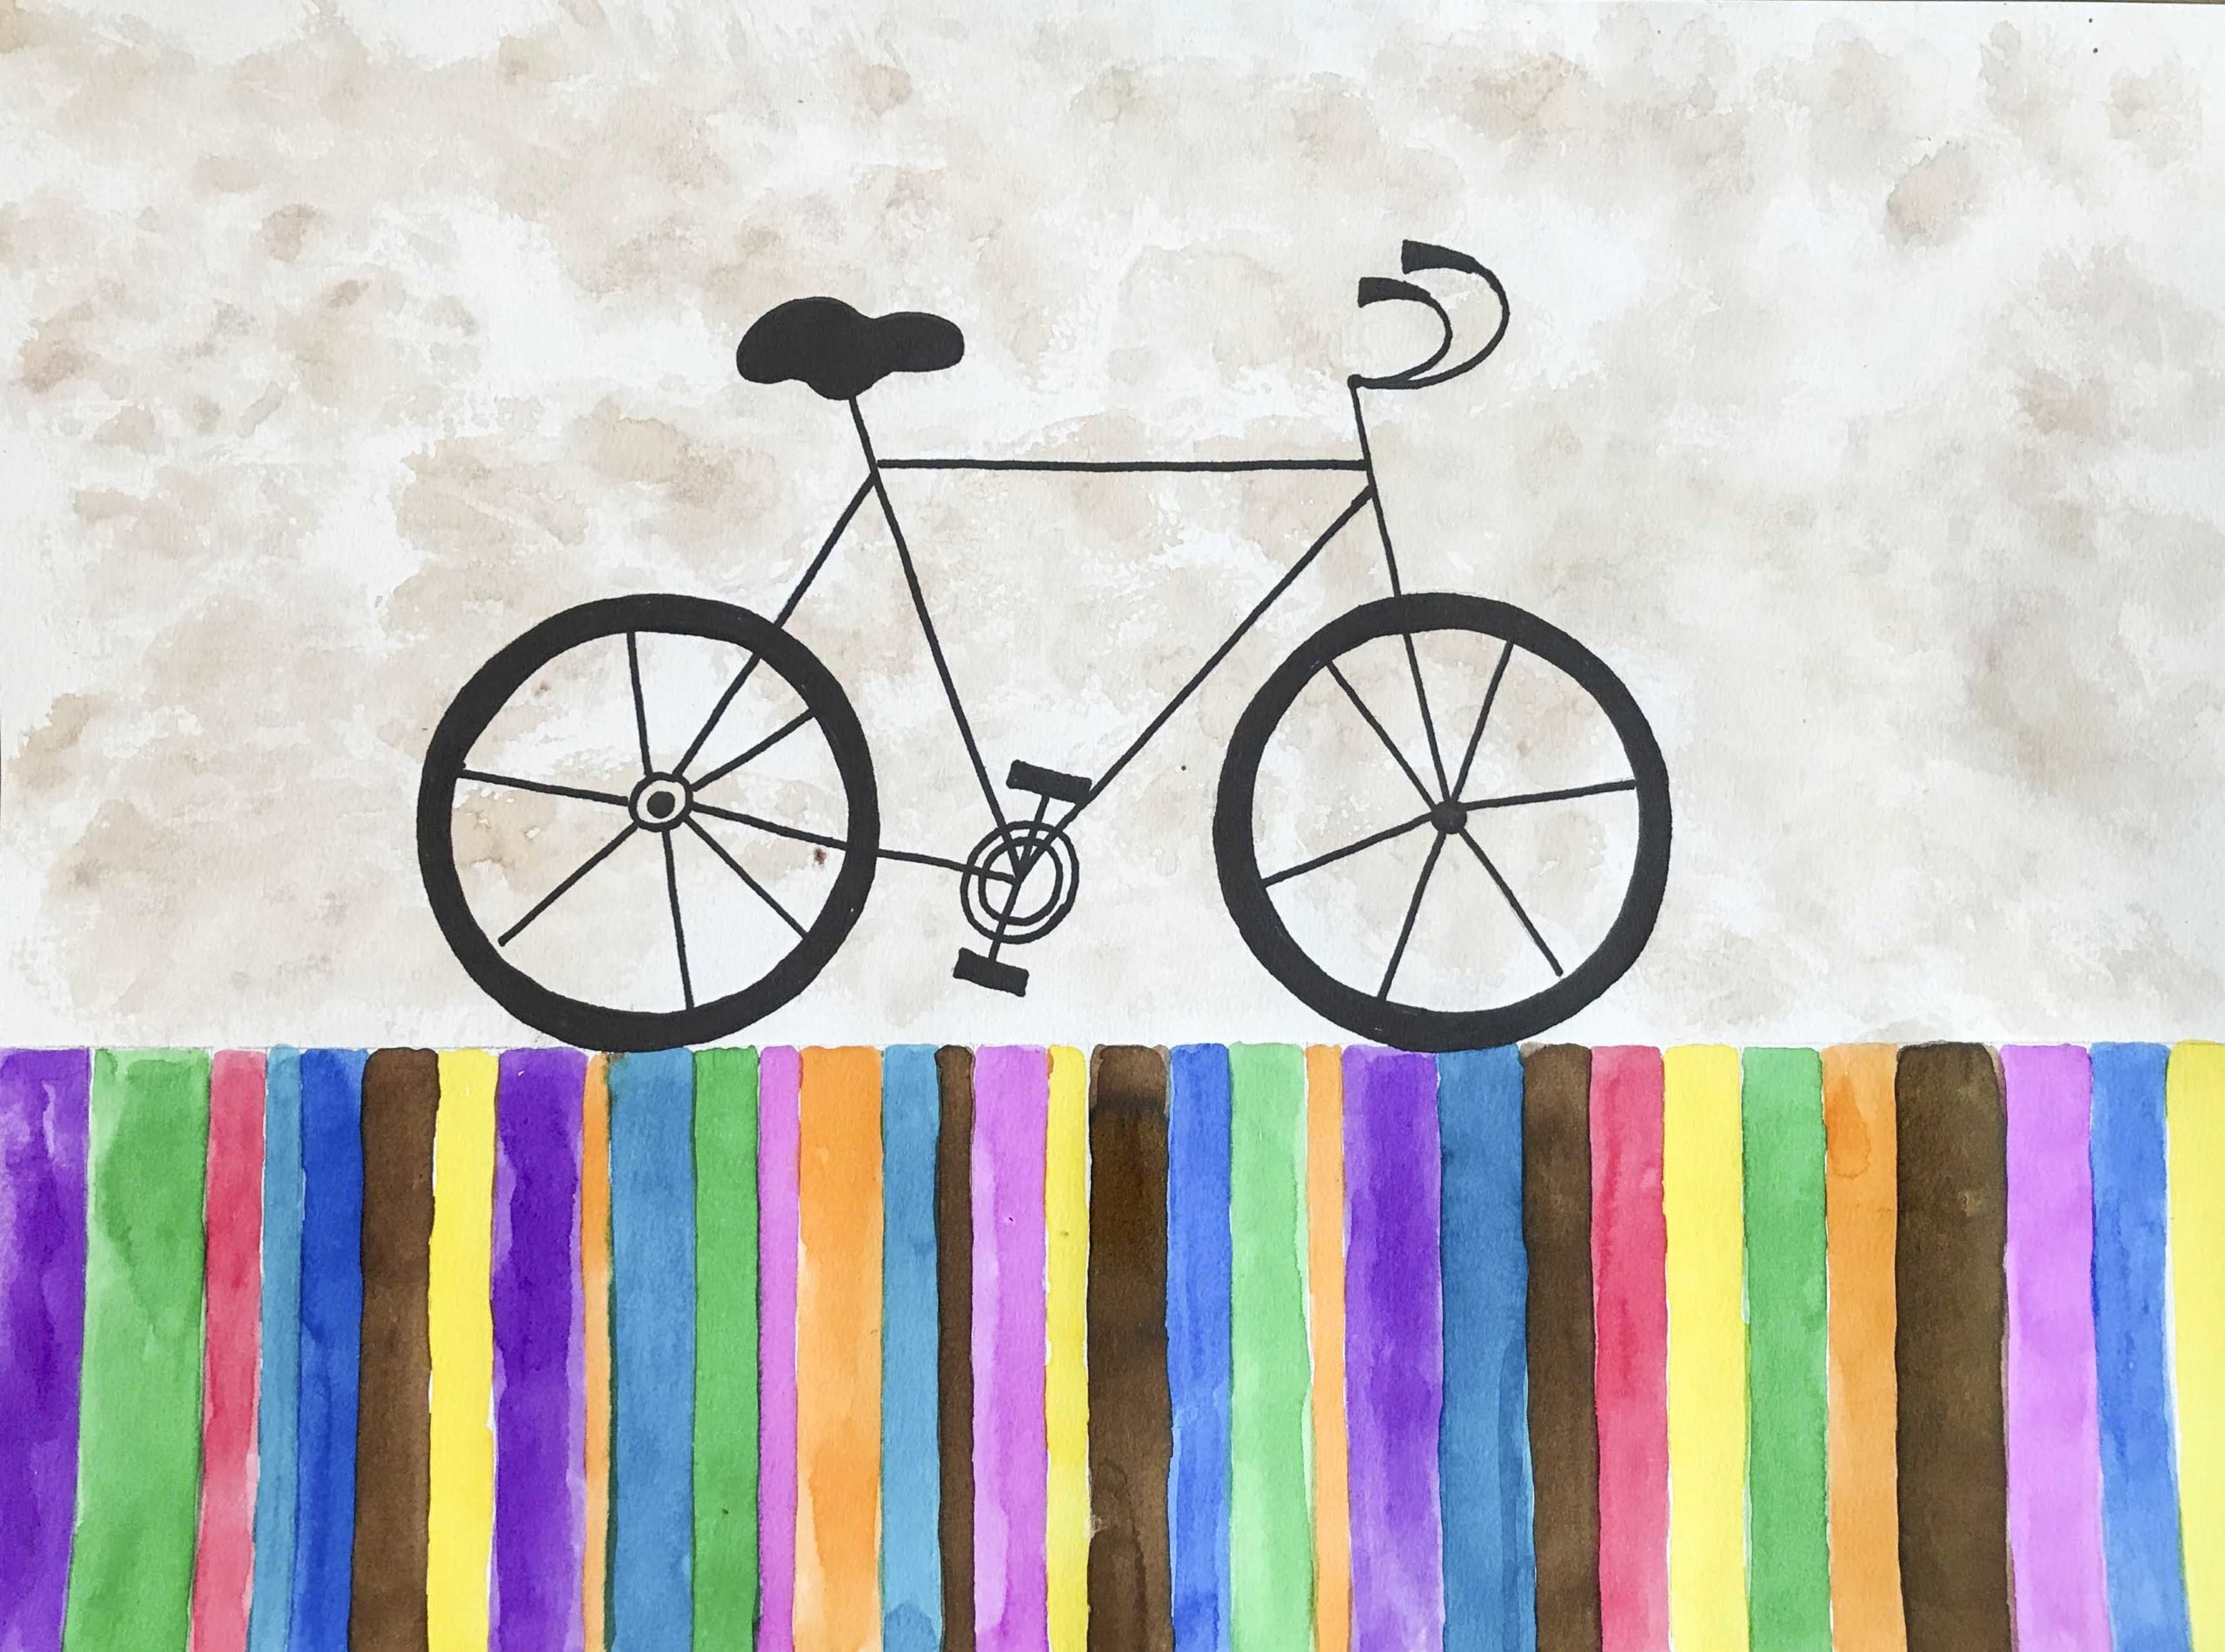
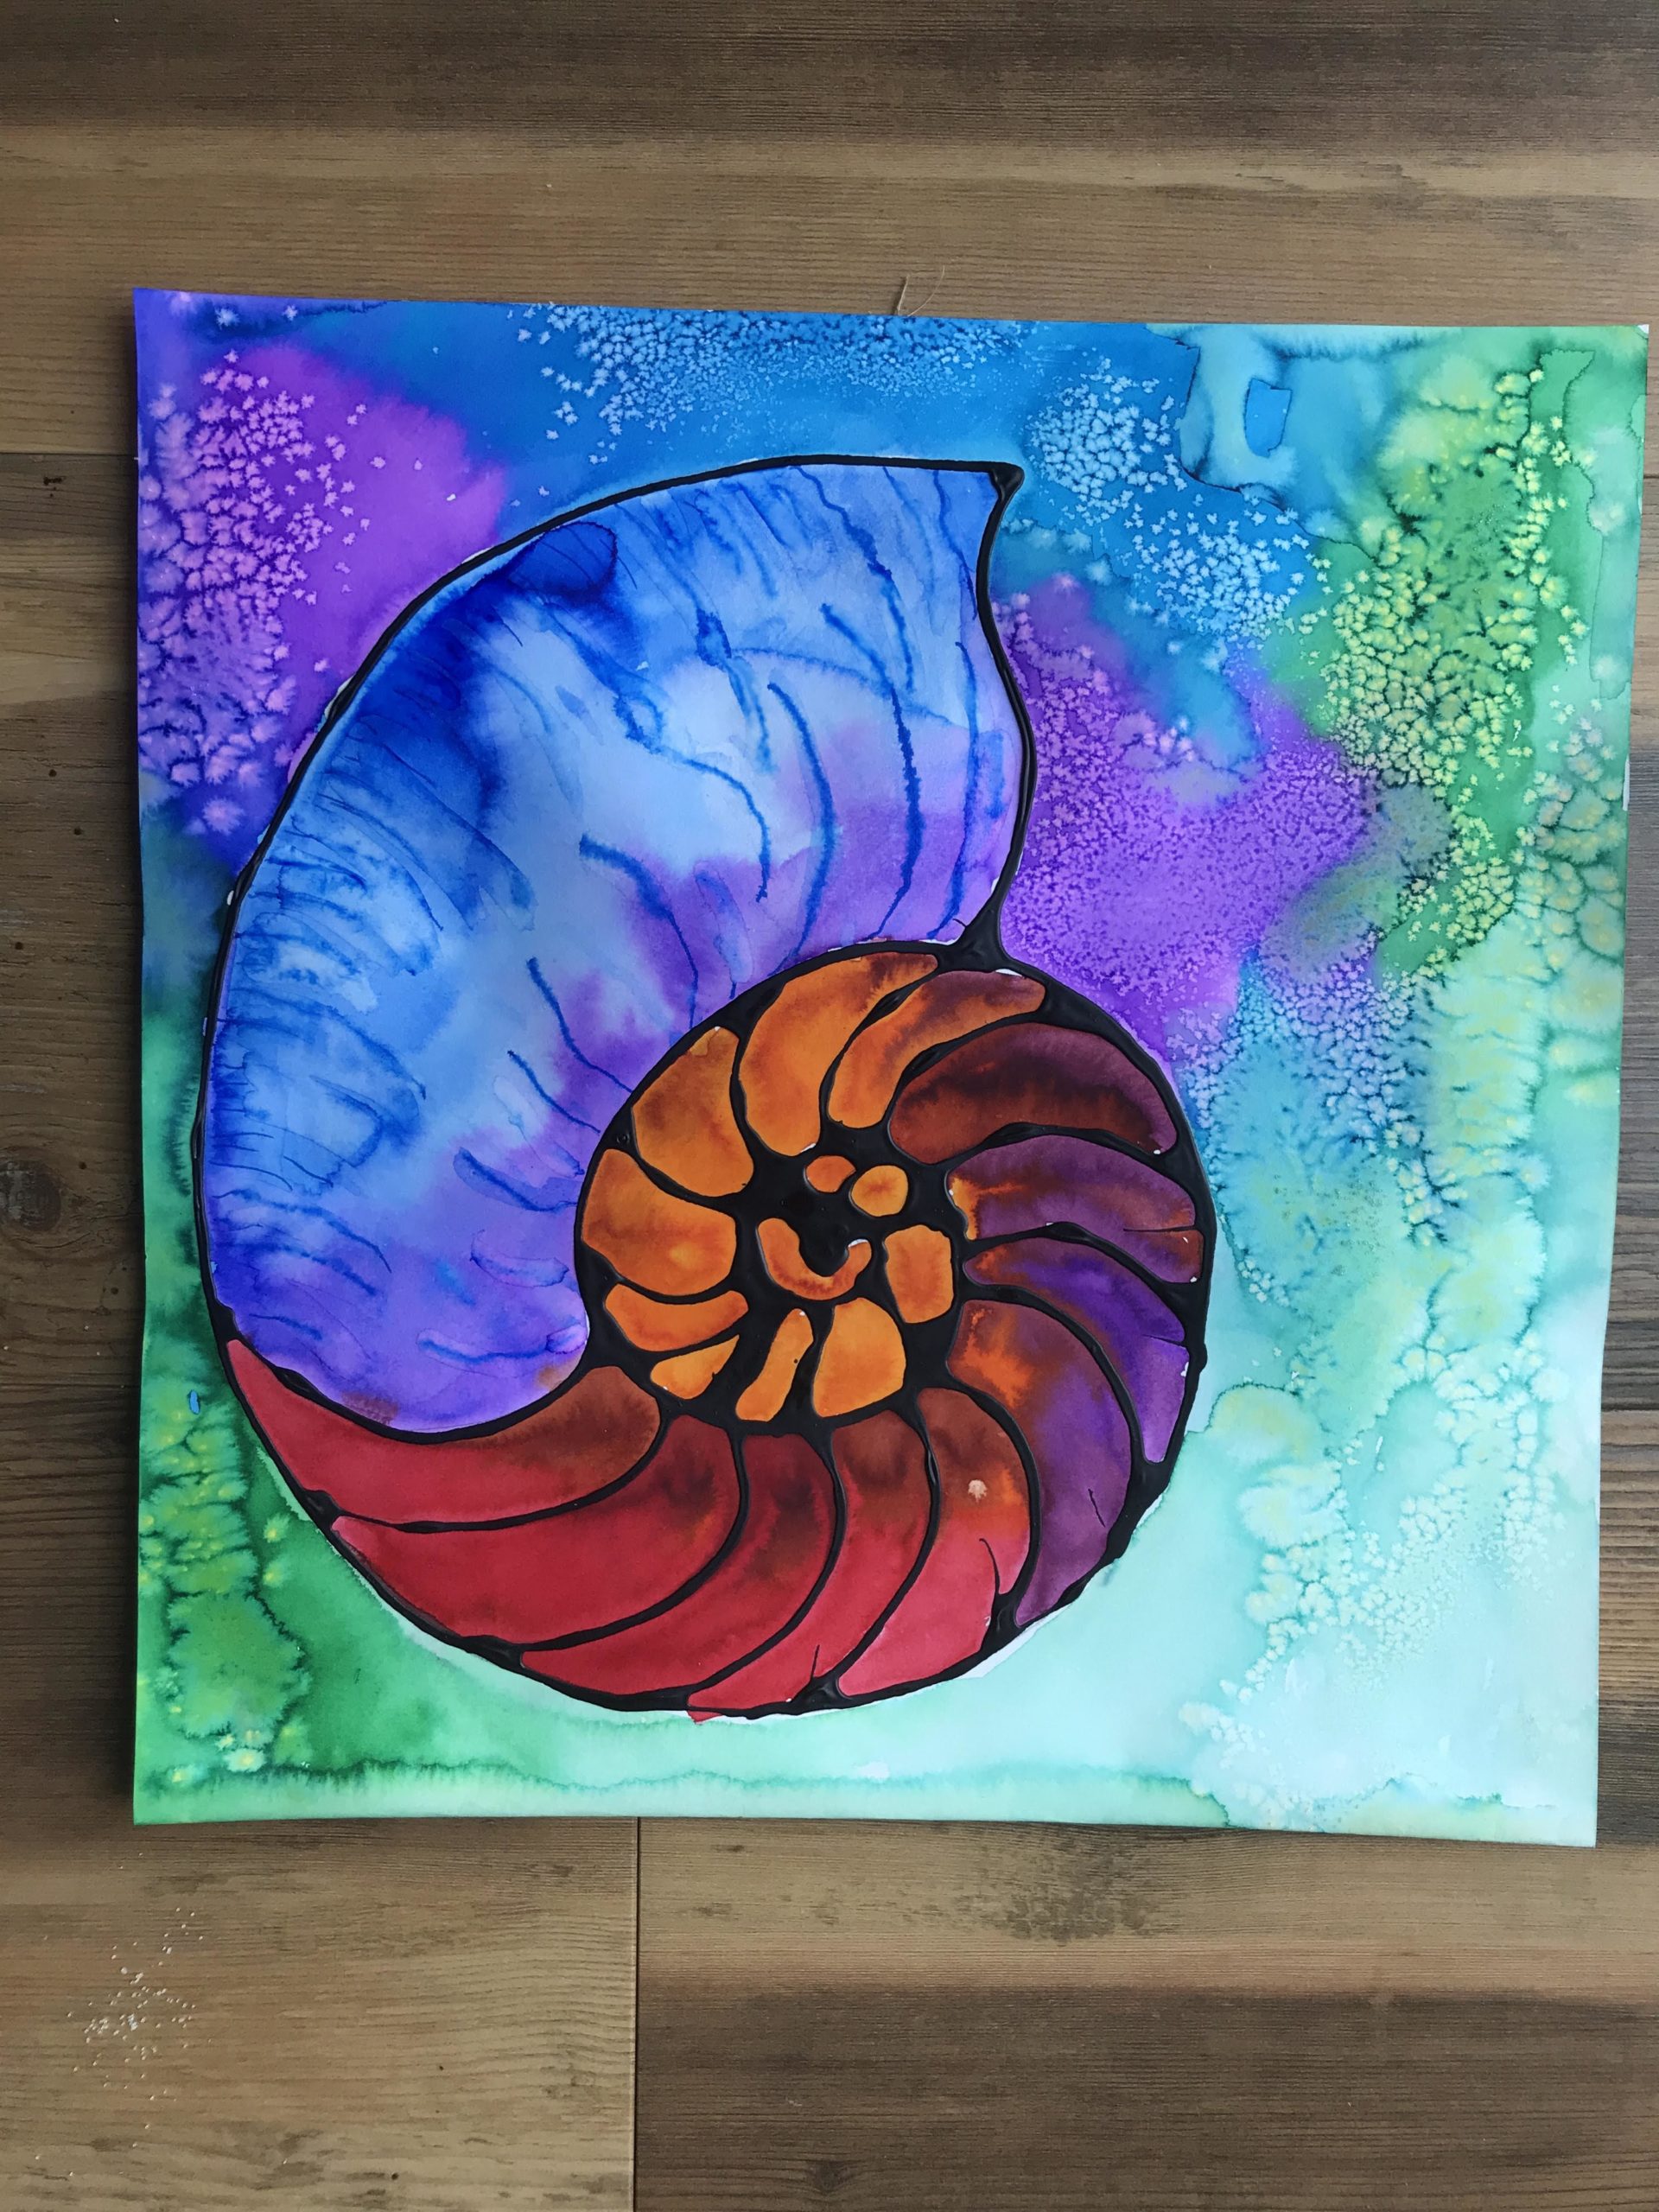
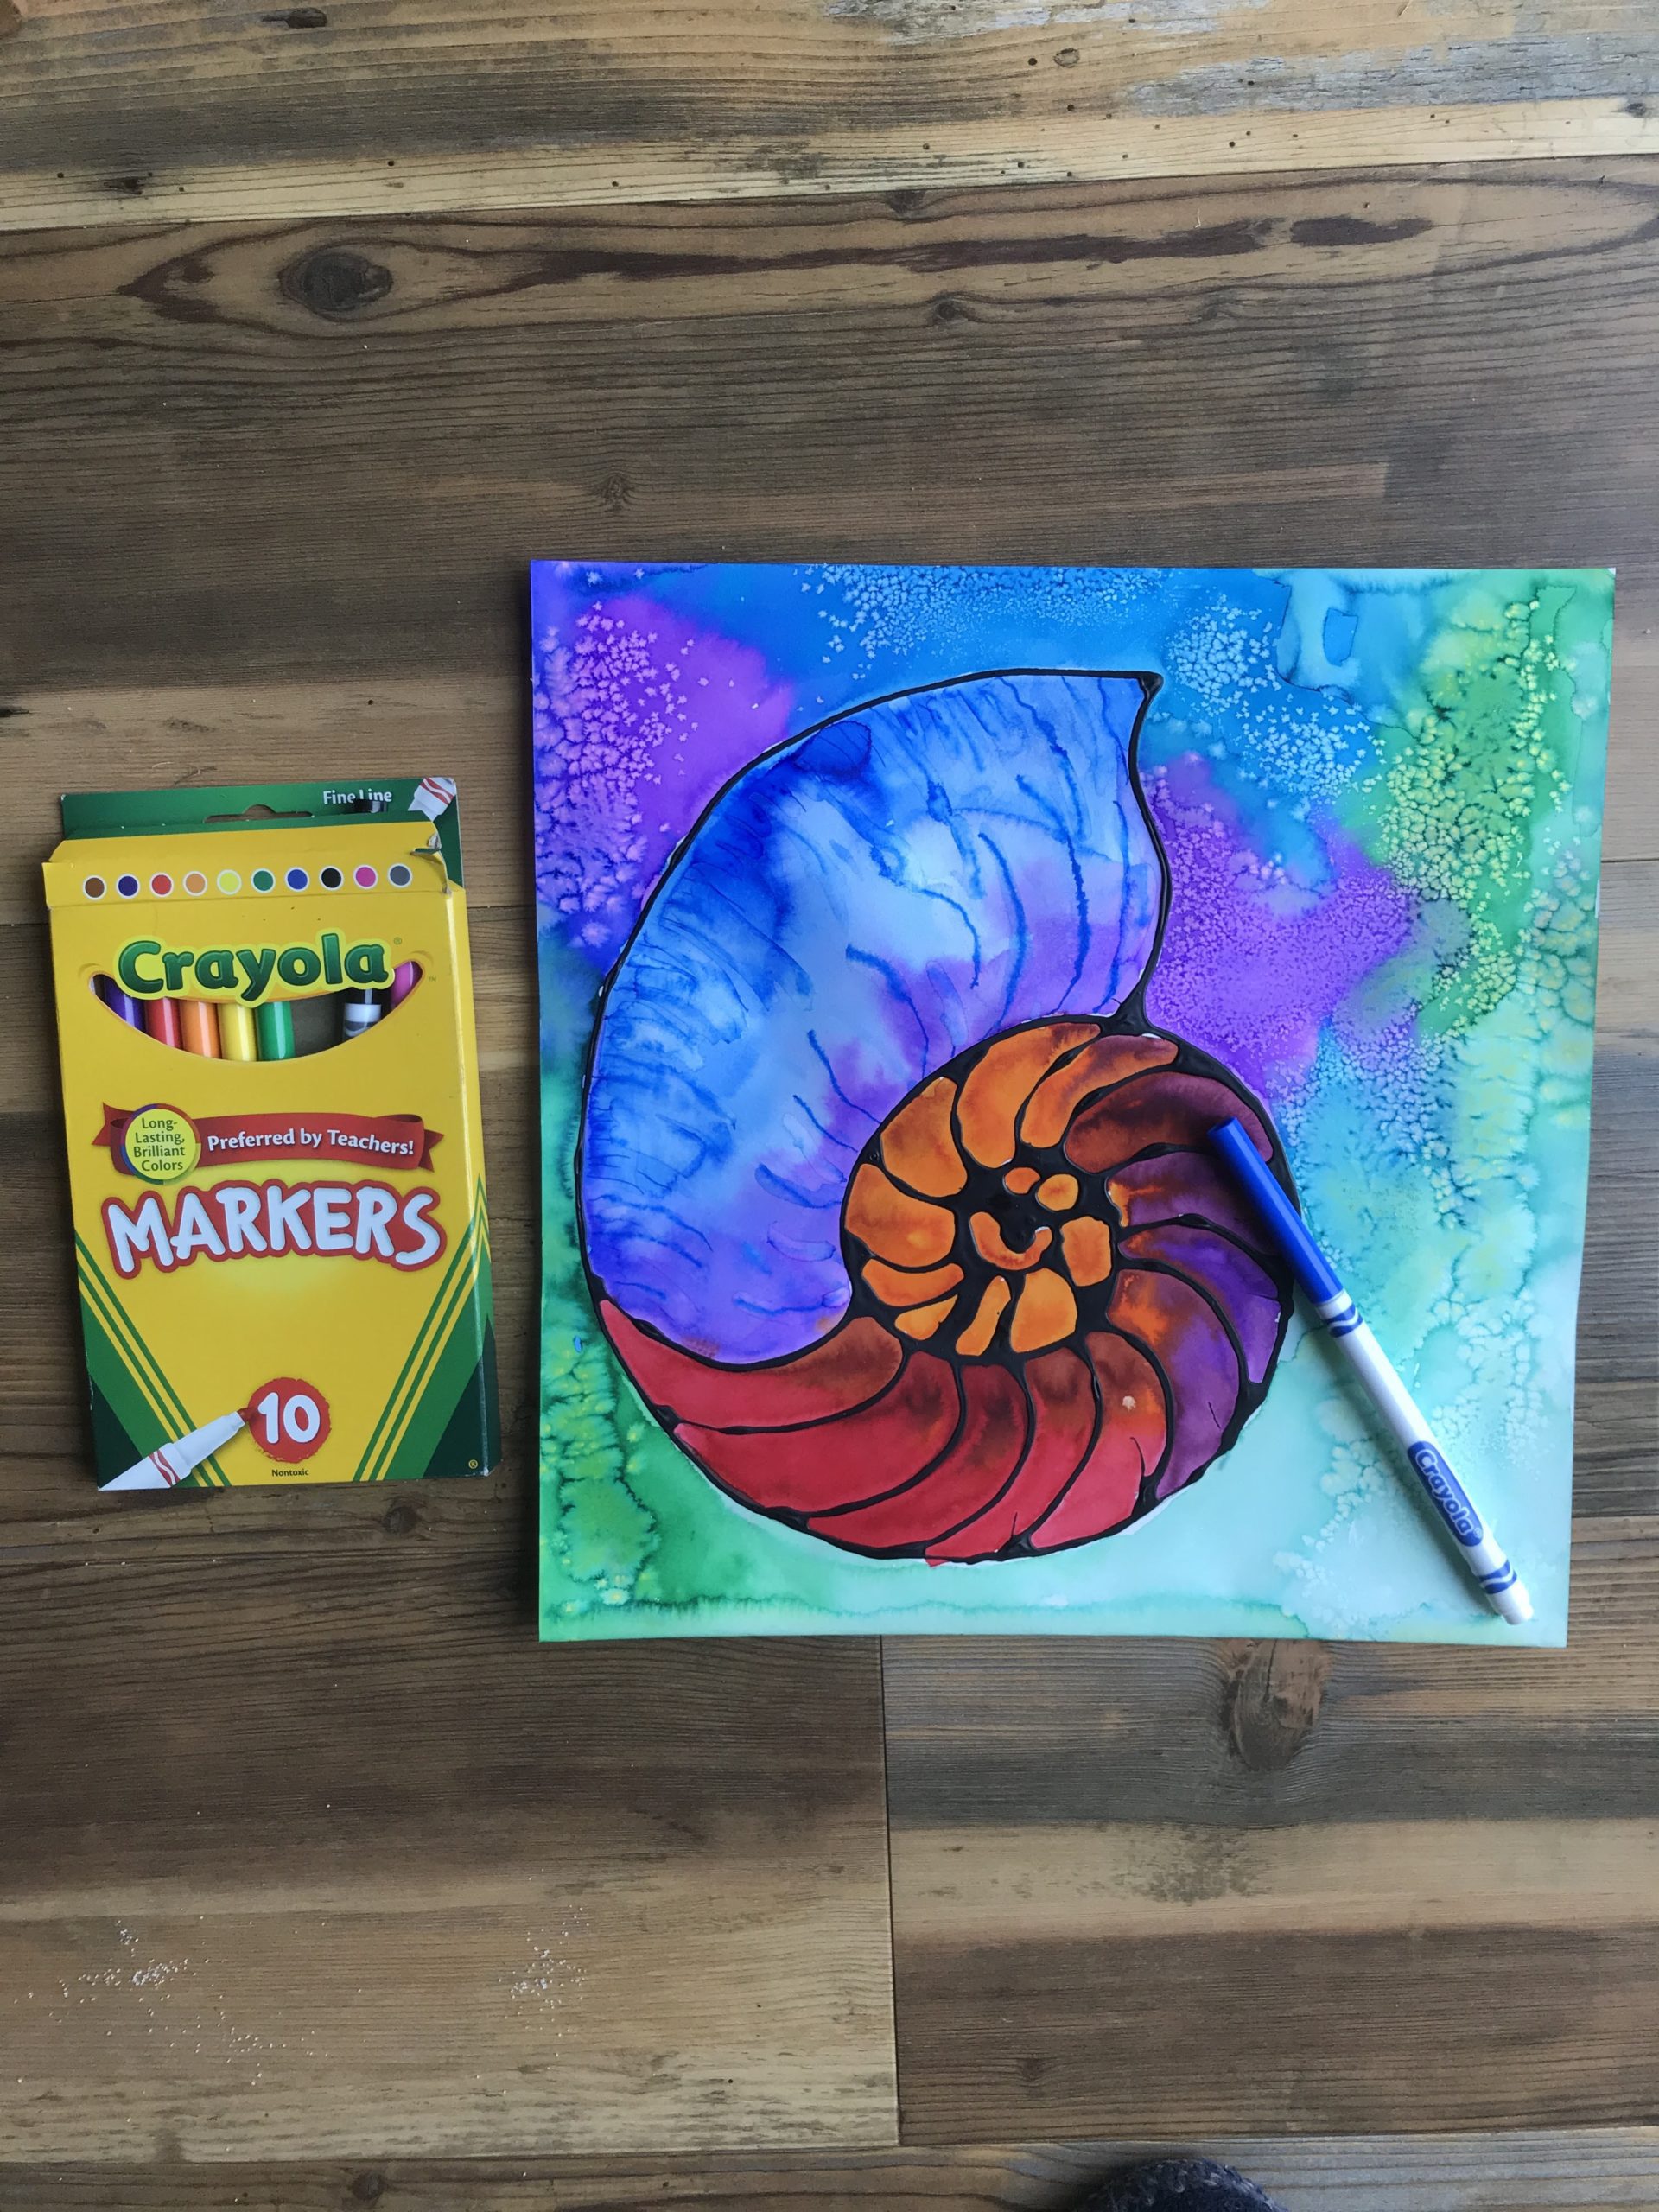
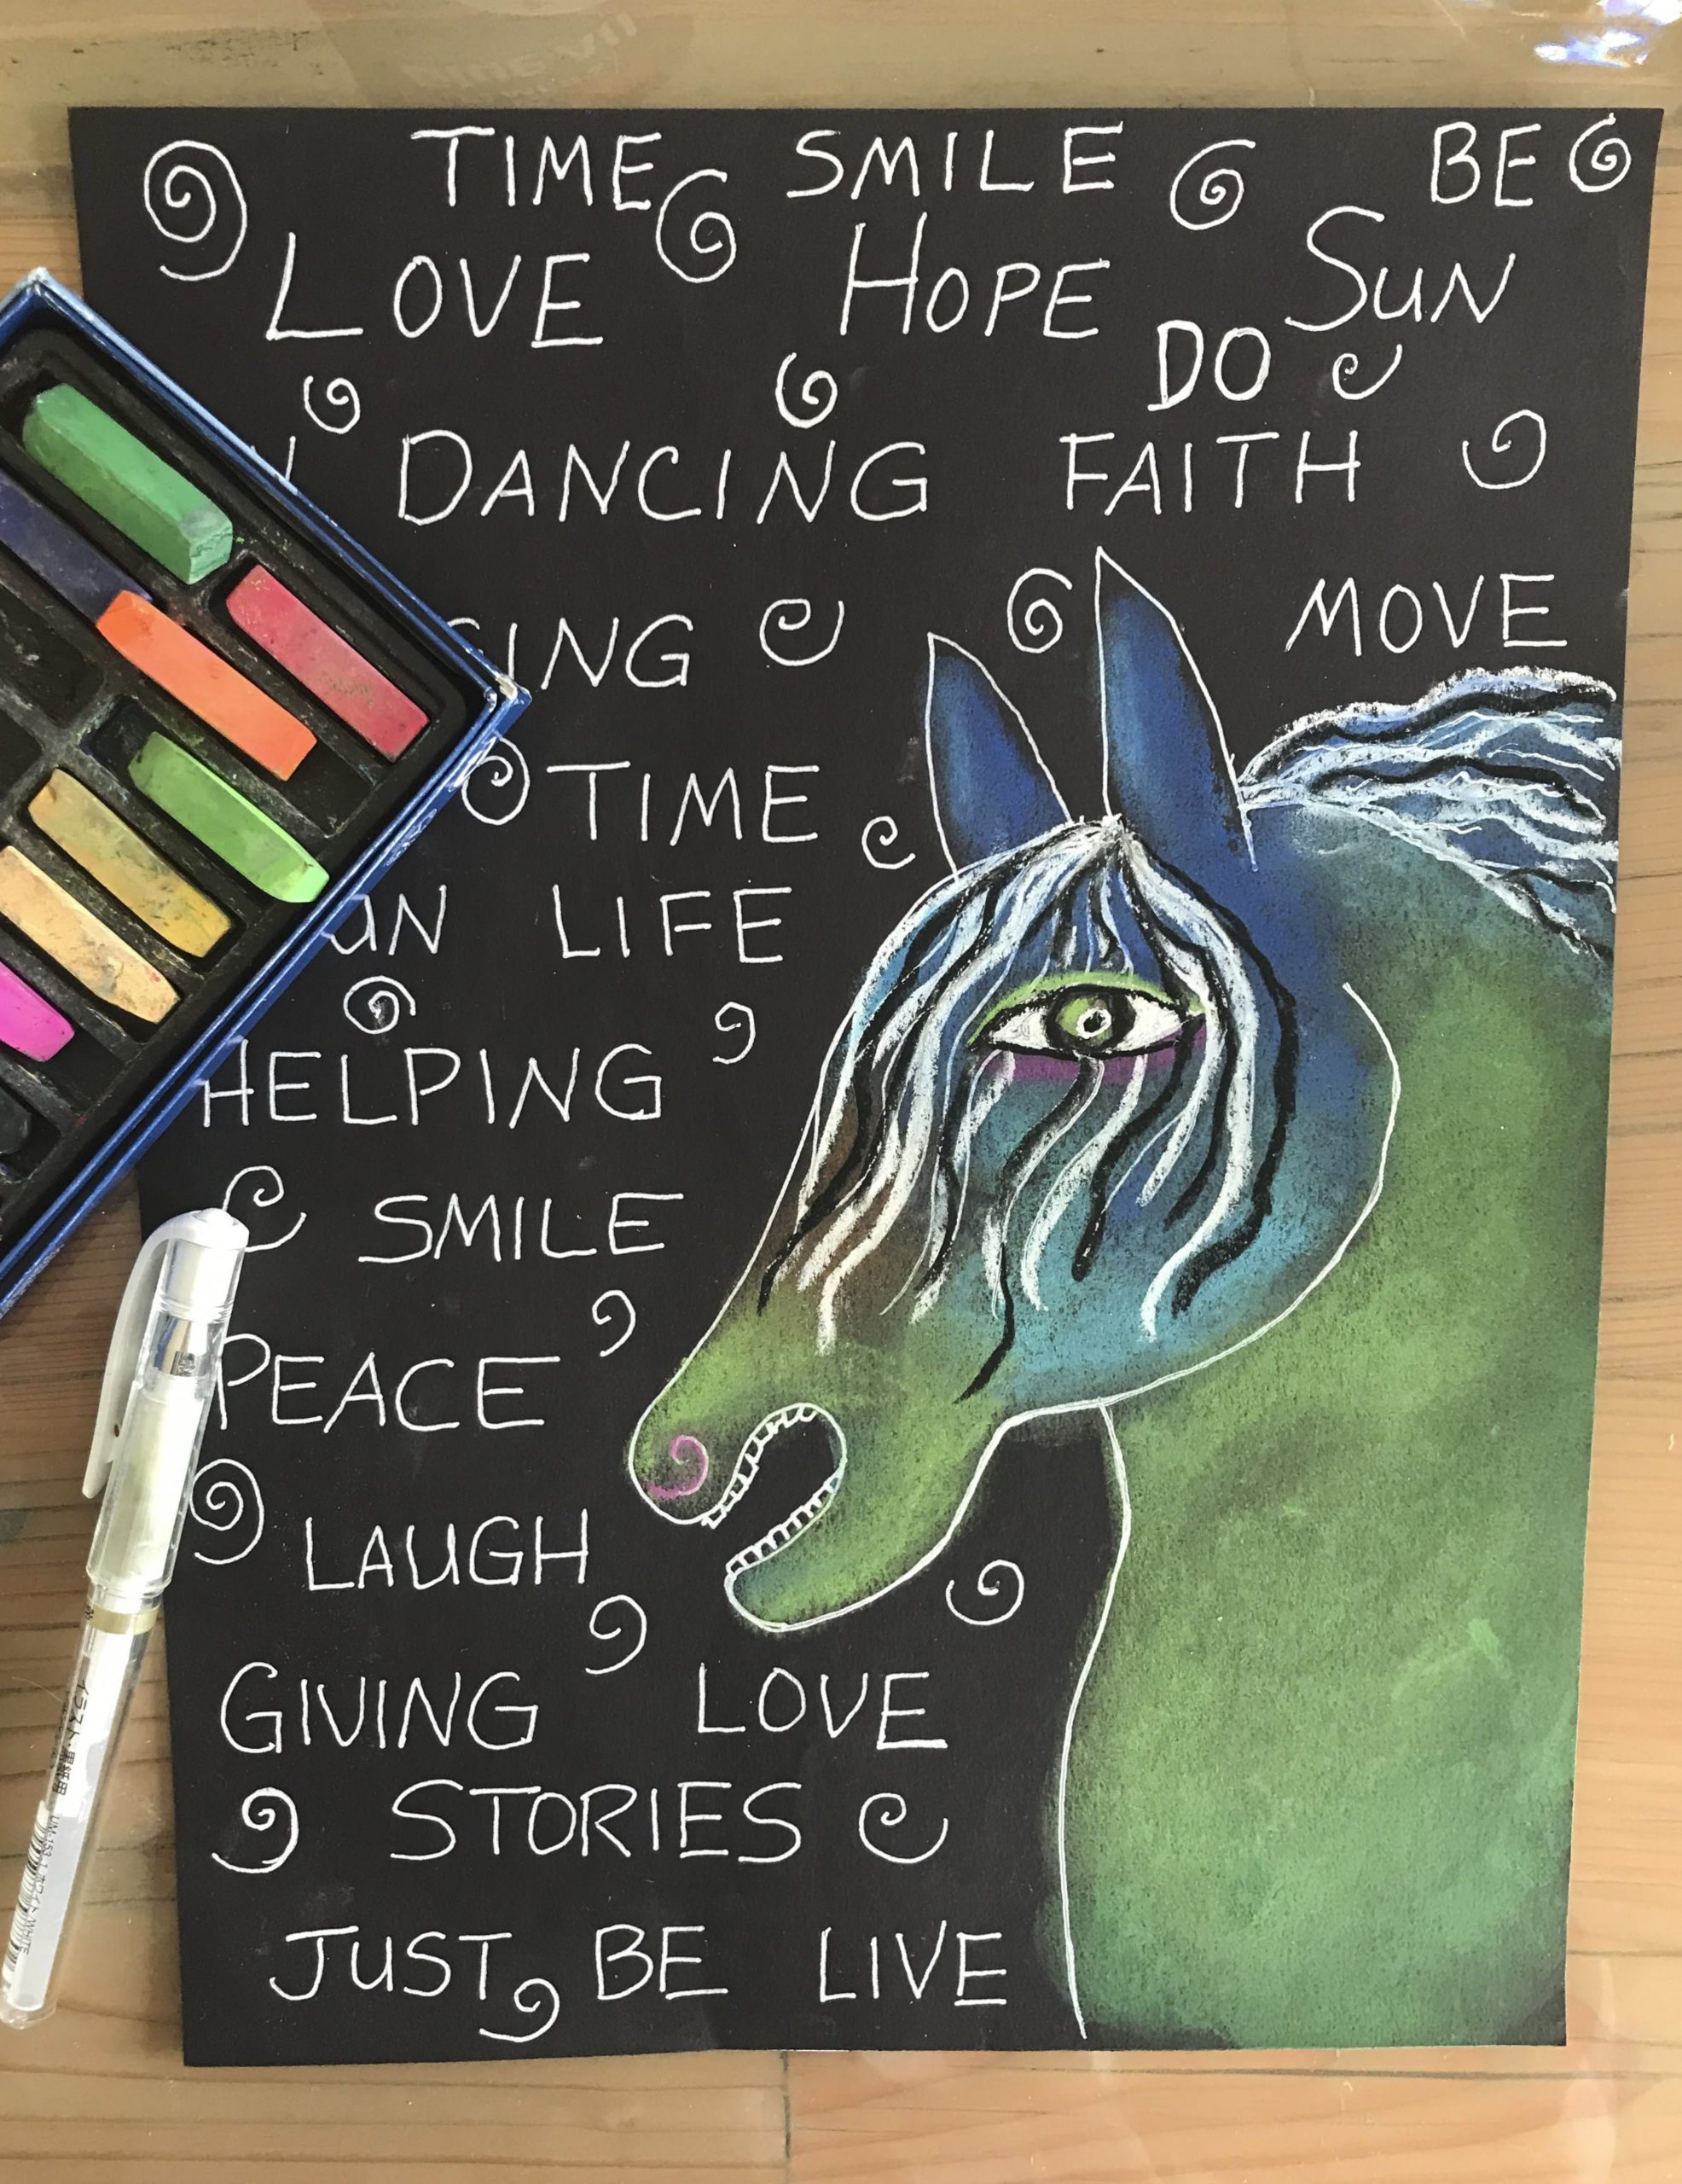
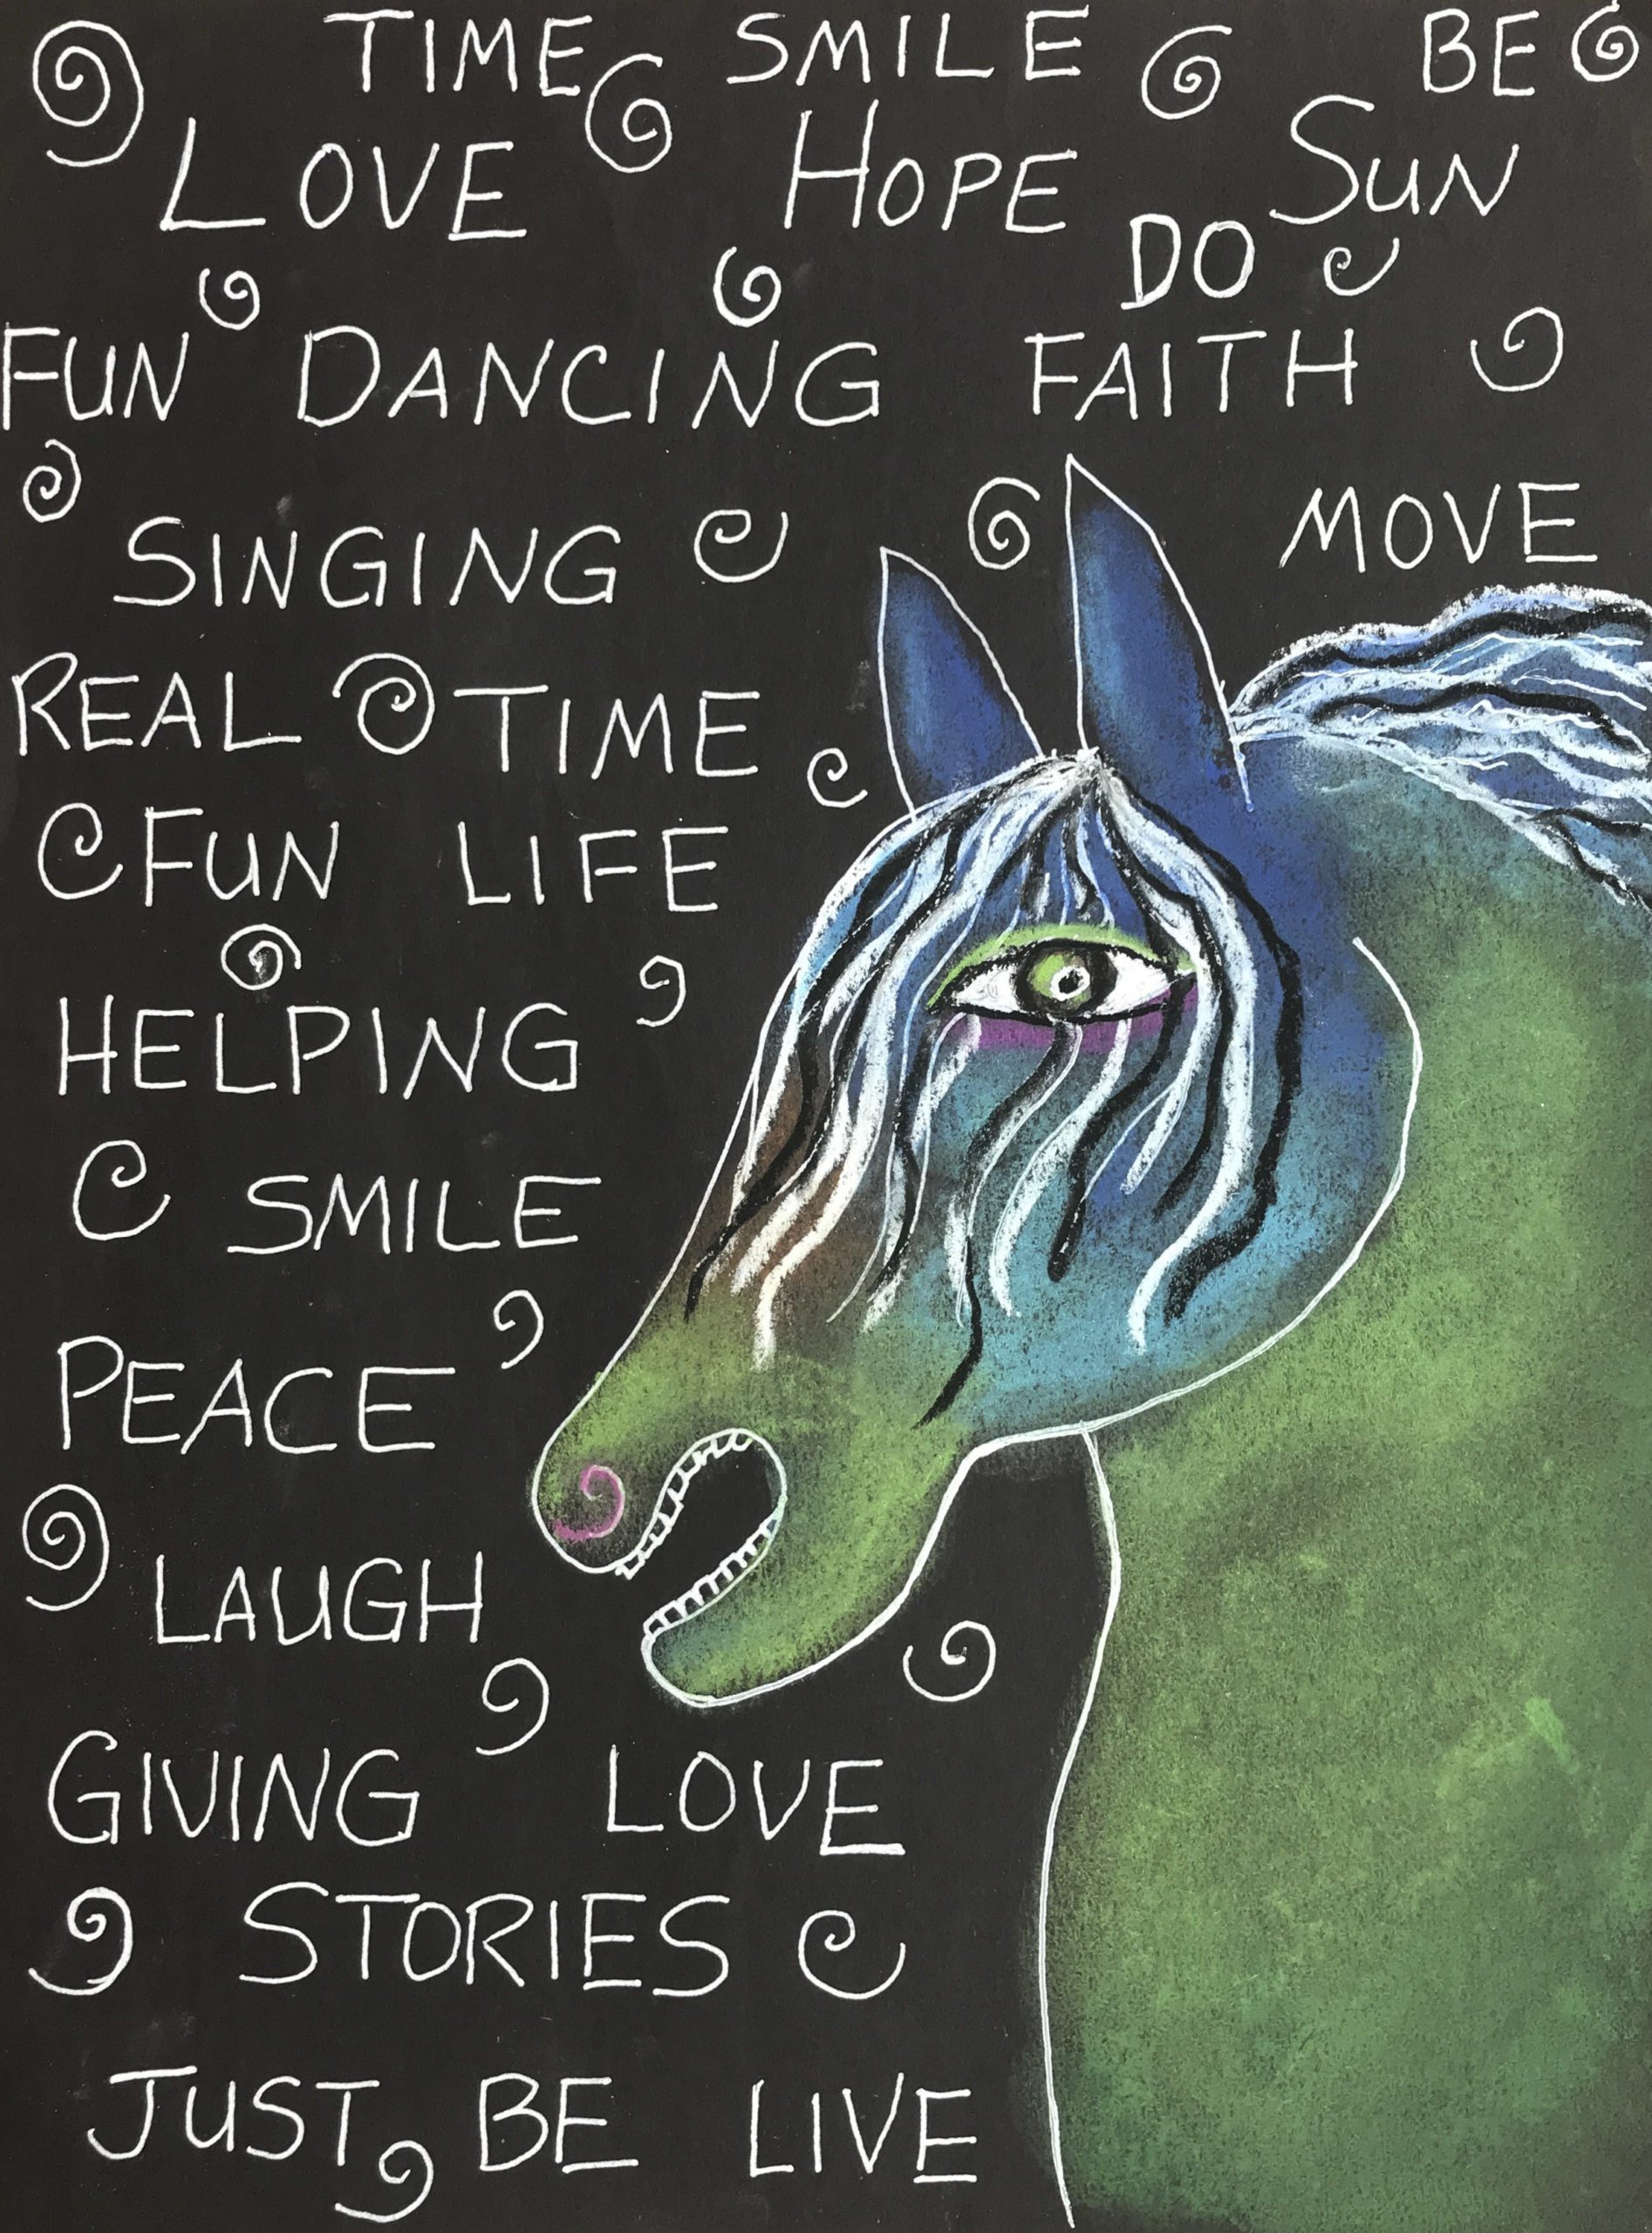
Art Lesson Inspired by Joel Henriques: Painting a Bicycle with Liquid Watercolors


Who is Joel Henriques?
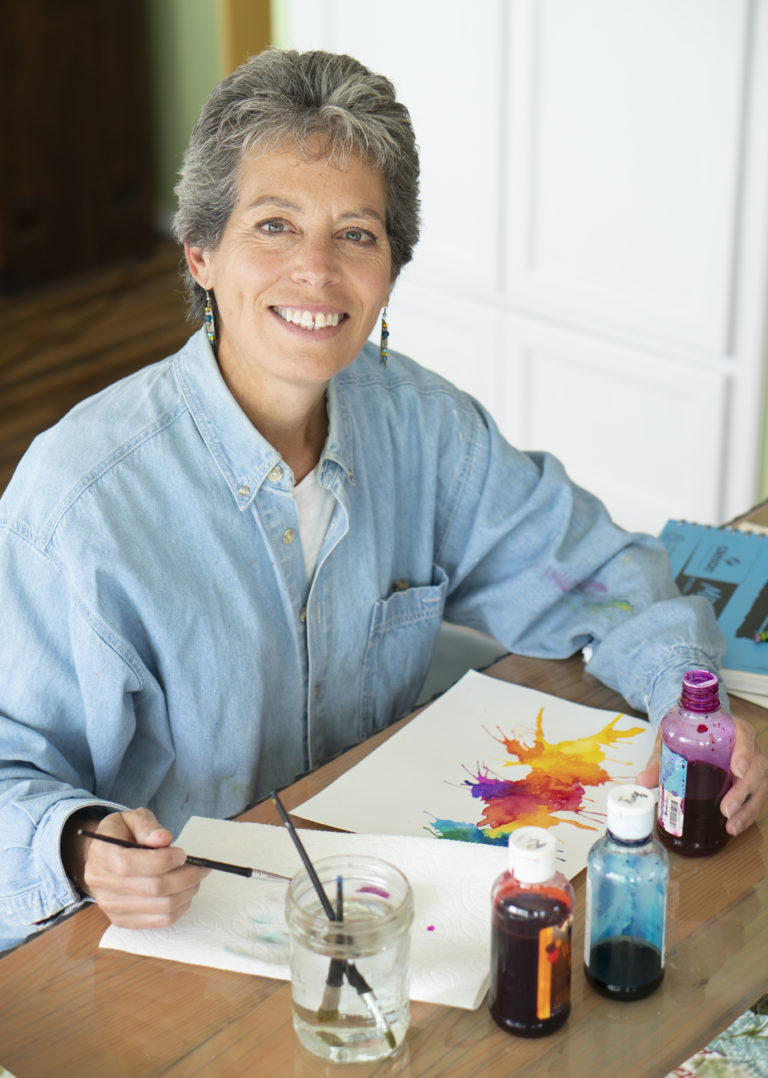
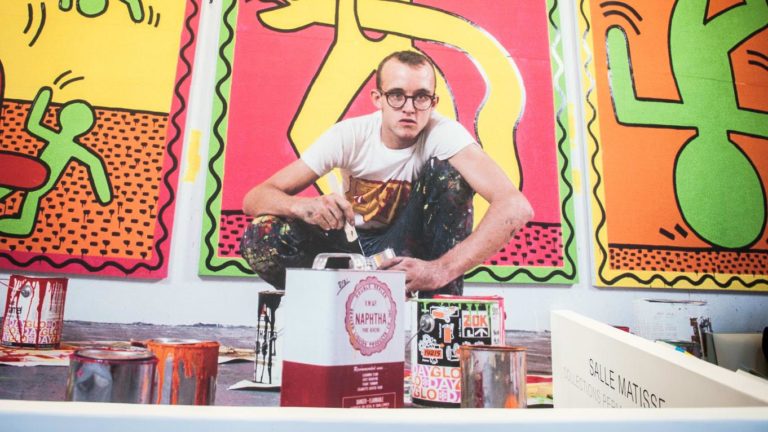
Joel Henriques is an artist and toy designer living in Portland, Oregon. He learned art from his grandma, who showed him famous artists such as Miro and Picasso and taught him about color and design. He has four-year-old twins who inspire him to create art and toys that coincide with their imaginations. He has a blog, Made By Joel, where he documents the toys and crafts and art he makes for kids.

Made to Play
This book is written by Joel himself and has some amazing crafts and toys to make for kids in it.


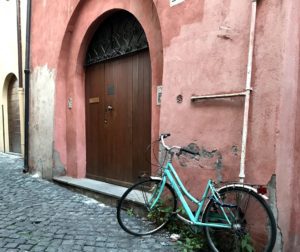
The Doors of Italy
At the end of a 3 week vacation to Europe, I came away with so many pictures of things that captured my interest and the mood of the moment. I couldn’t get enough of all the time worn doors, especially those in Italy.
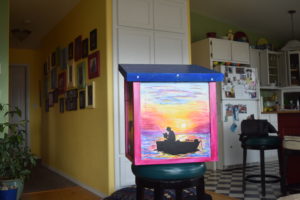
Making Reading Beautiful!
We painted Free Little Libraries! Does your city have a Little Free Library? These are little free standing libraries that have a “host” who looks after them and can be located in someone’s yard , out in the country, or in front of a business or in a park. You can take a book to read or leave one for someone else to find.
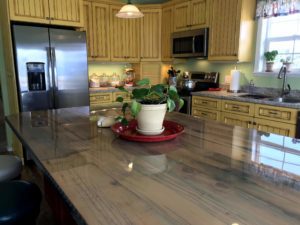
My Beautiful Tuscan Kitchen
This year marks the two year anniversary of our kitchen remodel! My wonderful cabinet maker husband finally got around to making this custom kitchen for our home and I couldn’t be happier!
Art Lesson Inspired by Joel Henriques: Painting a Bicycle with Liquid Watercolors Read More »


