Art Lessons

Franz Marc Pink Elephants and Blue Horses Lesson
Franz Marc Colorful Animals

This page contains affiliate links and I may receive a commission for purchases made through these links. Everything on this page I have used and heartily recommend for teaching art.

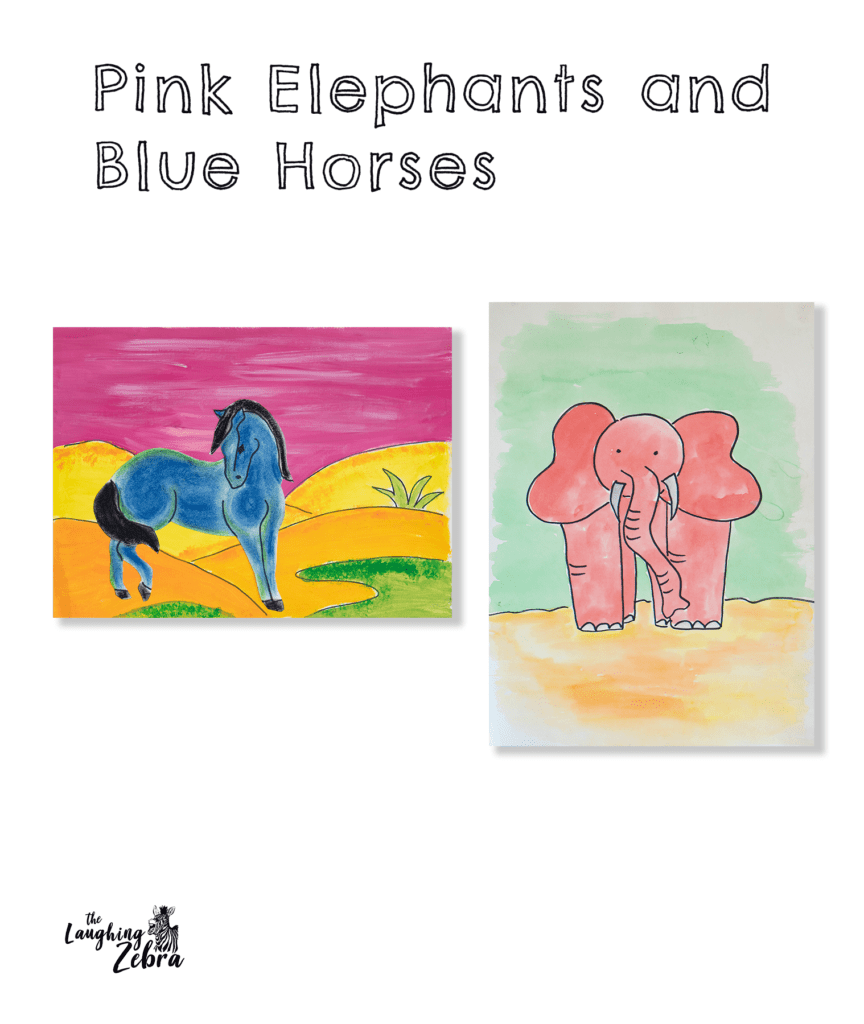
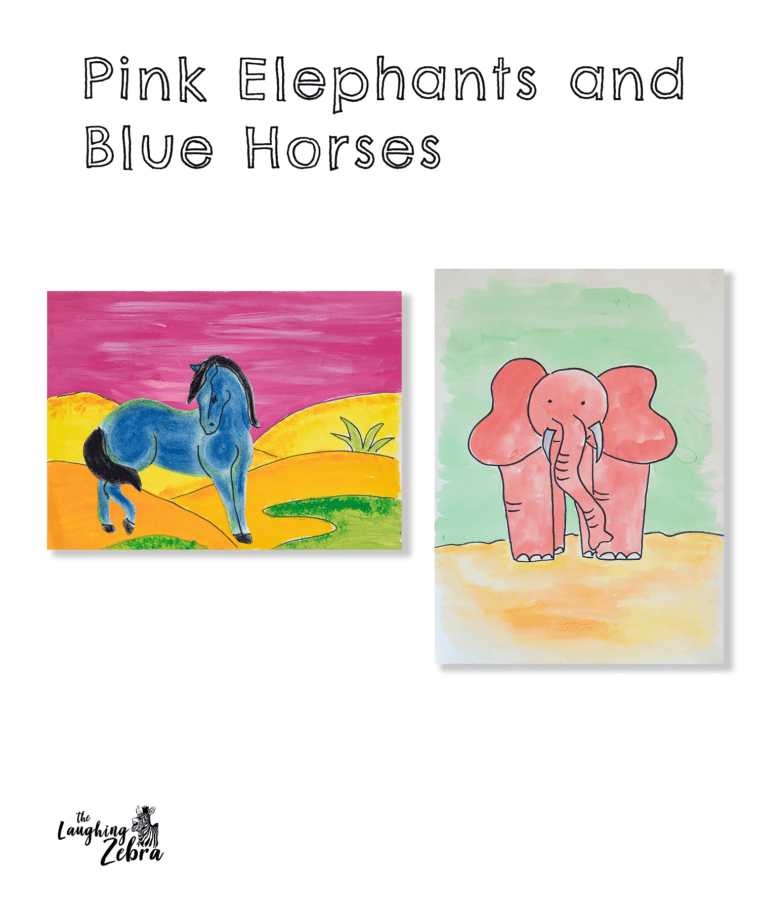
During the month of March my preschool class did two lessons based on the artist Franz Marc. The vivid use of color to express emotions and ideas is a trademark of this German born artist. He is most famous for his paintings of unusually colored animals set in almost abstract style scenery. These colorful animals are great for a preschool art lesson.

How To Horses:

  1. For the first project I found a Franz Marc horse on the internet as a coloring sheet which I traced onto a scrap of poster board. They outlined them in sharpie and used chalk pastel to fill in the color. After spraying them with fixative I cut them out.
  2. The kids then painted a colorful “warm colors” background with acrylic paints, using a sponge to add texture.
  3. When the background was dry they used the glue stick to place their horse in the scene. 

How To Elephants:

  1. The second project was a great drawing project. I taught the kids how to draw a step by step simple elephant starting with a circle.(This is a simple way to draw an elephant-see How to Draw an Elephant. We practiced this two times on a practice sheet. Then we did the final drawing on a sheet of watercolor paper.
  2. We outlined the elephant in Sharpie.
  3. Then we used watercolors to fill in the pink and create a setting.

I think both of these colorful animals projects turned out amazingly well considering these are 3-5 yr.olds.

Please refer people back to this site if you use this lesson! 🙂
Recent Blog Posts:

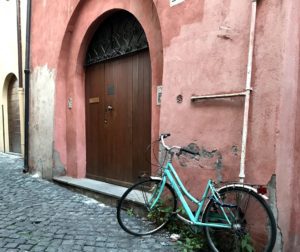
door in Italy with turquoise bike by it.

The Doors of Italy

At the end of a 3 week vacation to Europe, I came away with so many pictures of things that captured my interest and the mood of the moment. I couldn’t get enough of all the time worn doors, especially those in Italy.

Read More »

Making Reading Beautiful!

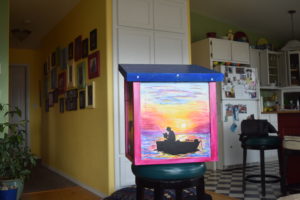
We painted Free Little Libraries! Does your city have a Little Free Library? These are little free standing libraries that have a “host” who looks after them and can be located in someone’s yard , out in the country, or in front of a business or in a park.  You can take a book to read or leave one for someone else to find.

Read More »

My Beautiful Tuscan Kitchen

This year marks the two year anniversary of our kitchen remodel! My wonderful cabinet maker husband finally got around to making this custom kitchen for our home and I couldn’t be happier!

Read More »

Franz Marc Pink Elephants and Blue Horses Lesson Read More »

Aztec Masks Art Lesson

Aztec Masks Art History Lesson

This page contains affiliate links and I may receive a commission for purchases made through these links. Everything on this page I have used and heartily recommend for teaching art.

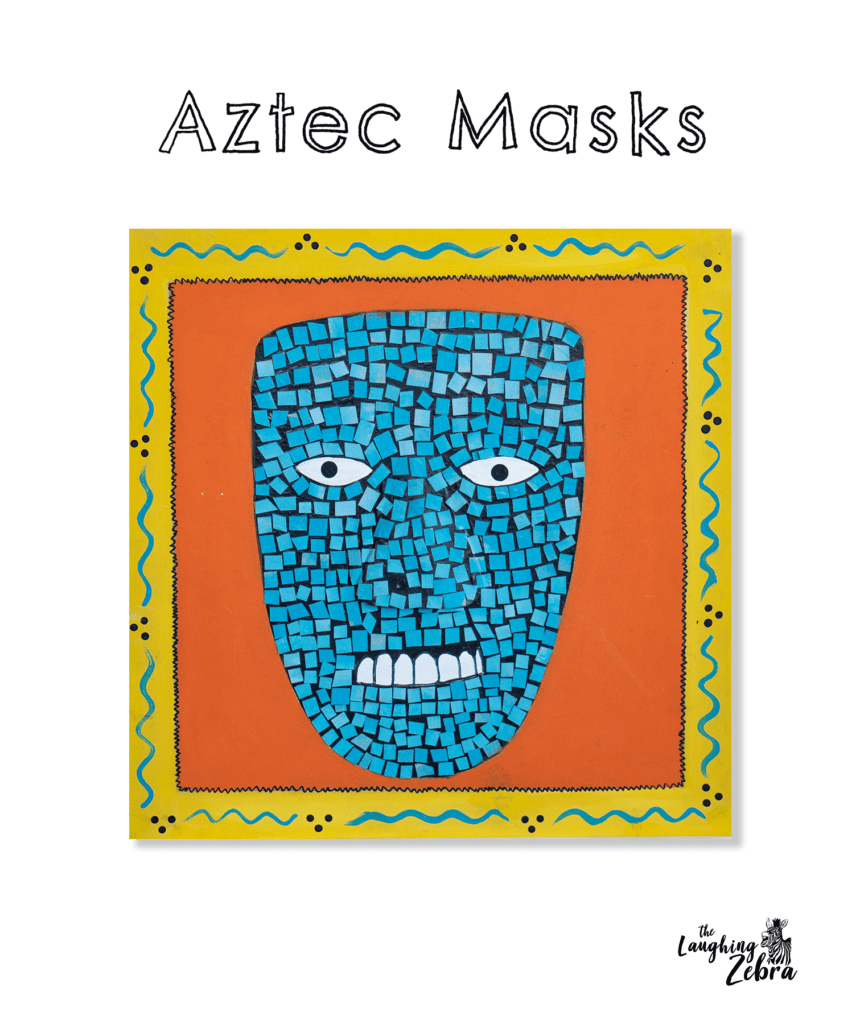
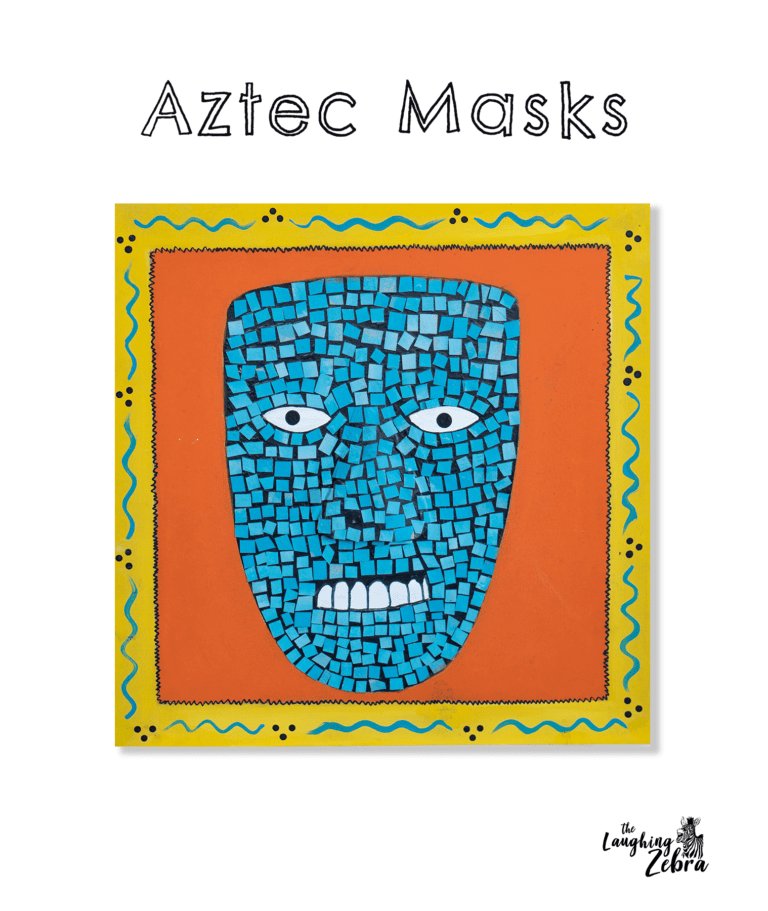
This Aztec Masks art lesson is another project I did with one of my 5th and 6th grade classes this year.  I tied it in with their study of the Aztec and Mayan cultures and the early explorers. This took two 2-hour class periods.

How To:

  1. I created a mask template (with eyes cut out) that each student traced around onto their board, then they attached a piece of cardboard we cut for a nose shape using tape. The inside of the mask was base coated black (except for the eyes and mouth), and the outside of the mask was base coated white.
  2. While that was drying, I had the students paint 1/4 sheets of watercolor paper with a medium, dark, and light turquoise color streaking it on the paper instead of blending it in ( to make it look like real turquoise).
  3. When the paint was dry they cut these into small tile pieces.
  4. After the mask board was dry they added a border with a ruler and painted that in yellow, and the background orange.
  5. Next they added the mosaic pieces with some Mod Podge, being careful to leave the black showing thru on all sides of each piece.
  6. After painting the teeth and eyes in they went over the whole mask with the Mod Podge. 
  7. They each finished the piece with their own border design, and a Sharpie outline between the background and border.

This was a time consuming process, but produced a very real mosaic look when finished. I forgot my camera that day and so I don’t have any pictures of the student’s Aztec masks art.

Let me know in the comments if you have any questions or if you try out this project and please refer people back to this site if you use this lesson! 🙂
Aztec Masks Art Lesson Read More »

Montana Mona Lisa

Montana Mona Lisa

This page contains affiliate links and I may receive a commission for purchases made through these links. Everything on this page I have used and heartily recommend for teaching art.

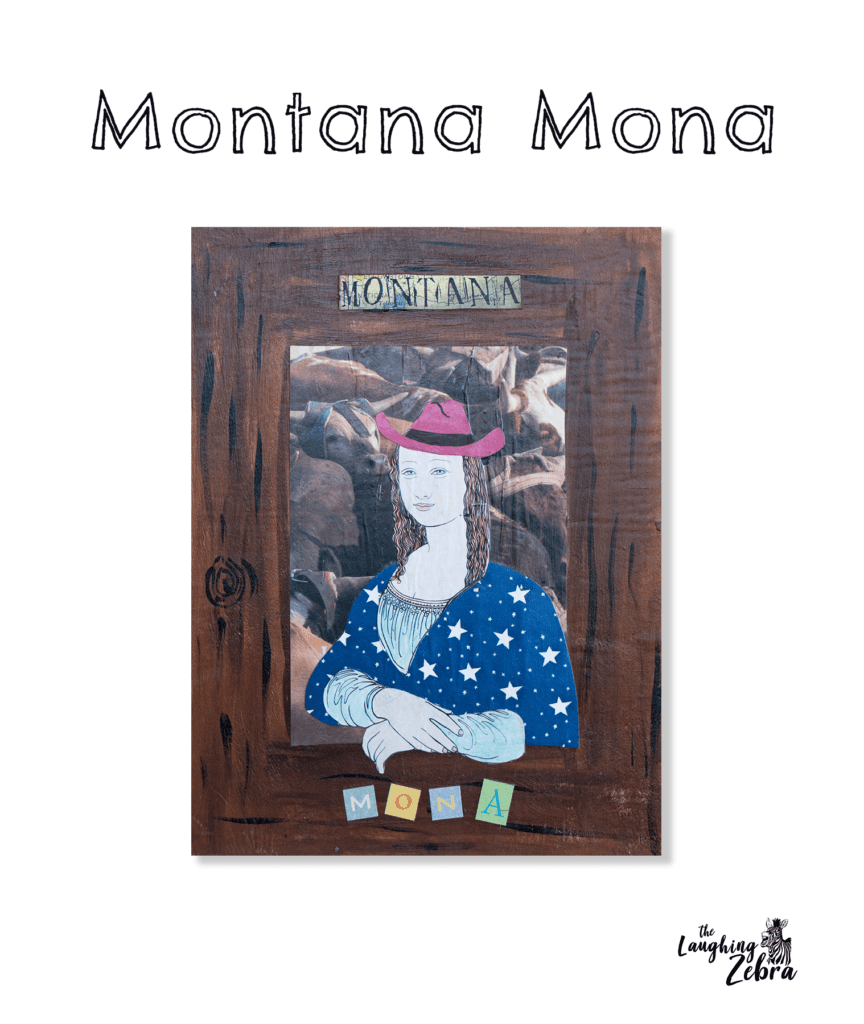
This Mona Lisa painting project is one I have done several times and it really helps my Montana students relate to Leonardo Da Vinci’s Mona Lisa painting. It is also a good mixed media project. You could change it up by relating it to your state or area.

How To:

  1. First I have the students paint about a 2 1/2″ border on their cardboard with the brown paint using a large brush and then using a small round brush paint in some lines and knot holes.
  2. While that is drying they work on coloring in the Mona Lisa (lightly) with the colored pencils. They can choose the hair and eye colors and her blouse color.
  3. Then using pattern pieces that I made in advance using poster board scraps they trace out a hat, cloak (from the scrapbook paper) and rectangular background piece (from the magazines). I used a map of Montana in my sample, but any large picture without a bunch of writing would work. (for example: a scenery picture, a herd of cows, a man on a horseback, close-up of a saddle or cowboy boots,etc.)
  4. Then they cut and assemble all the pieces.
  5. Next they find letters or words (mine came from the magazines or scrapbook papers) for the “Montana”, and letters (the ones in the sample came from a bag of random letters I got from Michaels) to spell out “Mona”, and lay them out on the frame.
  6. Now they are ready to Mod Podge all the pieces onto the framed board, being careful to center everything.
  7. Once they are done getting all the papers glued down, they do a final coat of Mod Podge over the whole piece.

Let me know in the comments if you have any questions and please refer people back to this site if you use this lesson! 🙂

Montana Mona Lisa Read More »

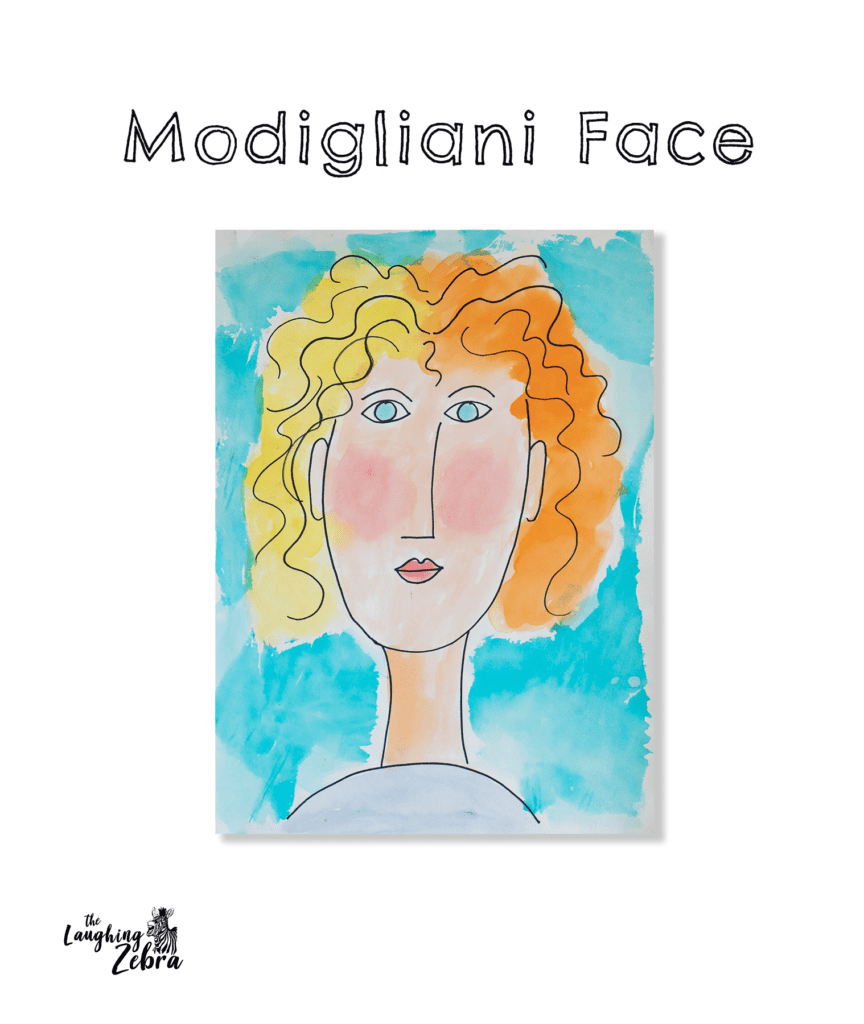
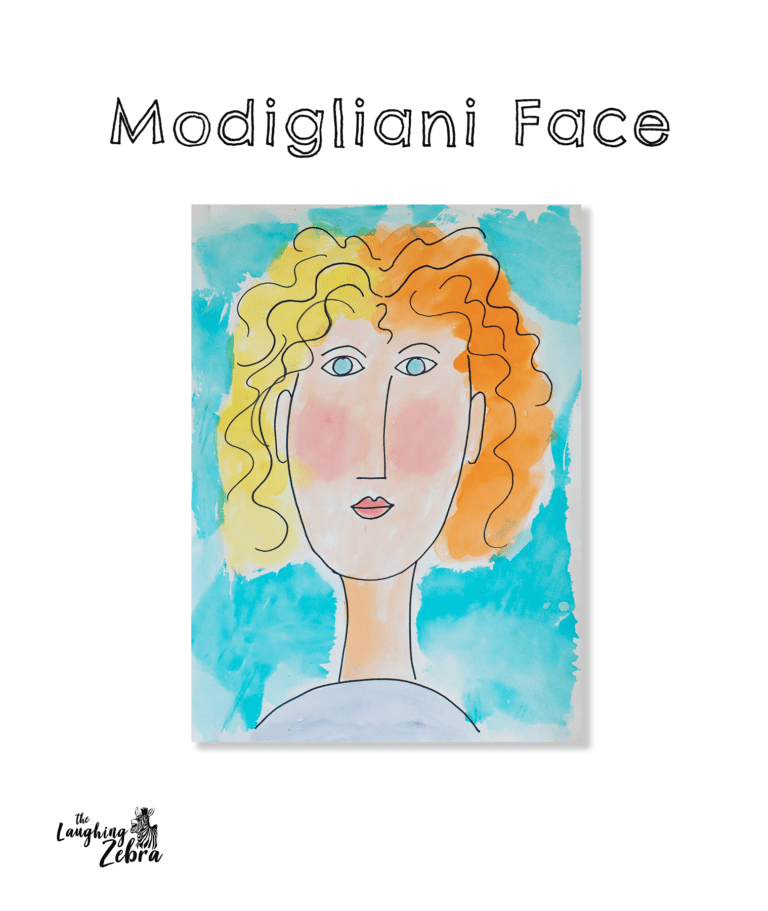
Modigliani Multimedia Face Art Lesson

Modigliani Tissue Paper Face Project

This page contains affiliate links and I may receive a commission for purchases made through these links. Everything on this page I have used and heartily recommend for teaching art.

Amedeo Clemente Modigliani (July 12, 1884 – January 24, 1920) was an Italian artist who worked mainly in France. If you are not familiar with this artist he was famous for his paintings of elongated faces with long skinny necks. His drawings were simple and stylized. This is a fun lesson to do with all ages, and I have added the tissue paper background for an extra twist, since the face 

painting can be a fairly quick project to do.

How To:

  1. I begin this lesson by showing some of Modigliani’s portraits. I talk about the long skinny faces and necks, and the almond shaped eyes,simple nose, and small rosebud lips.
  2. Starting with a big skinny U shape, I have the students practice a simple face drawing in this style following my steps as I do it on a whiteboard. For fun I have them do simple curly lines for the hair. If I have already done a portrait lesson with them I point out the difference between a more realistic portrait; the shape and size of the features, and the placement of them compared to Modigliani’s faces.
  3. Next I have them do a large drawing of the face on the watercolor paper, filling up most of the space. After they have done it in pencil, I have them go over all the lines with Sharpie.
  4. Then we watercolor the faces. I let them have some freedom with the hair, making it two-tone if they want, and just painting it loosely around their Sharpie lines.
  5. After they have done the painting part then we use small pieces of tissue paper to fill in the background putting water under and over each piece with a brush and overlapping them.
  6. When the tissue dries we pull that off, and you end up with a textured looking background.

Let me know in the comments if you have any questions and please refer people back to this site if you use this lesson! 🙂

Modigliani Multimedia Face Art Lesson Read More »
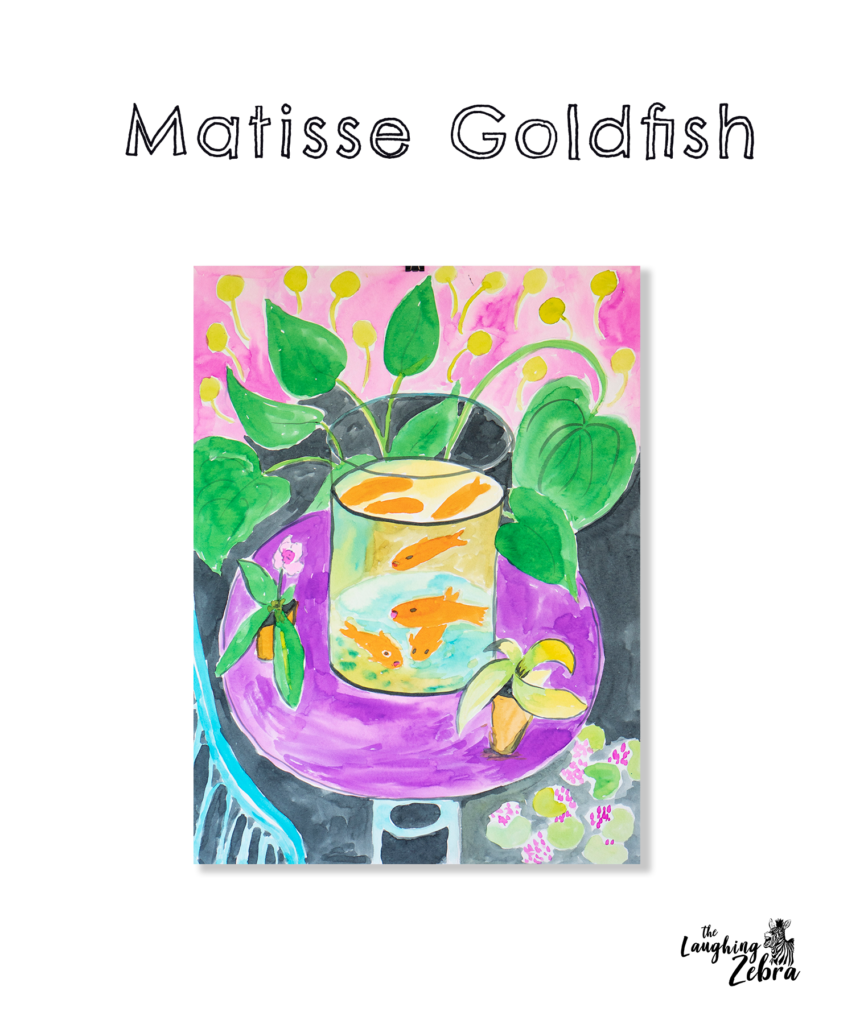
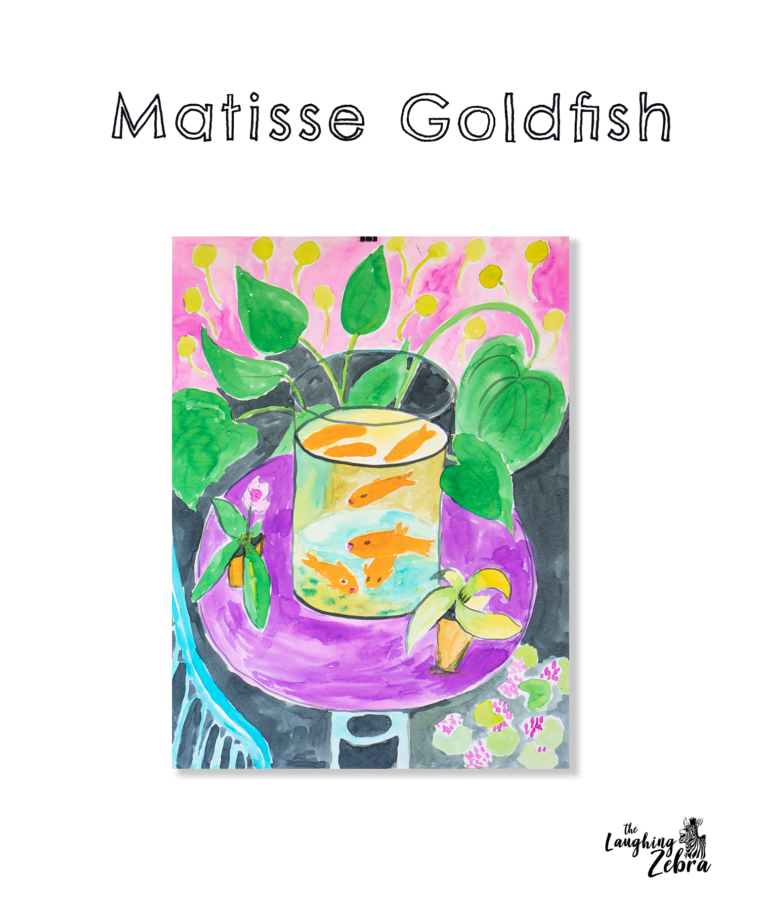
Henri Matisse Goldfish Art Lesson

This page contains affiliate links and I may receive a commission for purchases made through these links. Everything on this page I have used and heartily recommend for teaching art.

Henri Matisse is one of my favorite artists and so I am always looking for new projects to share him with my students. This is a class I did this summer for kids ages 9 and up. I bought some new watercolor paper to try and it was so fun to work with. (Canson XL Watercolor pads)  The sheets are 18×24, and 140 pound paper weight so you can erase a lot and it takes more abuse than a lighter weight paper. We also used Dick Blick liquid watercolors (update: I have since switched to Sargeant brand liquid watercolors, as the Dick Blick ones are now a new thicker formula). The liquid watercolors are so much easier to use for the larger paper format. The kids don’t have to stop and mix more color and so they had more success with their washes. We did a sample drawing first on a smaller sheet of paper, looking at Matisse’s original painting. I also gave them each a coloring sheet picture of the painting. I had them simplify their drawings and leave out some of the background foliage and details. We did the drawing and painting step by step, taking time to talk about proportion and reflections. This was a great lesson and they all ended up with some beautiful paintings.

*See my new Henri Matisse art lesson in my upcoming book!  (Click here for more information)

Please refer people back to this site if you use this lesson! 🙂

Henri Matisse Goldfish Art Lesson Read More »
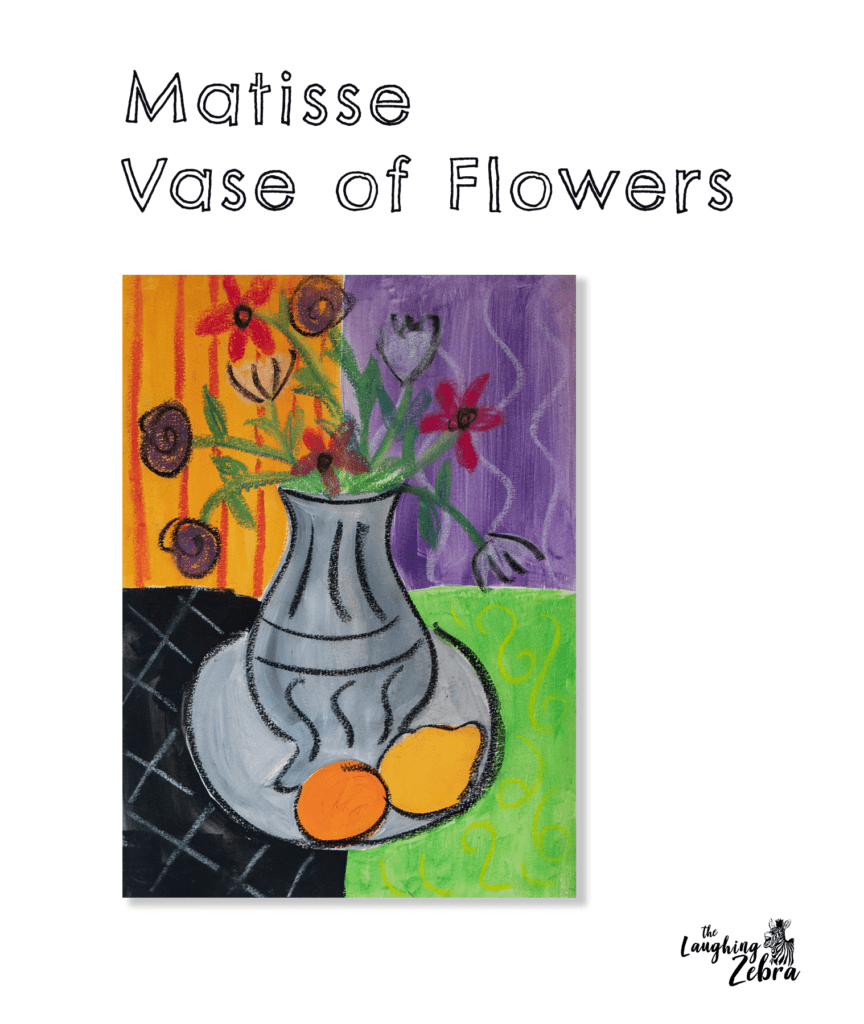
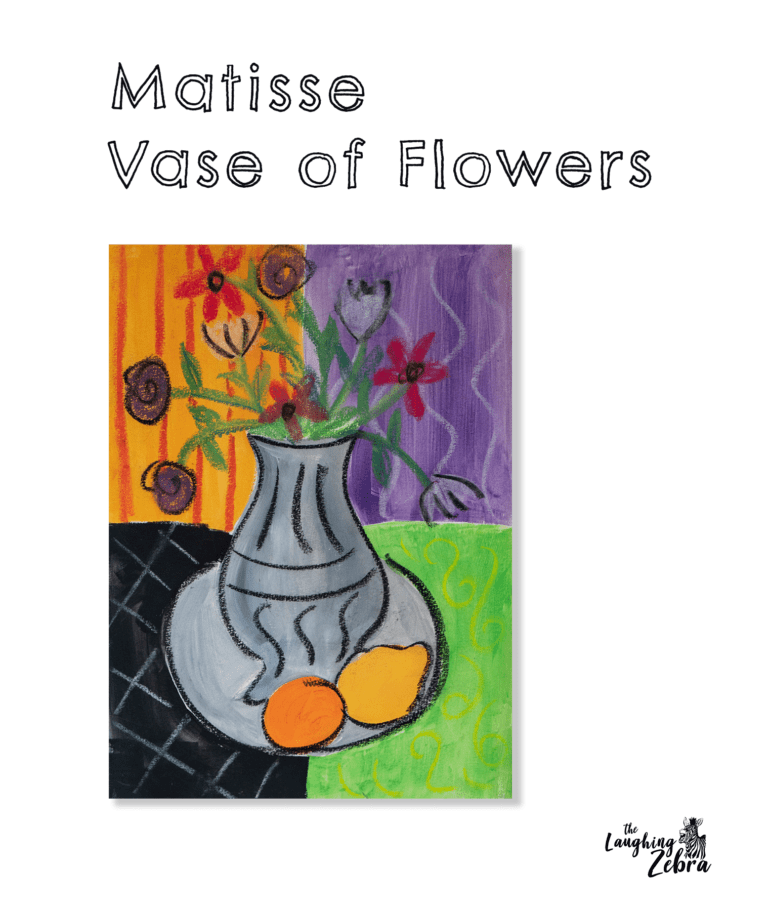
Matisse Flower Vase Art Lesson

This page contains affiliate links and I may receive a commission for purchases made through these links. Everything on this page I have used and heartily recommend for teaching art.

I got this Henri Matisse art lesson idea from Matisse’s “Woman with a Purple Robe” painting, and have altered it to fit different age groups. I love Matisse because of all the bright colors and patterns he used in his work. This is a fun way to introduce mixed media and the different steps keep the interest level high.

For the first step I have the students draw a vase with flowers in it with pencil, then outline it with Sharpie (I pre-draw this for preschool level). Then I have them paint the vase grey. Next step is to do a different pattern with oil pastels on each piece of colored cardstock (see sample). Then I have them glue the pieces down to the the heavy paper. 

Next they color in the flowers with oil pastel and add the black lines on the vase . When the paint is dry they cut out the vase and flowers and glue down over the patterned cardstock.

I’ve also done this project with paint instead of the cut paper on a full size sheet of watercolor paper. I add more detail with the painted orange and lemon and plate, and also a wider variety of flowers.  The flowers and line work are done with chalk pastel instead of oil pastel. Make sure to spray with fixative when they are finished.

*See my new Henri Matisse art lesson in my upcoming book! (Click here for more information)

Please refer people back to this site if you use this lesson! 🙂

Facebook
Pinterest
Twitter
Reddit
Email
Print

Matisse Flower Vase Art Lesson Read More »
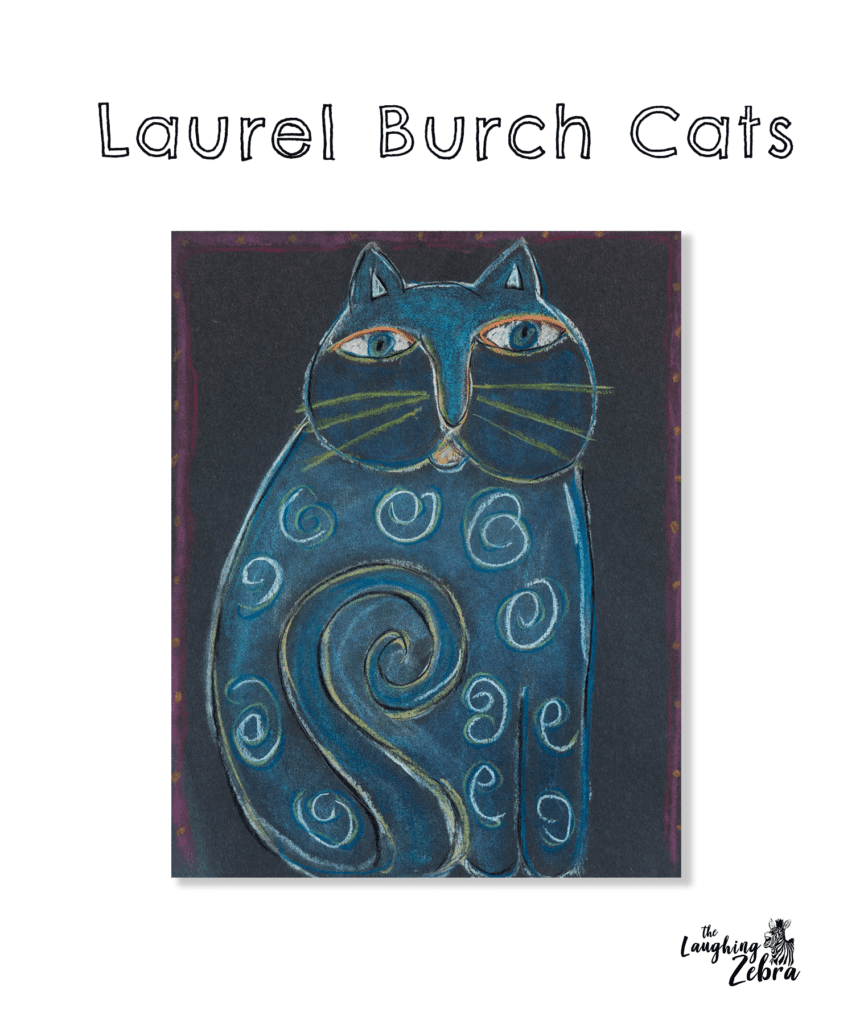
Laurel Burch Cats Art Lesson

I did this Laurel Burch cats art project for one of my summer classes and have also done it for kindergarten to 6th grade at the school I work at. It is a fun one to do as kids like to do animal projects and this one is doable for any age. There are some great pics on the internet of Laurel Burch cats. I showed a lot of them in class to generate some ideas. I like using the chalk pastel on the black paper-it adds a fun dimension. I got this project idea from another blog-but can’t remember where now. I changed it up a bit.

I had the kids practice drawing the body of the cat on a scratch paper first. In my summer class they could choose to do a head or a body. At school the younger kids used a poster board pattern and then I had them come up with their own pattern for inside the cat. I had the kindergarteners trace around just a head template. We talked a lot about Laurel Burch and her use of color and pattern. Also how she did the cat’s eyes (more like a human eye). I showed them samples of her work to begin with. Once they practiced what pattern they were going to use I had them do their final drawing on the black paper. They used the chalk pastels to color them and and Nupastels to outline and accent. I had them either do a pattern in the background or a frame.

Please refer people back to this site if you use this lesson! 🙂

Supplies:

Laurel Burch Cats Art Lesson Read More »
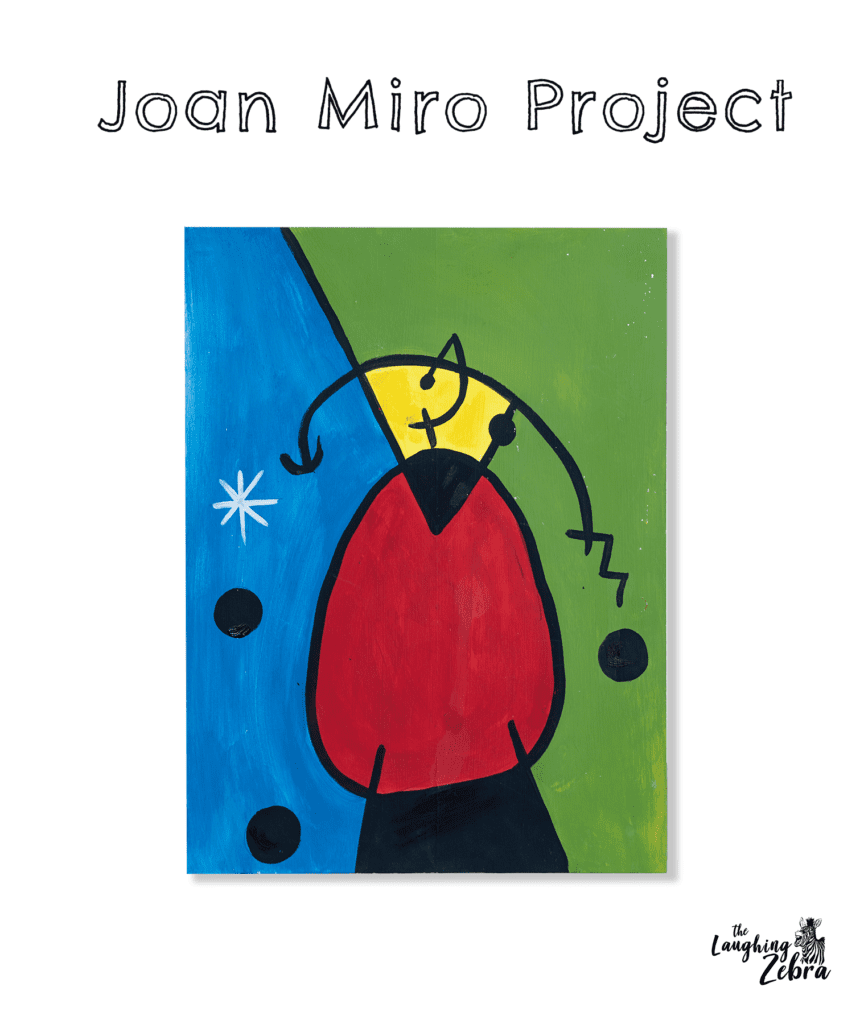
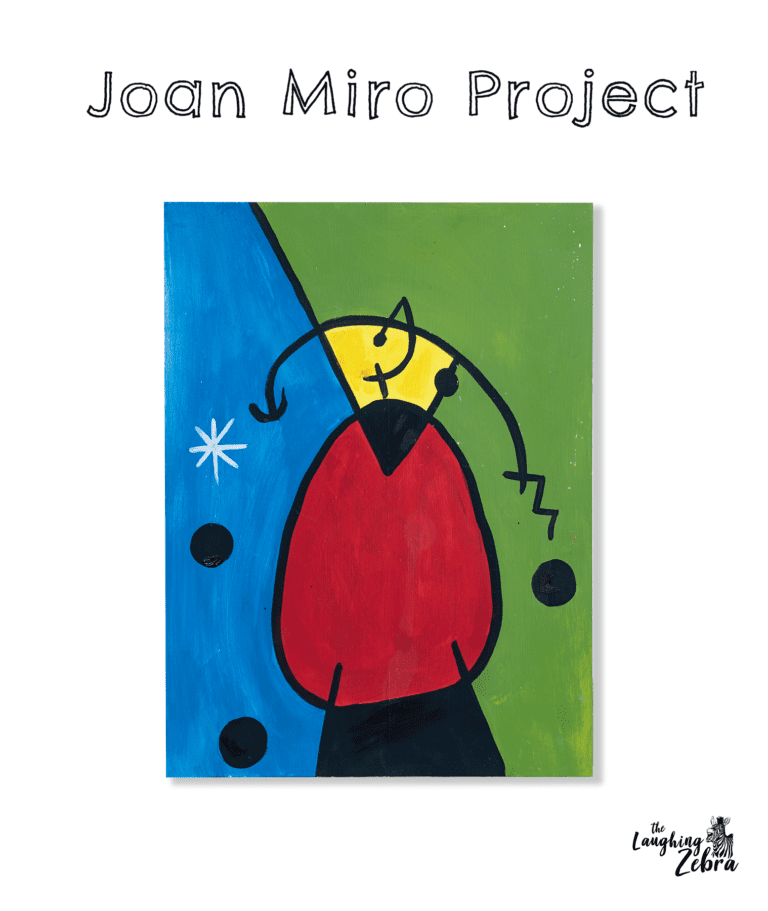
Joan Miro Project

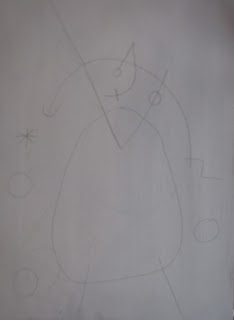
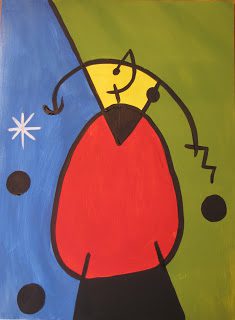
This is a project I just did with my preschool class, but it could be adapted for older ages. Kids love the bright colors, funny shapes and lines Miro uses in his work. I like using abstract art to teach kids that you don’t have to be able to draw something realistically to come up with a great piece of art.

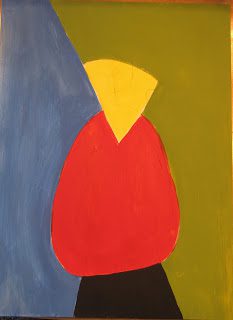
For the preschool class I pre-painted the board white, and pre-drew the large shapes (see sample). If this were a kindergarten class or above I would let them do all the drawing. I had the preschoolers sand down the board. Then I had them draw in the other lines and shapes with a pencil, while I demonstrated it on a whiteboard. We talked about the different kinds of lines and shapes in this piece and how to make them.

They went over all the lines in Sharpie (on my sample I skipped the Sharpie part). Then we started with the lightest color (yellow) and filled in all the shapes-giving the yellow, red, green and blue areas two coats. After everything was dry we went back in with a small round brush with black paint and went over all the lines and filled in the circles.

The results were great and the kids had fun (Unfortunately I didn’t have my camera).

New step by step Joan Miro lesson in my upcoming book. Click here to see more information on my book and subscribe for book updates!

Please refer people back to this site if you use this lesson! 🙂

Supplies:

Joan Miro Project Read More »